Haze the maze
Well-Known Member
I would like to know all though I don't use 220 in Canada.


how would a microgrow syystem liek this one be built could it be done with seeds and not clones as well ??i would work my fucking ass off for a pound a week are you serious?!
thanks for this stink bud, i have a few questions if thats cool.
How do you combat blackouts and loss of power? do you have any personal experiences with that issue, i ask because i am thinking of going aero but ca is a vulnerable place.
thanks
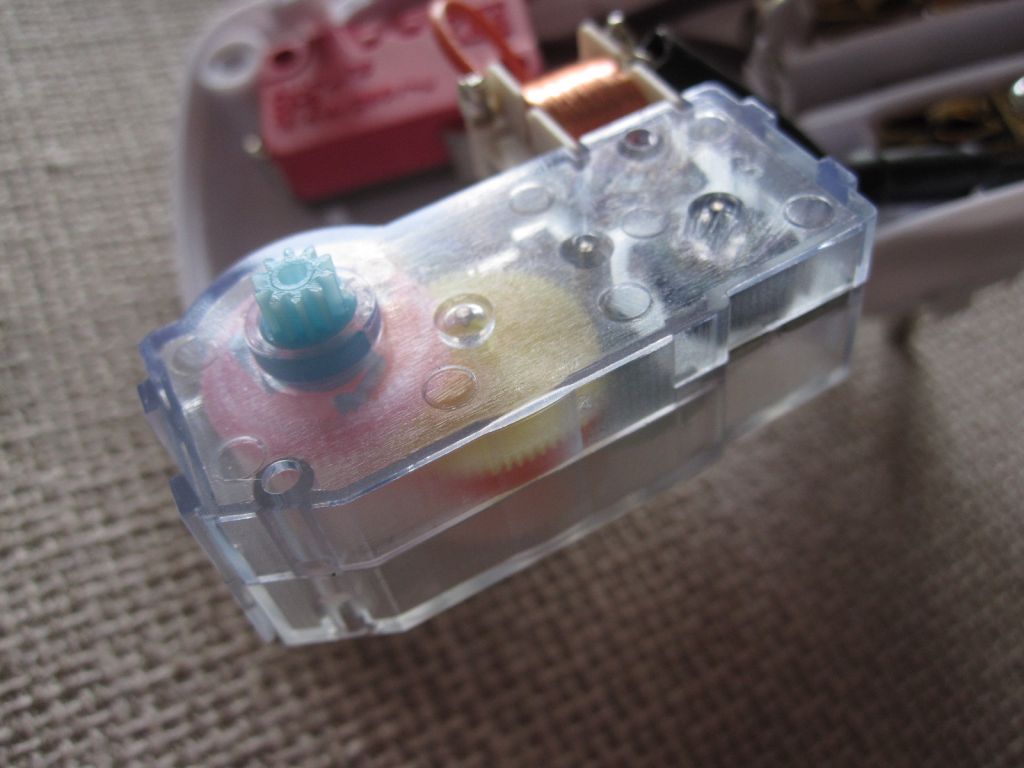
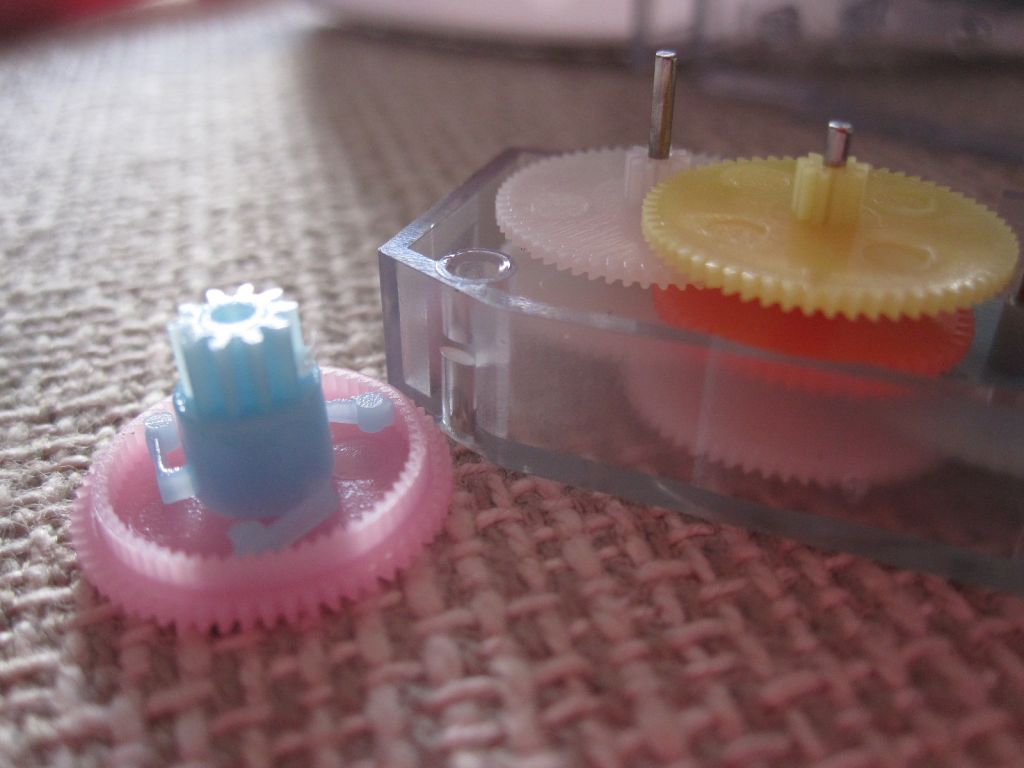
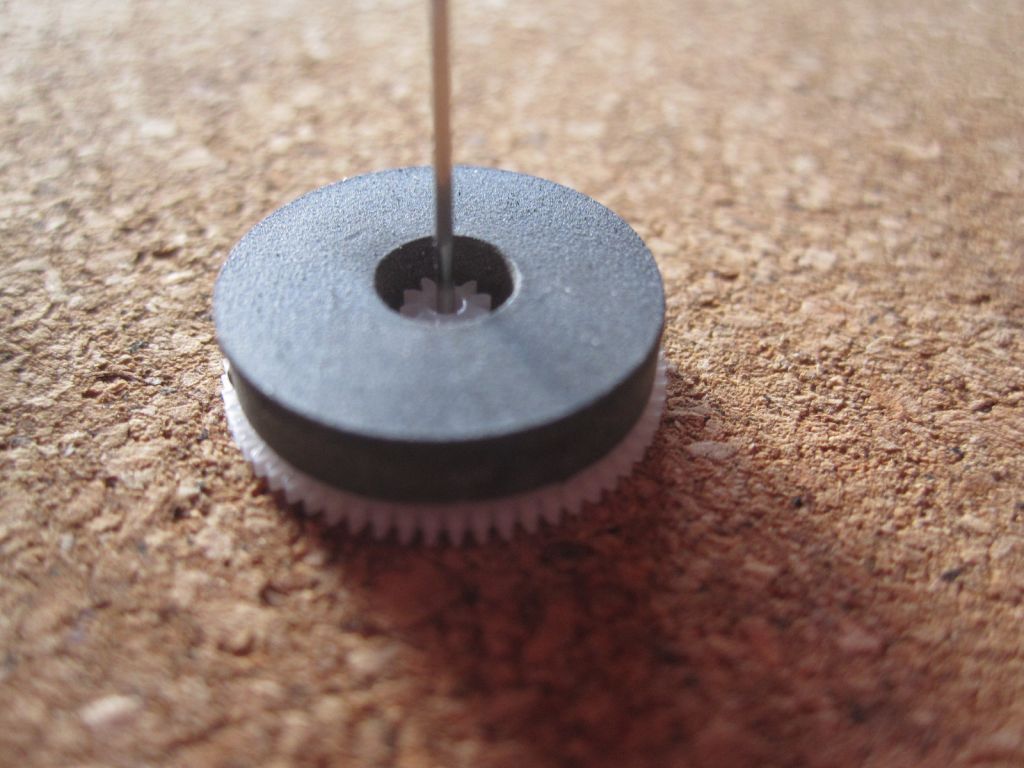
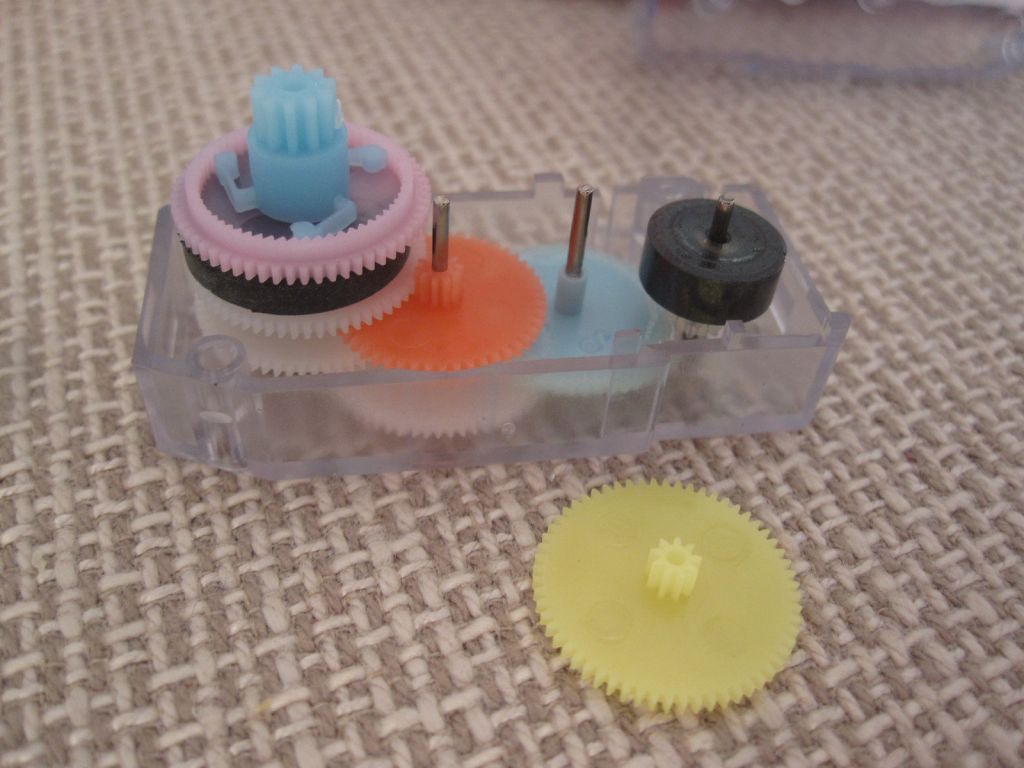
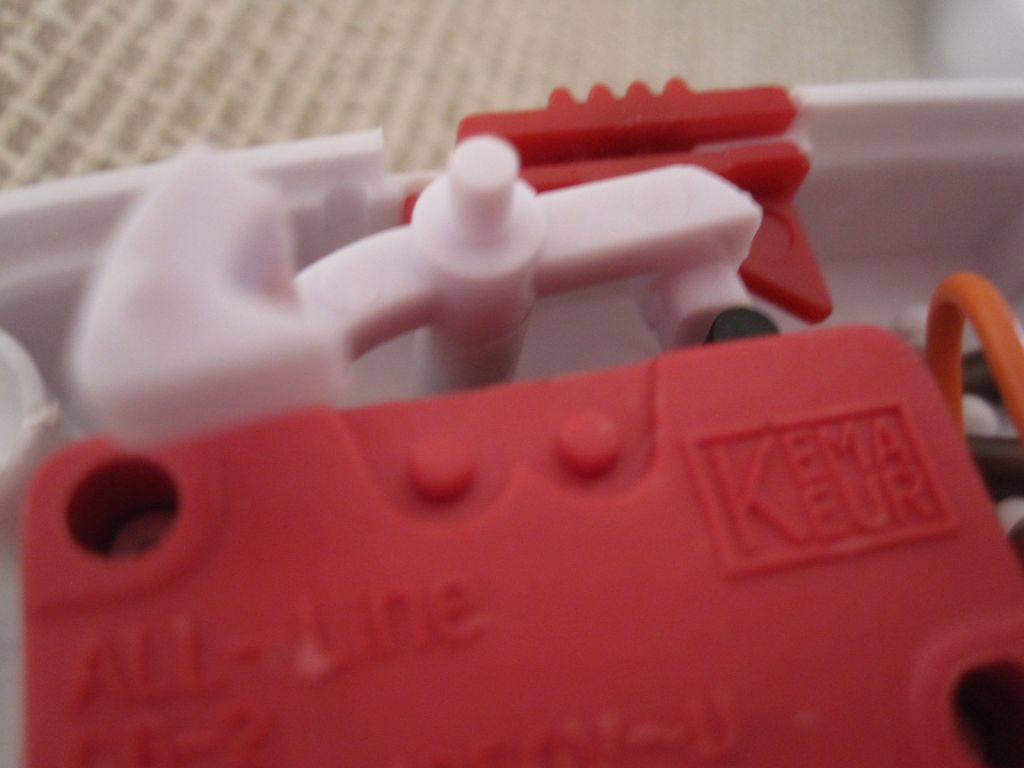
Nice work.Then you put the thick gear back on the shaft in the box.
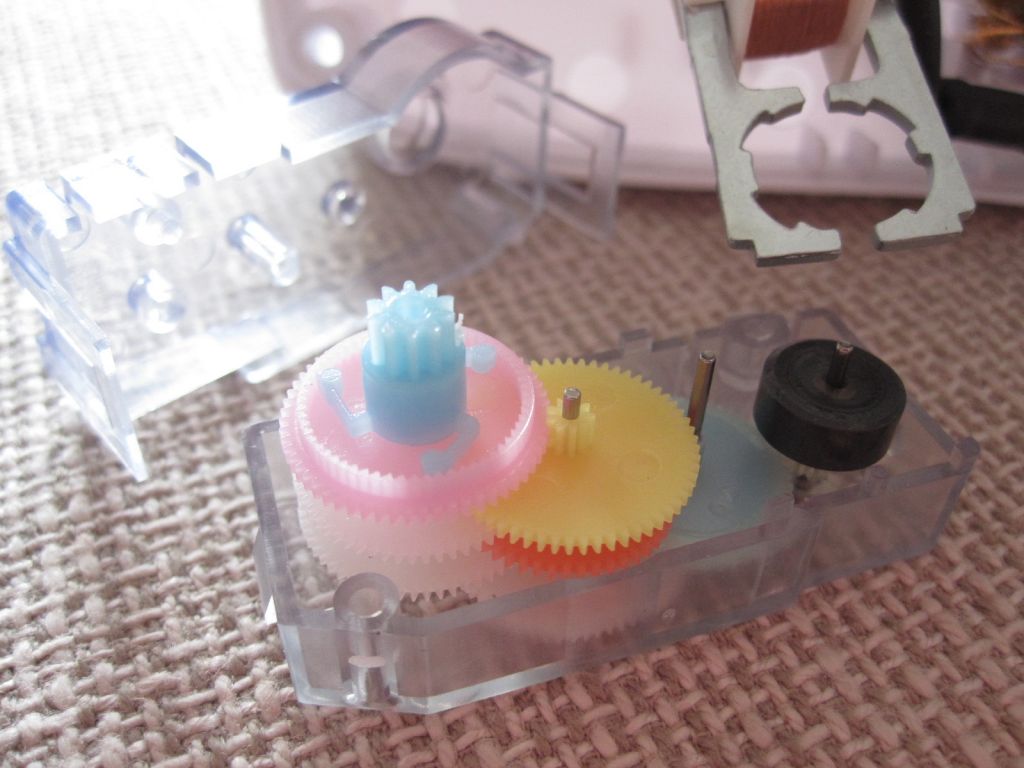
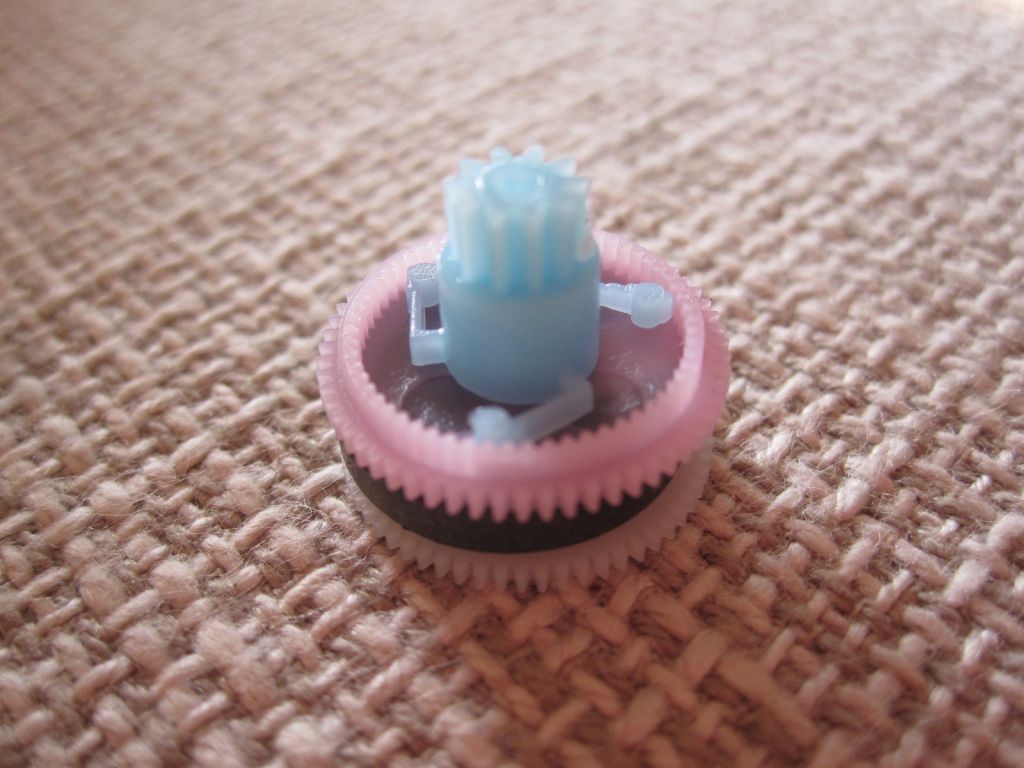
Just check whether everything runs smoothly and whether it is in place in connection to the other gears.
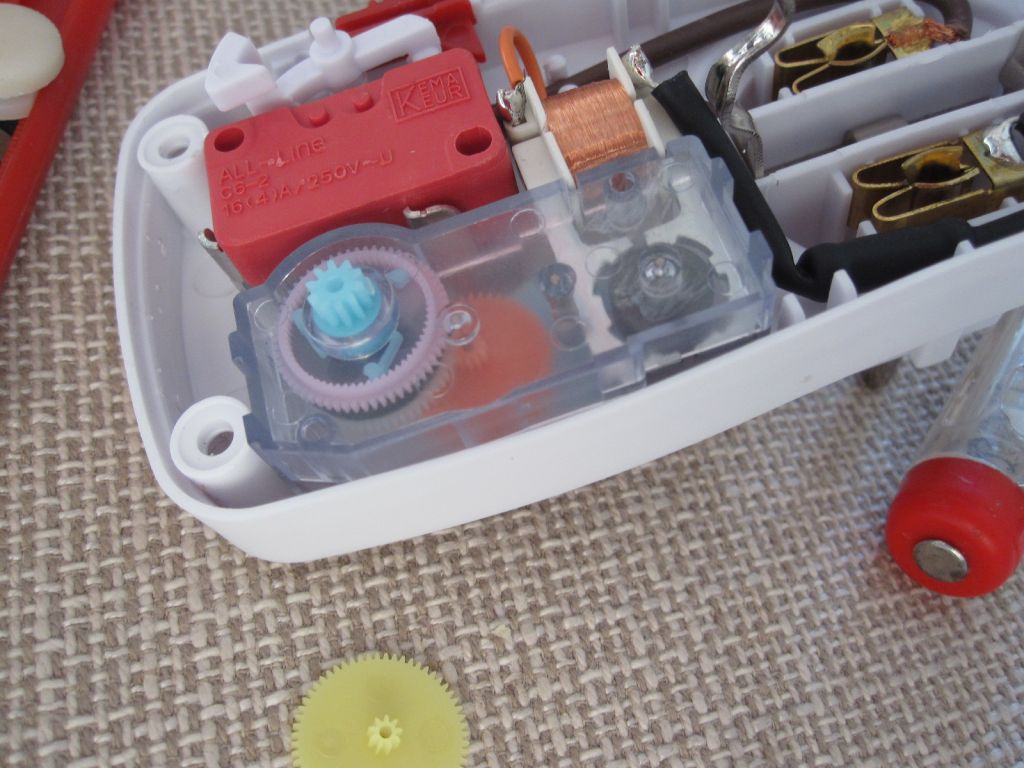
Click the lid back onto the box.
This is sometimes a bit of a hassle because the metal part at the coil has to be put in place again.
This part is partially clamped between the two halves of the plastic box.
The axles must also fall into the openings in the lid of the box.
But actually it goes pretty smoothly if you are not too hurried.
Then place the box back in the housing of the timer.
Before you close the timer, you have to pay attention to whether a little handle is also in place. And also make sure that the slide switch which is actually just loosely clamped between the 2 halves of the time switch, is also in place
I have tried to show it as clearly as possible, with hopefully usable photos.
The words will probably not always correct, but I hope it will be clear anyway.
Of course every timer will look a bit different on the inside, but the principle stays the same.
This is a European timer, but US, Canadian or Australian are almost the same.
how would a microgrow syystem liek this one be built could it be done with seeds and not clones as well ??
roots can be cut, they grow back
yes, you start the seeds inside of a paper towel inside of a netpot covered with a collar and wait until the taproot is long enough to stick out of the bottom of the neoprene collar, then pick it up with tweezers gently where the taproot has begun to change color near the seed husk and gingerly place it into the center of the collar ensuring you do not pinch it. easy mediumless seed starting for small batches. larger batches this requires a lot of labor and you should consider some other way.
Could one use a series of the 36 site cloners to run a perpetual SOG? Would be cool to slot 36 cuttings into the cloner and flower them asap, leaving them in the same unit through harvest
Precisely. Do a SOG in thenstinkbud clonerI don't get your question....
You want to put clones it the cloner, leave them there all the time, untill they are ready to harvest?