subcool
Well-Known Member
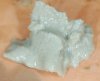
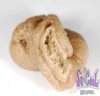
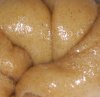
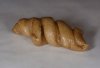
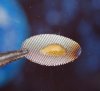
Water Hash or Bubble as its known as by almost any grower is one of the real rare pleasures of the hobby. When made properly from 100% Organic high grade Cannabis the results are simply amazing.
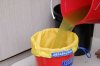
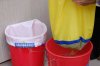
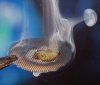
I have a unique method that produces amazing quality Bubble that requires little more than a small set of Bubble Bags and a steel spoon and a few tall one gallon buckets.
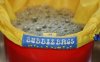
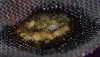
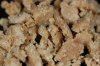
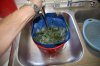
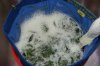
We take the 1 gallon bags and add a layer of ice thats been crushed using a hammer handle to produce lots of sharp angles.
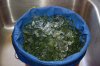
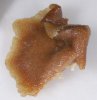
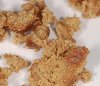
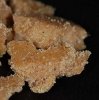
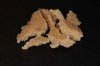
Then we add about 3 of sugar leaf, meaning encrusted waste only no fans or crap and use fresh wet frozen weed! A big part of the quality is how you collect and process your trim. A good trick is to allow your trim to set out over night before freezing loosely in freezer bags.
Then we add about 3 of sugar leaf, meaning encrusted waste only no fans or crap and use fresh wet frozen weed! A big part of the quality is how you collect and process your trim. A good trick is to allow your trim to set out over night before freezing loosely in freezer bags.
Attachments
-
 Rainbowbubble11.jpg45.7 KB · Views: 359
 -
 bagoleaf.jpg62.7 KB · Views: 317
 -
 bucketready.jpg84.6 KB · Views: 299
 -
 bucketready2.jpg75.7 KB · Views: 255
 -
 bucketready6.jpg66.9 KB · Views: 218
 -
 bucketready5.jpg70.1 KB · Views: 204
 -
 bucketready4.jpg68.2 KB · Views: 220
 -
 bucketready3.jpg69.9 KB · Views: 243
 -
 bucketready7.jpg72.4 KB · Views: 208
 -
 bucketready8.jpg70 KB · Views: 206
 -
 bucketready9.jpg77.3 KB · Views: 194
 -
 bucketready10.jpg82.6 KB · Views: 250