First Grow & New Grow Room

Yeah I was busy tonight but will probably transplant tomorrow. Wanted to give the soil guys a good watering after the 3 day dryout before trying to move em. They will be going into a homemade 30 gallon bubble bucket. I will post pics as I build.
 
Looks good Buddha, I am considering doing something similar for my next grow. Did you make that bubbleponics or hyrdo set-up yourself? You can buy all that stuff for cheap at home depot to make it happen. How does it water? Is it's like a mist spay or drip?
 
I bought a unit because I wanted to see this guys lines and plumbing work up-close. One problem is the droppers get clogged and stop working. I have a 60 gallon aquarium air pump and two air stones - long ones. It works well as a bubble bucket... I wanted the dropper for new sprouts or clones so I wouldn't have to worry about the height of the water and the bubbles hitting the right spot.
 
So I changed out my nutrients tonight and took them up to 800ppm. I also switched around the setup in my room to focus more on my hydro unit. From the plants being so close they are growing crazy directions. Tomorrow I am going to try to LST them outwards a bit so they aren't crowded. I have been neglecting the soil guys and they are looking pretty bad. A friend is going to be taking them from me soon so tomorrow I am going to transplant them. I also added some reflective wrapping paper. Let me know how they look :-)

Picture001-5.jpg

Picture002-6.jpg

Picture003-5.jpg

Picture004-6.jpg

Picture005-4.jpg

Picture006-3.jpg

Picture008-2.jpg
 
Looks awesome. Will you at some point move the plants in your hydro setup to bigger cups or do they stay in those throughougt their entire lifetime? I'm still very new to all of this and slightly confused on hydro growing...
 
They are 3 inch net pots and I'm going to use them through the whole grow. The roots grow right through into the solution and I am not growing such a big plant that the root will get 3 inches.
 
I replaced the ropes holding my light up with some pulleys so I can raise and lower it. Lowered it to about 16" and the plants are loving it! Also, the soil plants have made a great recovery!

1-8.jpg

1-3.jpg

1-1.jpg

1-2.jpg

1-7.jpg
 
Well I got motivated and made a carbon scrubber to combat the smell! The design I followed was DIY Carbon Scrubber and it was very easy! Took me about 30 minutes and it's too early to tell but I think it will work well. I could feel airflow coming out of the carbon.
I also have some bad looking spots on a few leaves. It does not seem to be affecting the new growth so I am not sure if it something I did previously or if the problem is starting there. I have not been paying close enough attention to those plants so I am not sure if it has been there for a while. Do you think this is nute burn or something else?

Picture003-6.jpg

Picture004-7.jpg

Picture019.jpg

Picture006-4.jpg

Picture005-5.jpg

Picture002-7.jpg

Picture007-3.jpg

Picture008-3.jpg

Picture010-1.jpg

Picture011.jpg

The problem is not affecting the other plants.
Picture013.jpg

Picture016.jpg

Picture017.jpg

Picture018.jpg


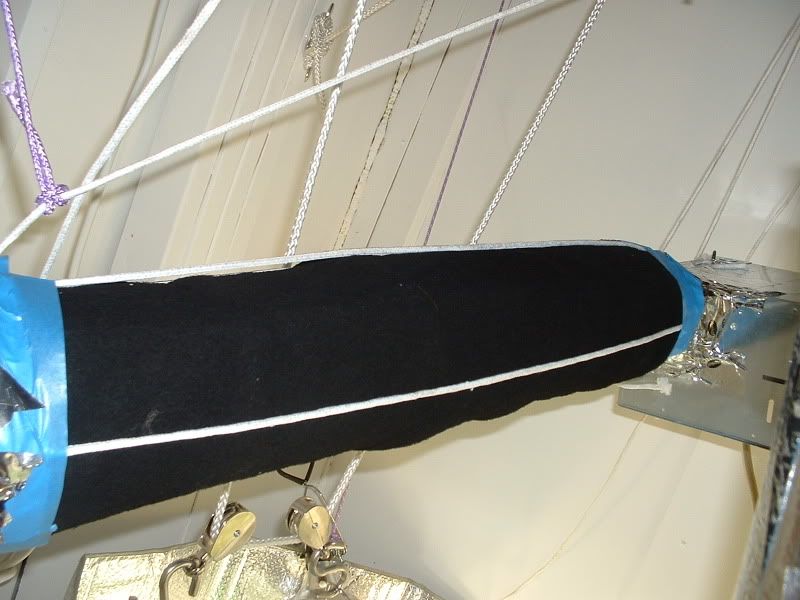
And this is the fan that blows across the plants when the lights are on. There are holes drilled in the wall section up to draw fresh air in from holes drilled at the bottom on the outer wall section. It prevents light from passing through and helps draw cooler air up from the floor outside.
Picture001-6.jpg
 
Umm That is good looking but this is my grow journal... think you can delete this plz? You should start your own grow journal!
 
Well more growth! I never thought this area would be that overgrown. I am going to need to add a ton more CFLs if I get more than half females. Think it's about time for flower?
Picture039-1.jpg

Picture040-1.jpg

Picture041-1.jpg

Soil guys just hanging tight for a few more days.
Picture042-1.jpg

Check out this last leaf... what the hell happened there?!
Picture043-1.jpg
 
very impressive! Where did u get that germ sation at? Cant wait to see what ur end result is gonna be
 
So it looks like I am having some sort of issue - I added epsom salts which will hopefully resolve it. Going to flip to flower this week just didn't have time yet. Going to have to LST them somewhat to get good coverage. 12 plants all in there somewhere....

Picture009-1.jpg

Picture010-2.jpg

Picture011-1.jpg
 
Well I swapped out the res with the flowering formula for Lucas and am going to switch to 12/12 in a few days. I had a bad accident when I was adjusting the setup. One of the CFLs fell and split the biggest plant right at the base of the stem.... right down the middle! I wrapped the stem back together using metal foil tape and will have to hope for the best! That is why I am going to give it a little bit before switching the light schedule. Not too long just a few days to see how the big one is doing. SUCKS!!!!! That's what happens when it's late and you are baked. So anyway I have pictures but the plants don't look that great because they are fresh from the swap and the mesh pots got jostled around so they are all leaning. They should pick back up by tomorrow.

Picture013-1.jpg

Picture014.jpg

Picture015-1.jpg

Picture016-1.jpg
 
So everyone it's been a few days since the last update. I had a few issues with my nutes and ppm and burned the plants pretty good. This has since been corrected and the plants are recovering. Had to put my flowering on hold until this is straightened out. Also rearranged the setup some to allow for more room for the plants. Lighting has increased as well. I currently have:
400W MH
8 40W CFLs assorted between veg and flower
2 4ft 40W floro tubes

The smell has gone down dramatically but I have my home-made carbon scrubber and 9 Renzuit Super Odor Killer air freshners going.

Here are some pictures of my sick babies... only some plants have been nute burned.

These pics span the last couple days...

Picture001-8.jpg

Picture002-9.jpg

Picture003-8.jpg

Picture004-9.jpg

Picture005-7.jpg

Picture006-6.jpg

Picture007-6.jpg

Picture008-6.jpg

Picture009-3.jpg

Picture010-4.jpg

Picture011-3.jpg

Picture012-2.jpg

Picture013-3.jpg

Picture014-2.jpg

Picture015-3.jpg

Picture016-3.jpg

Picture017-1.jpg

Picture018-1.jpg

Picture019-1.jpg

Picture020.jpg
 
Back
Top