Citi Powered Armoire Conversion

xX_BHMC_Xx

Well-Known Member
Hey RIU,

Lots of firsts here; first thread, first grow, and first DIY light build.

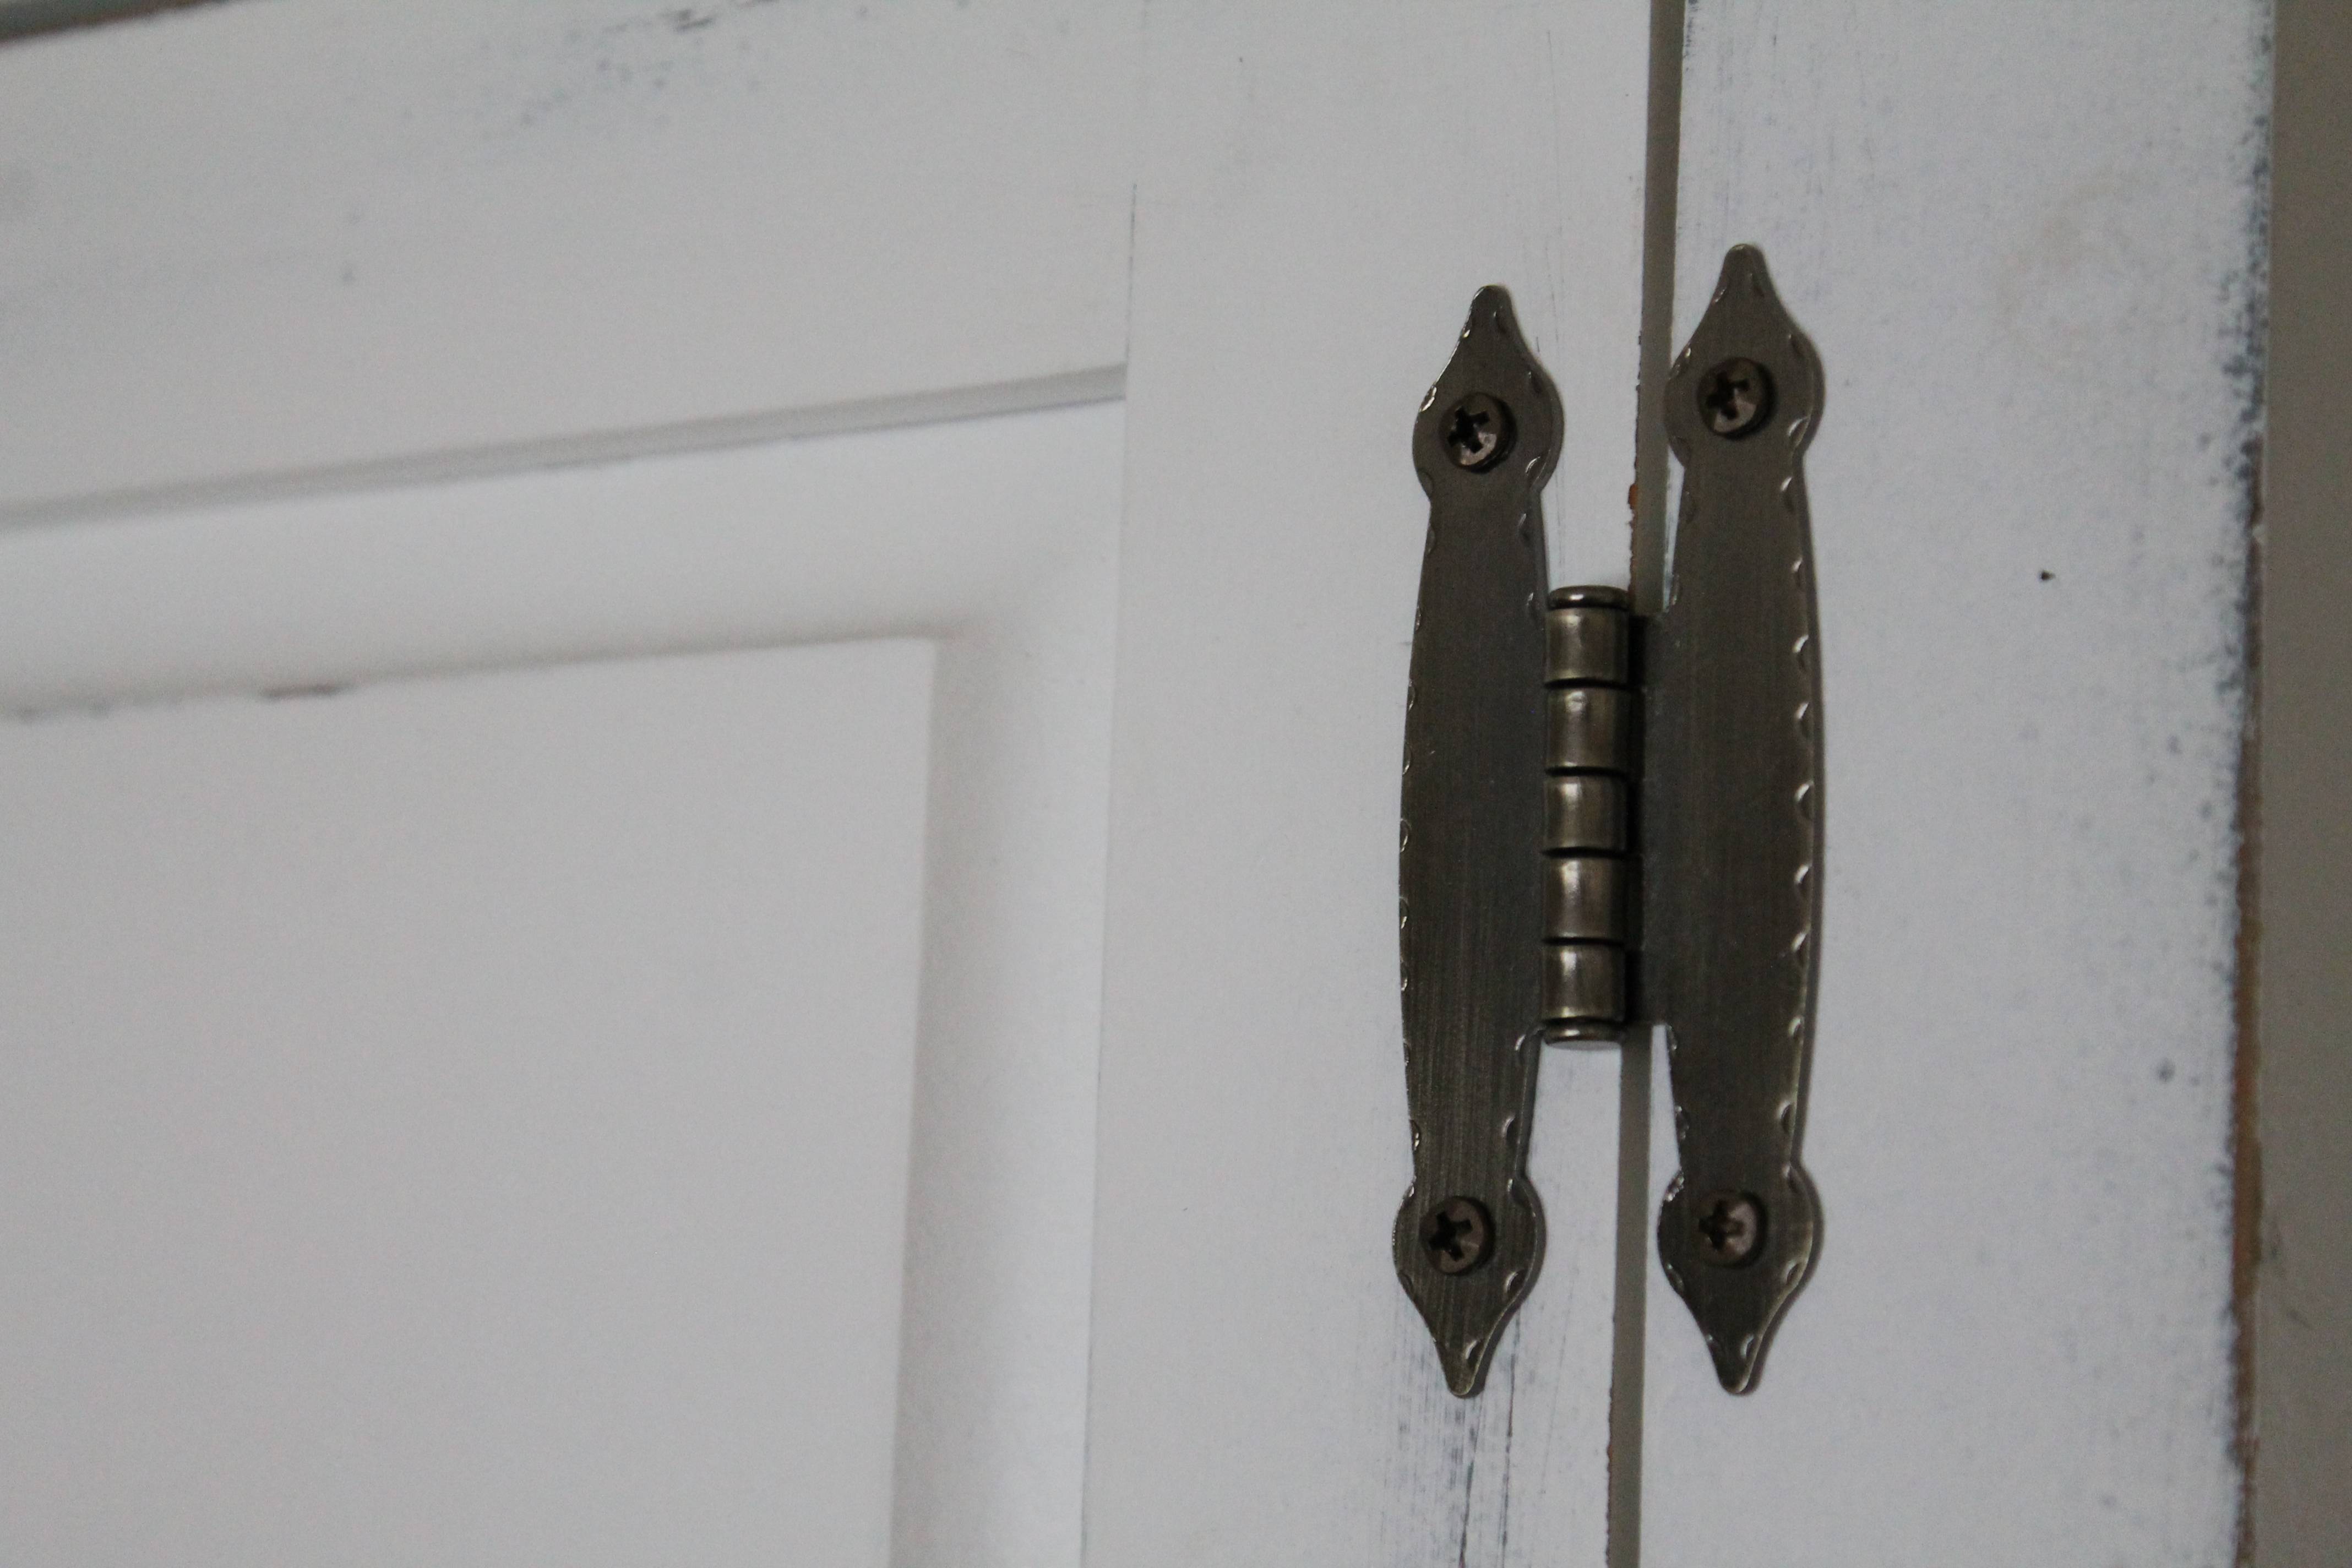
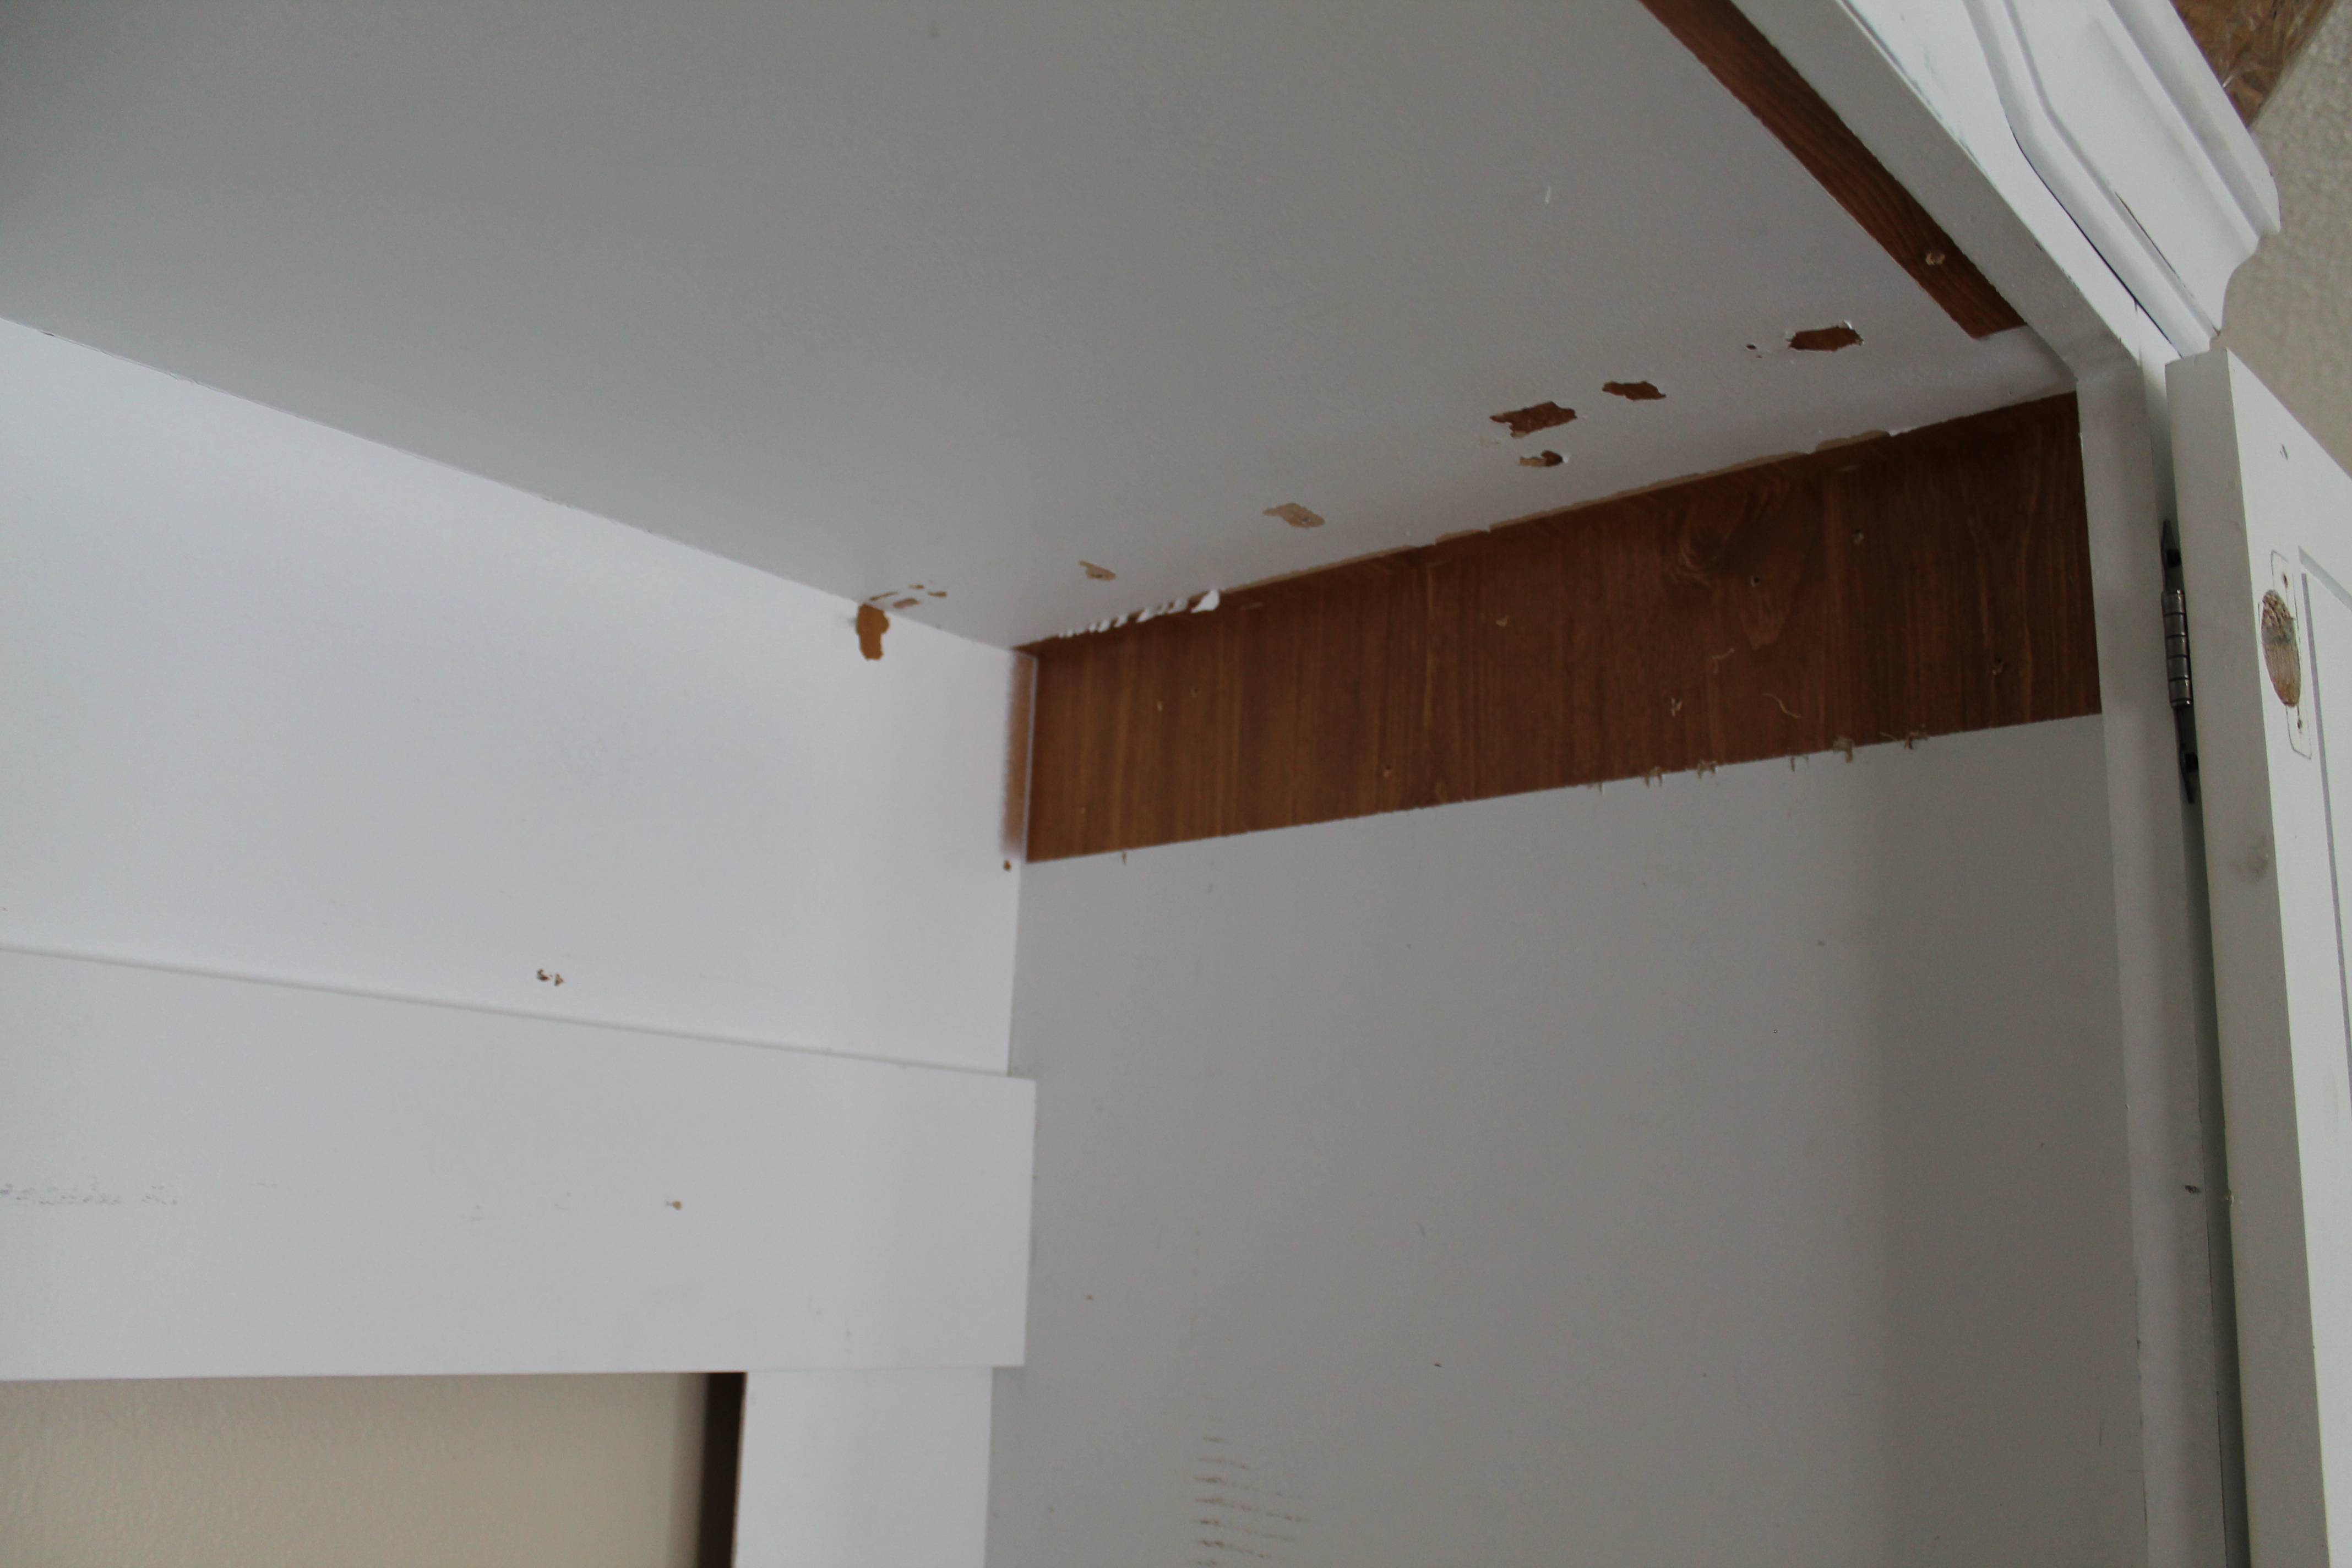
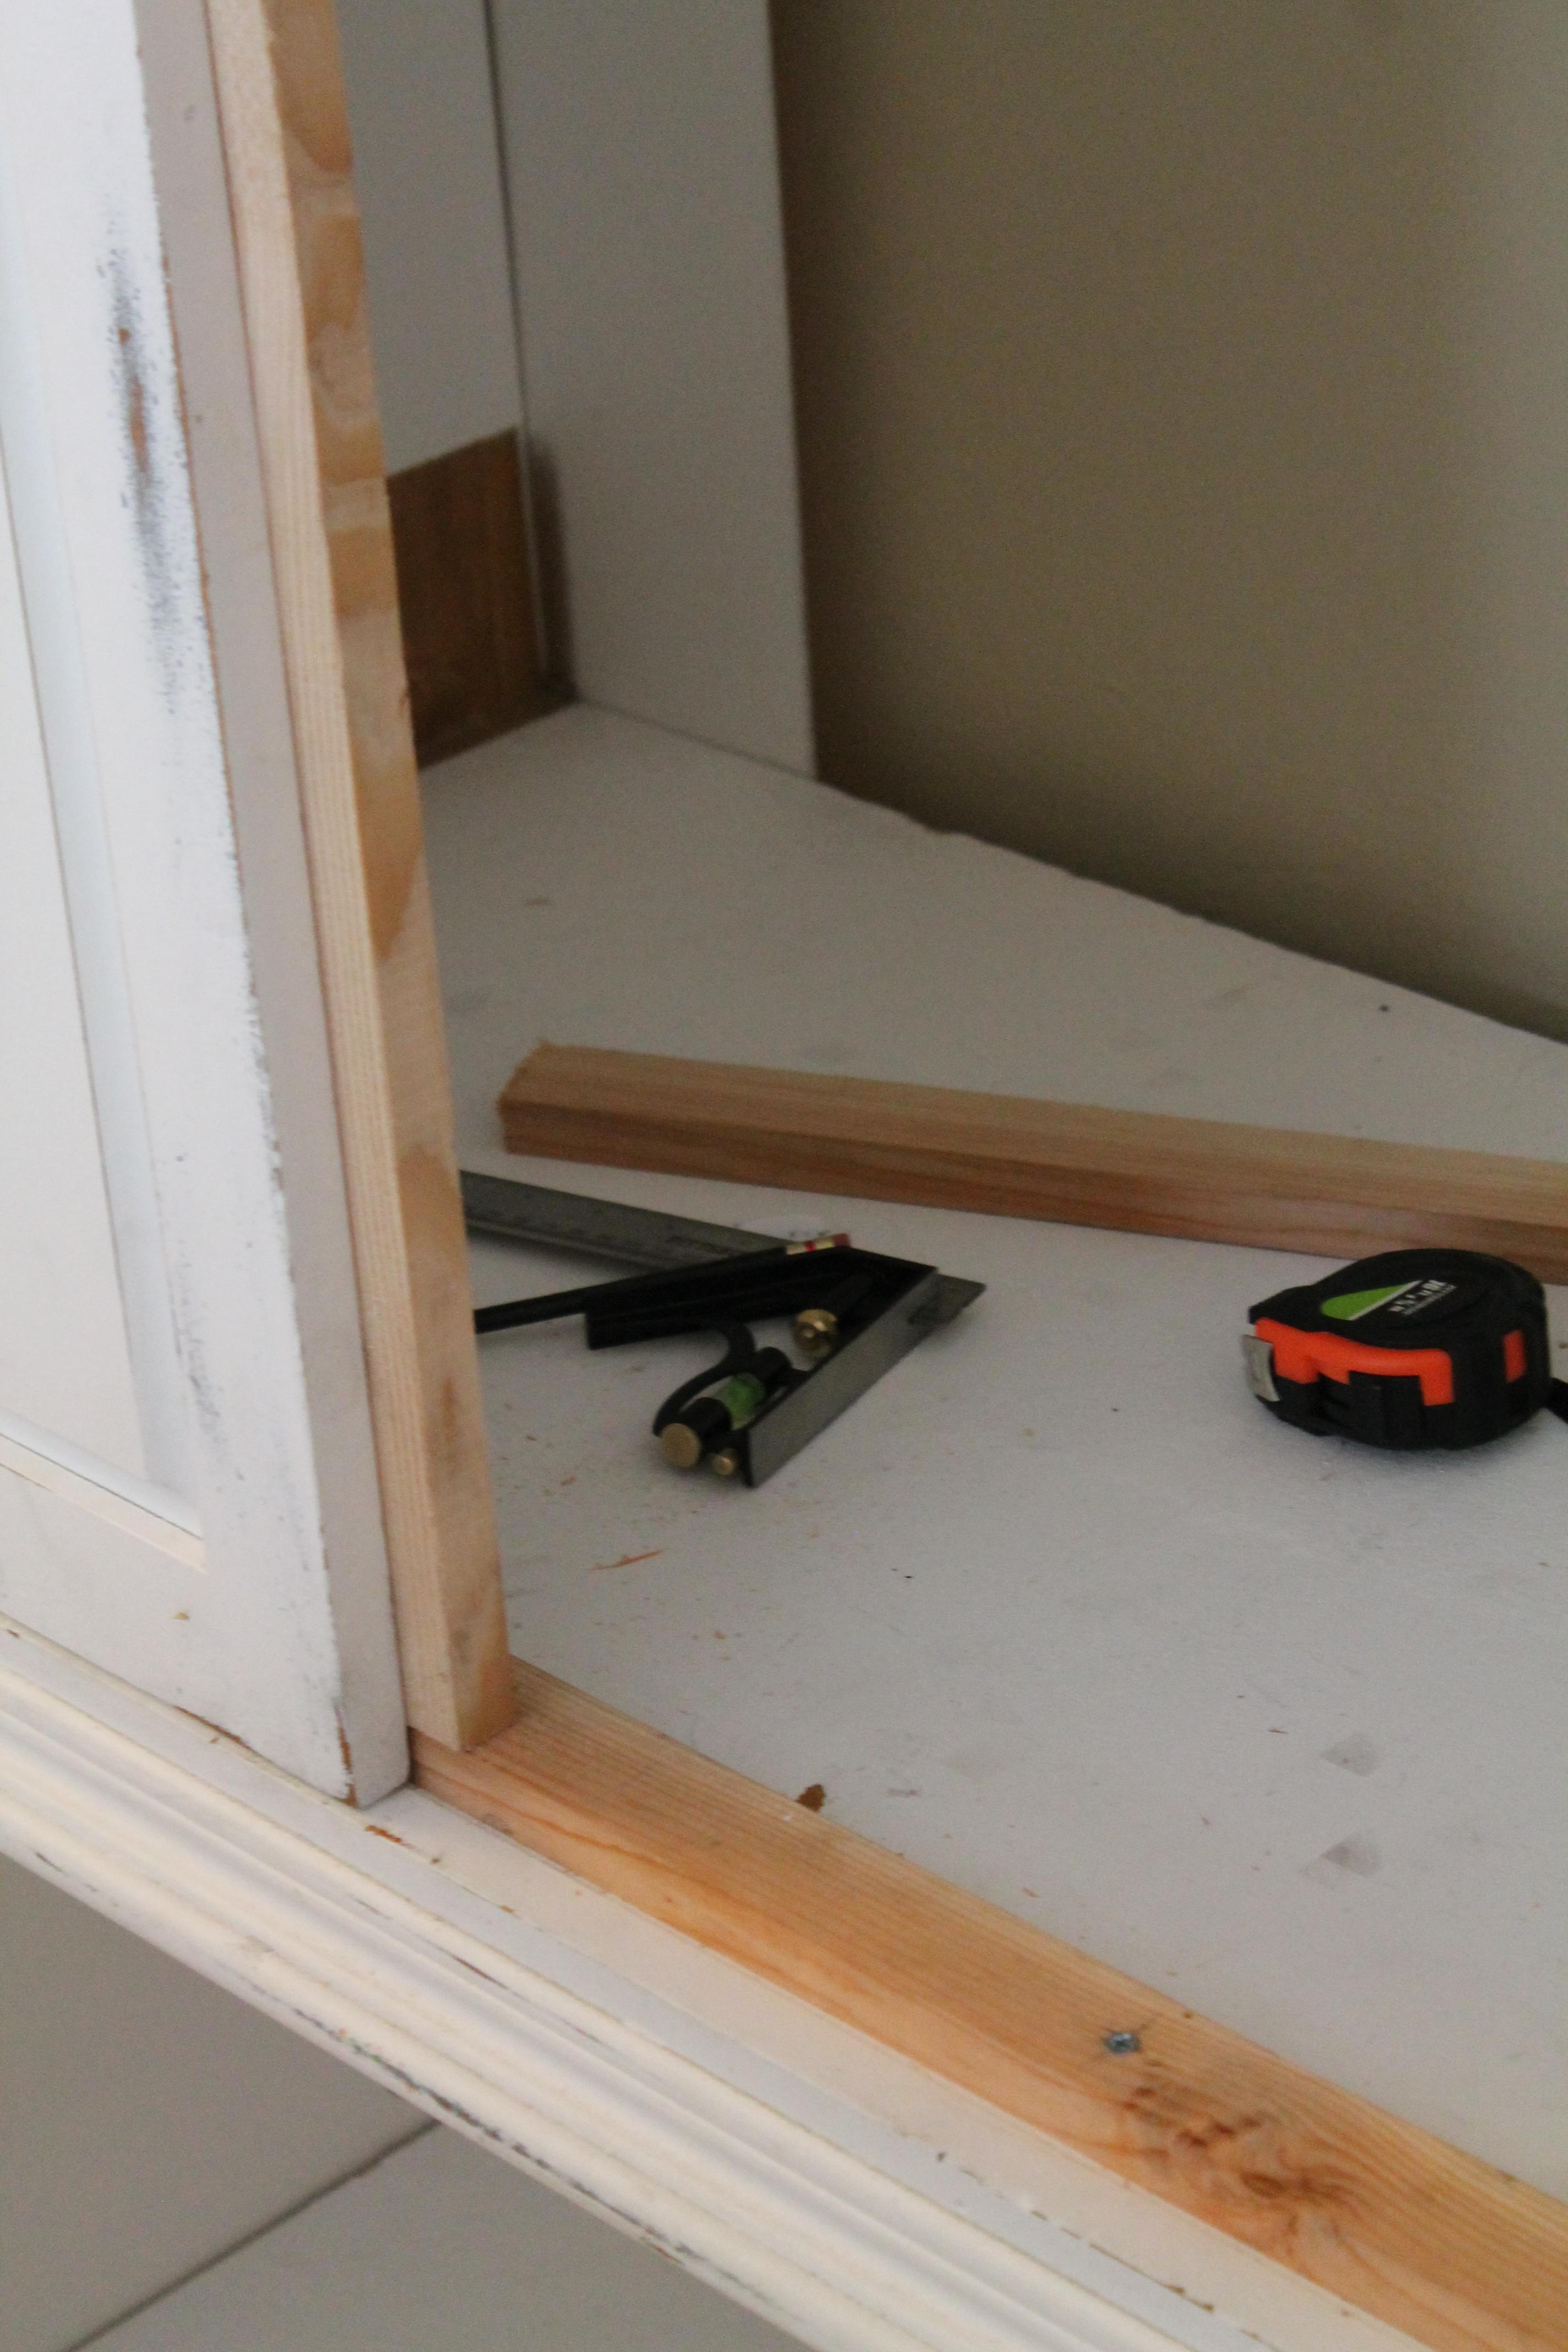
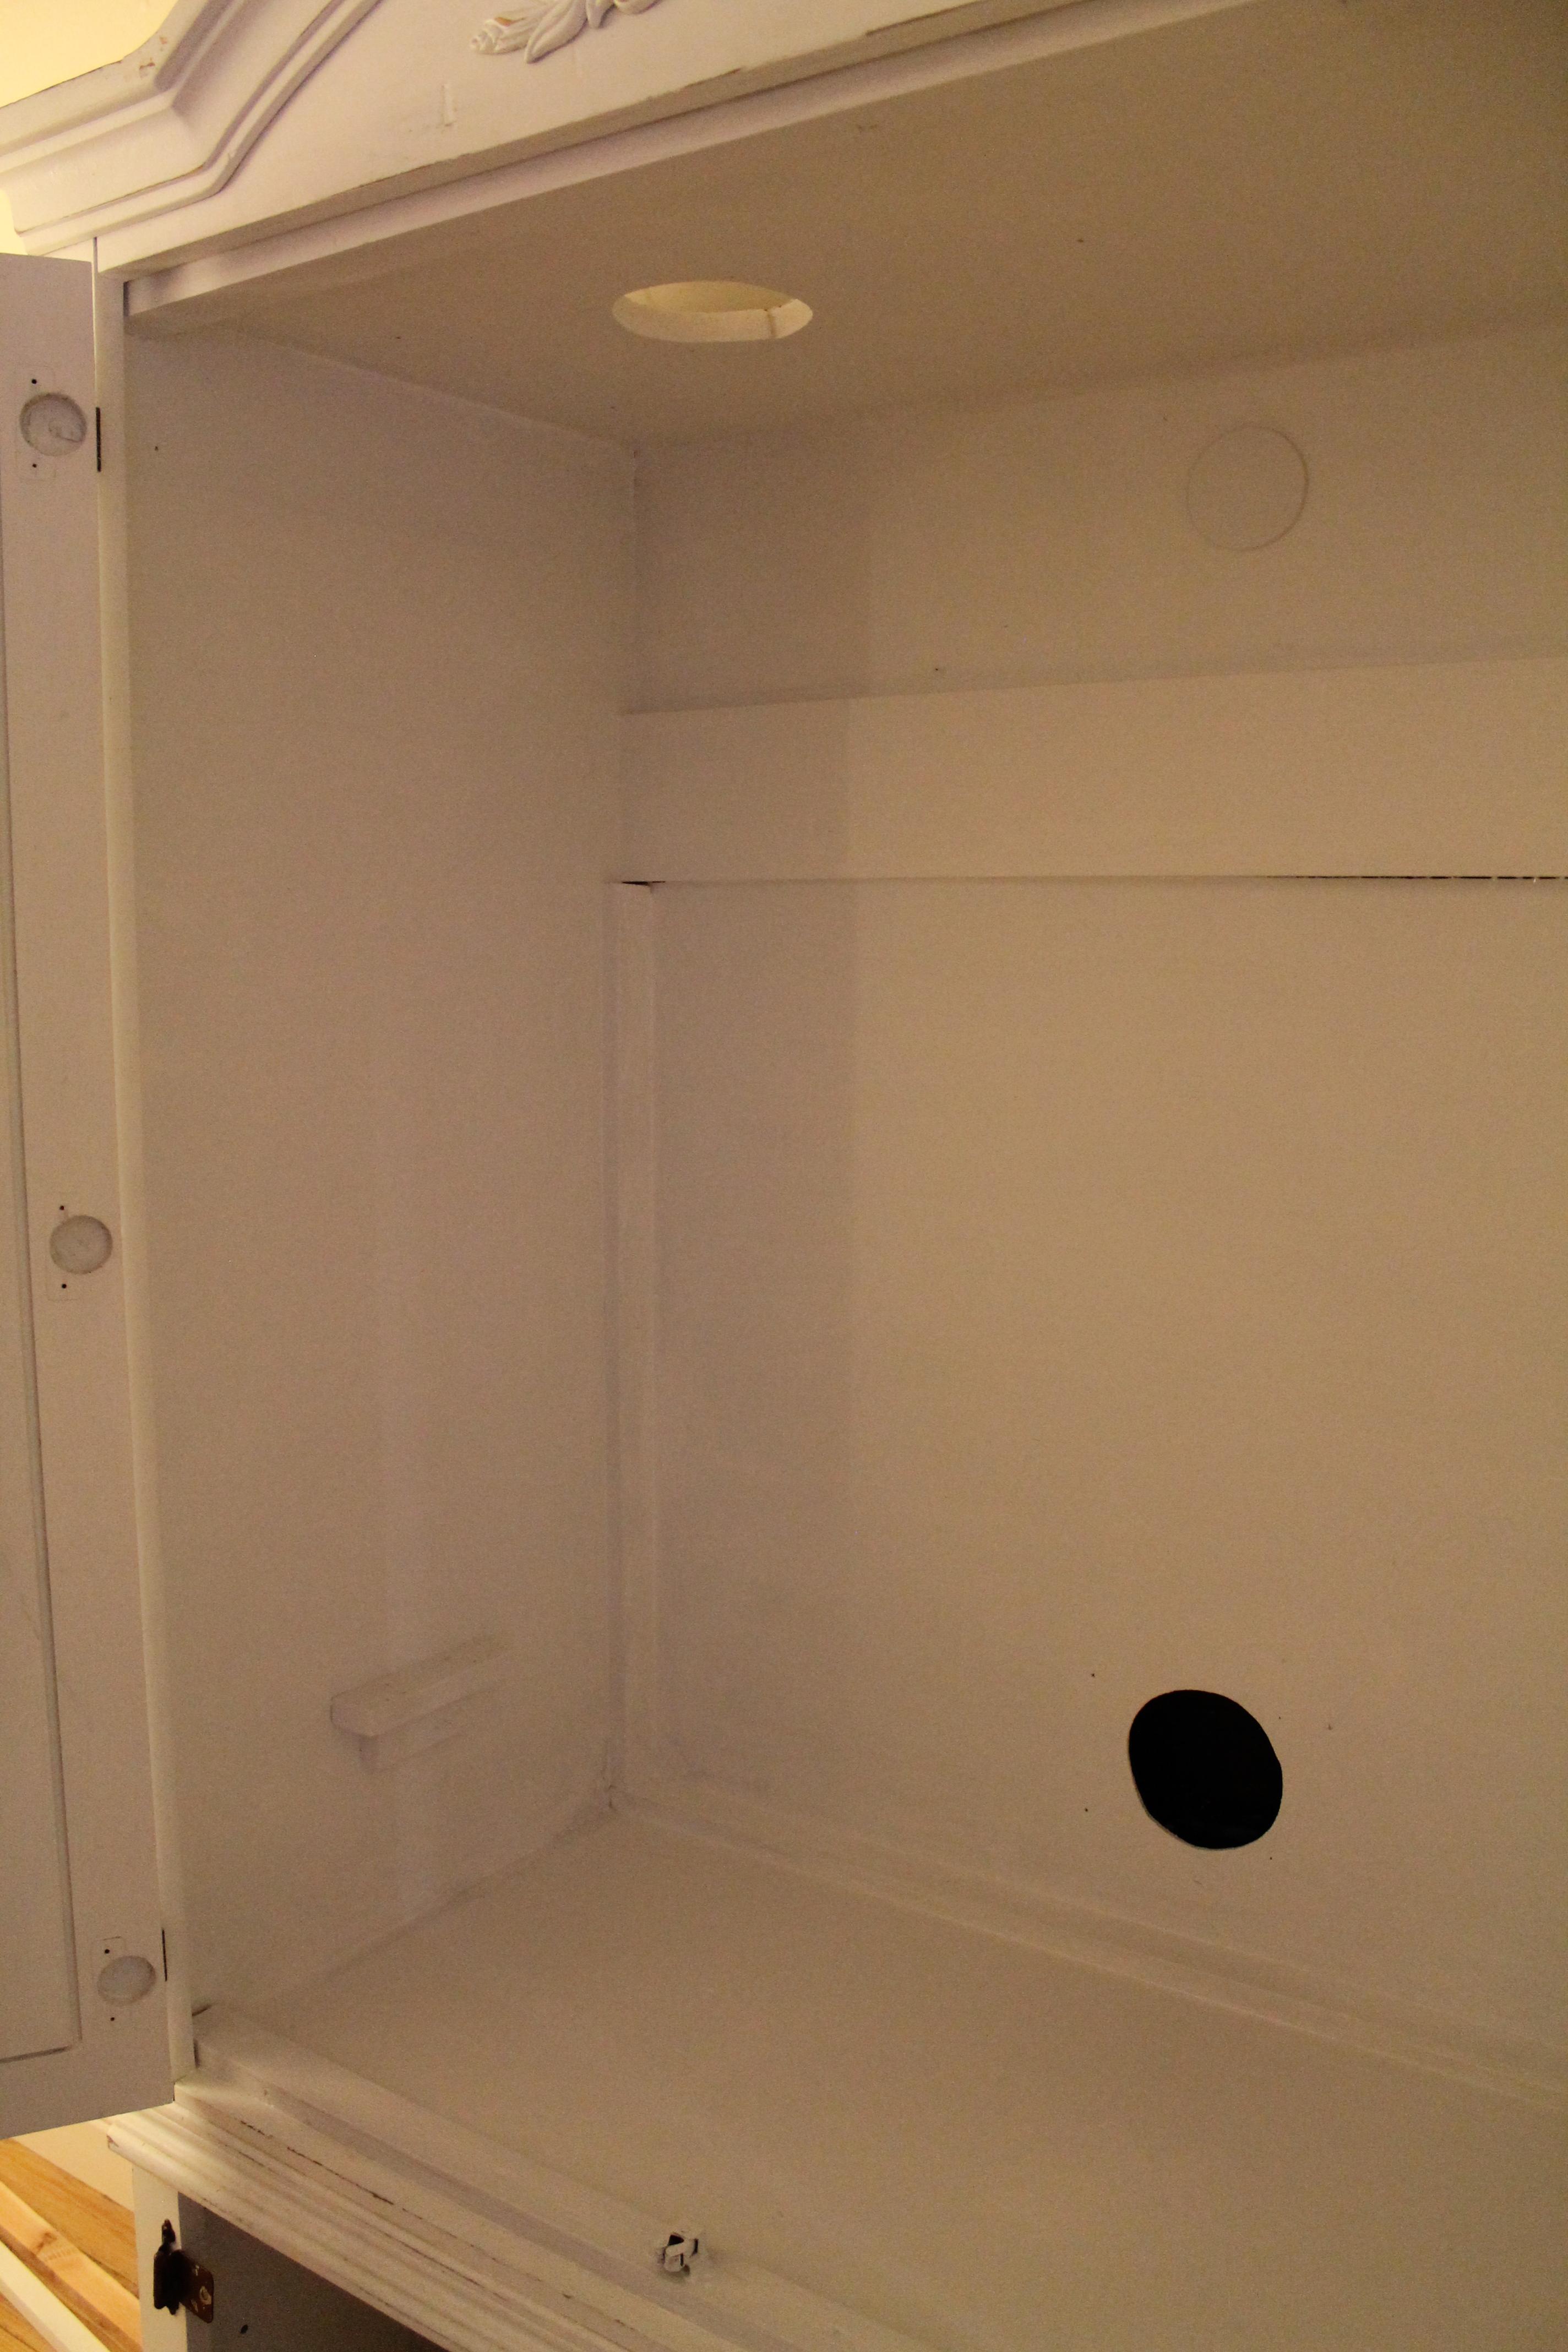
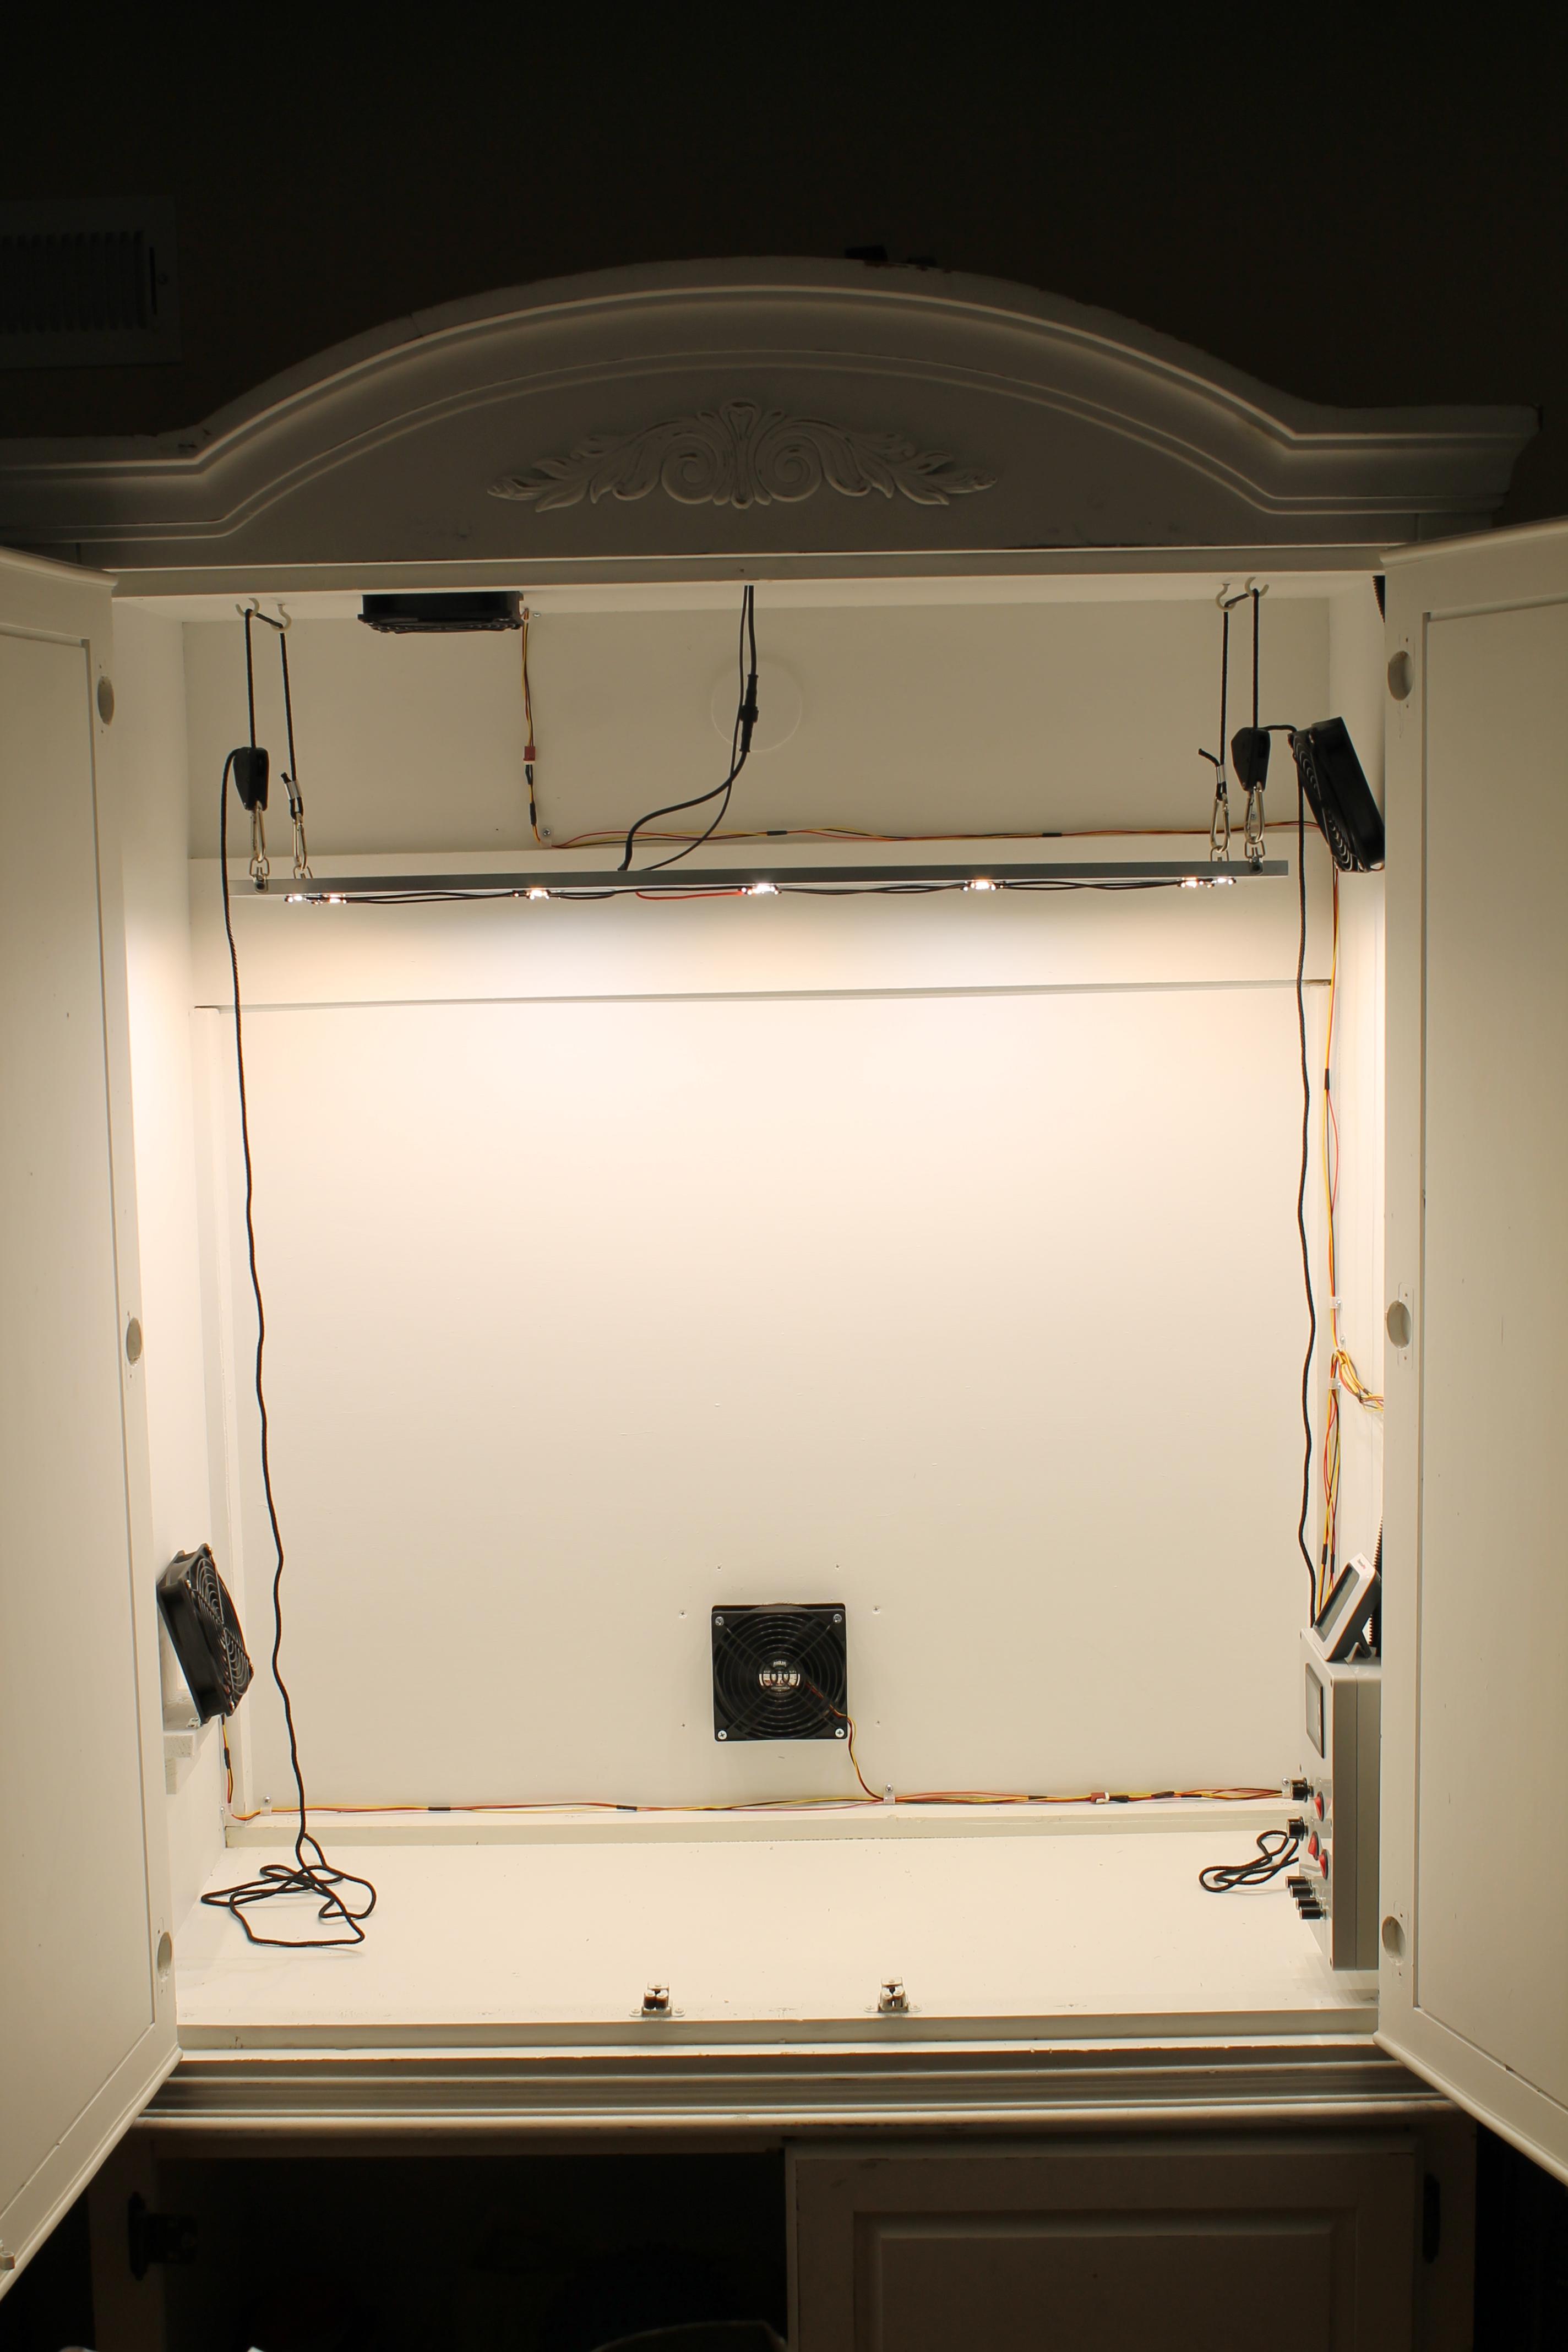
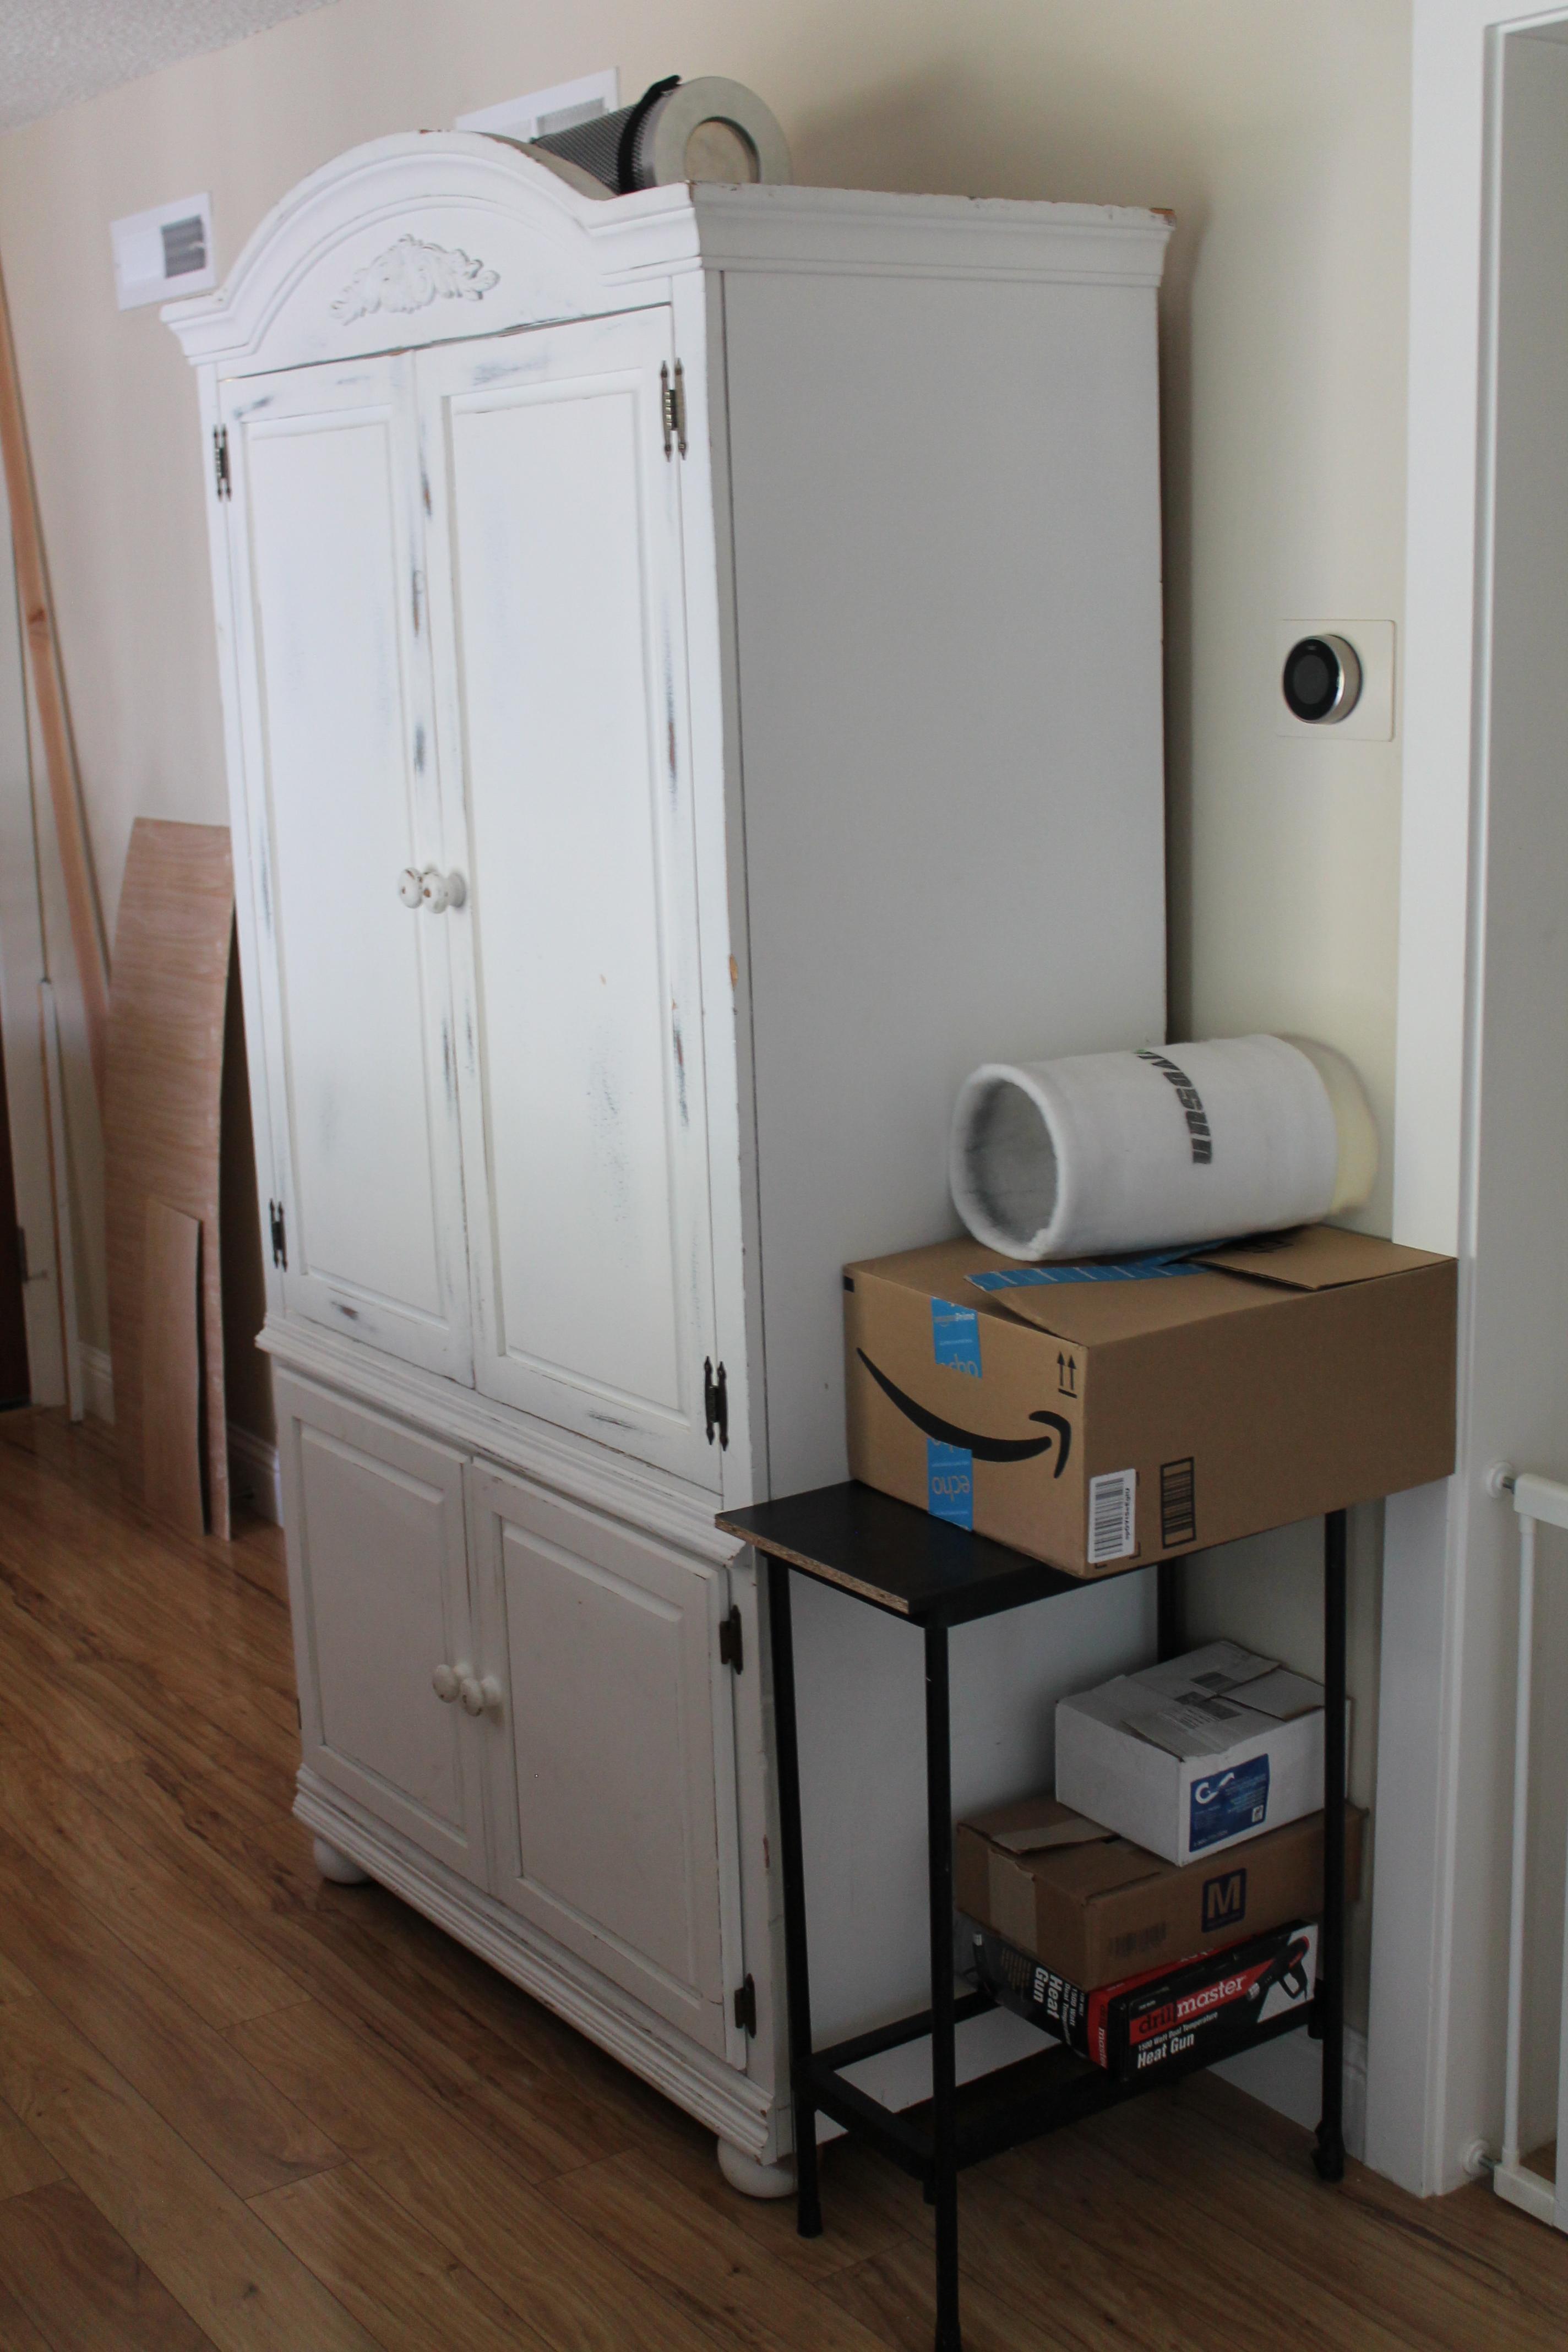
Okay, I've got a two level armoire that we never use and takes up a bunch of space, so I'm going to convert it to a nice little grow cabinet so I can learn the trade and hone my skills before dropping the cash on a full-size setup. Interior space is about 18" x 38" x 42" in the upper level, and 18" x 38" x 22" in the lower. Right now I'm planning on only using the top section, keeping the bottom for storage. Though I might expand later.

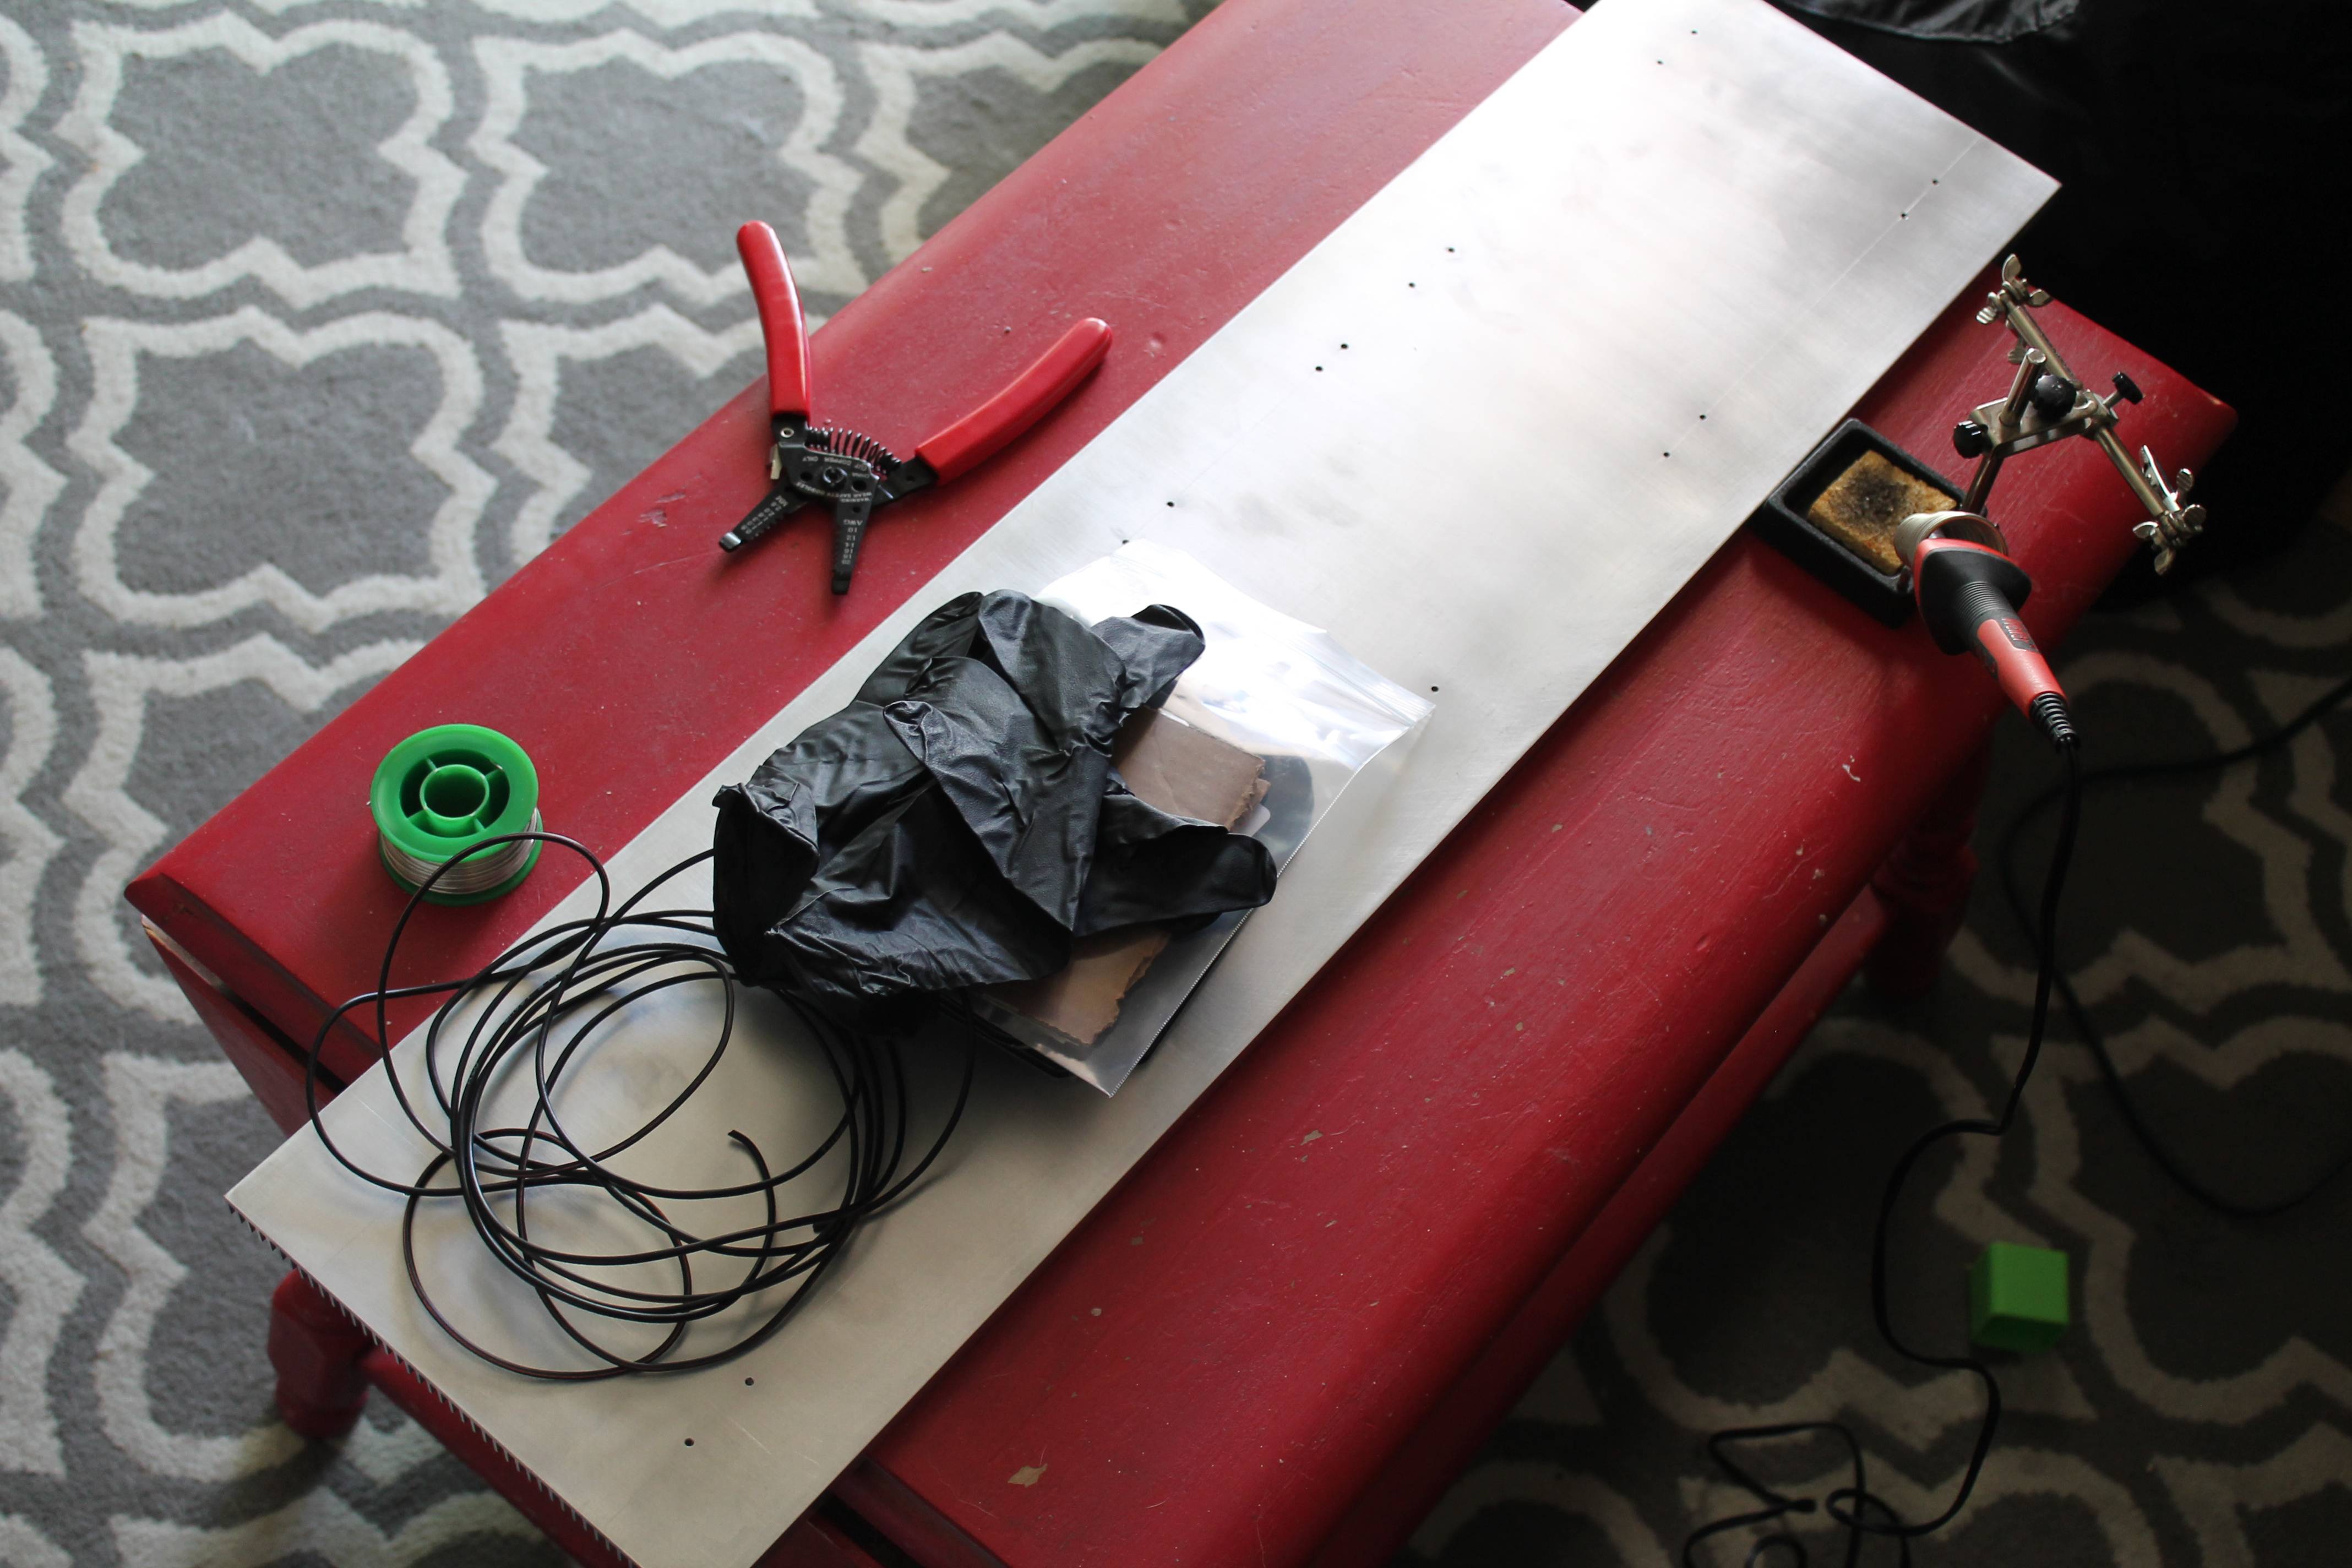
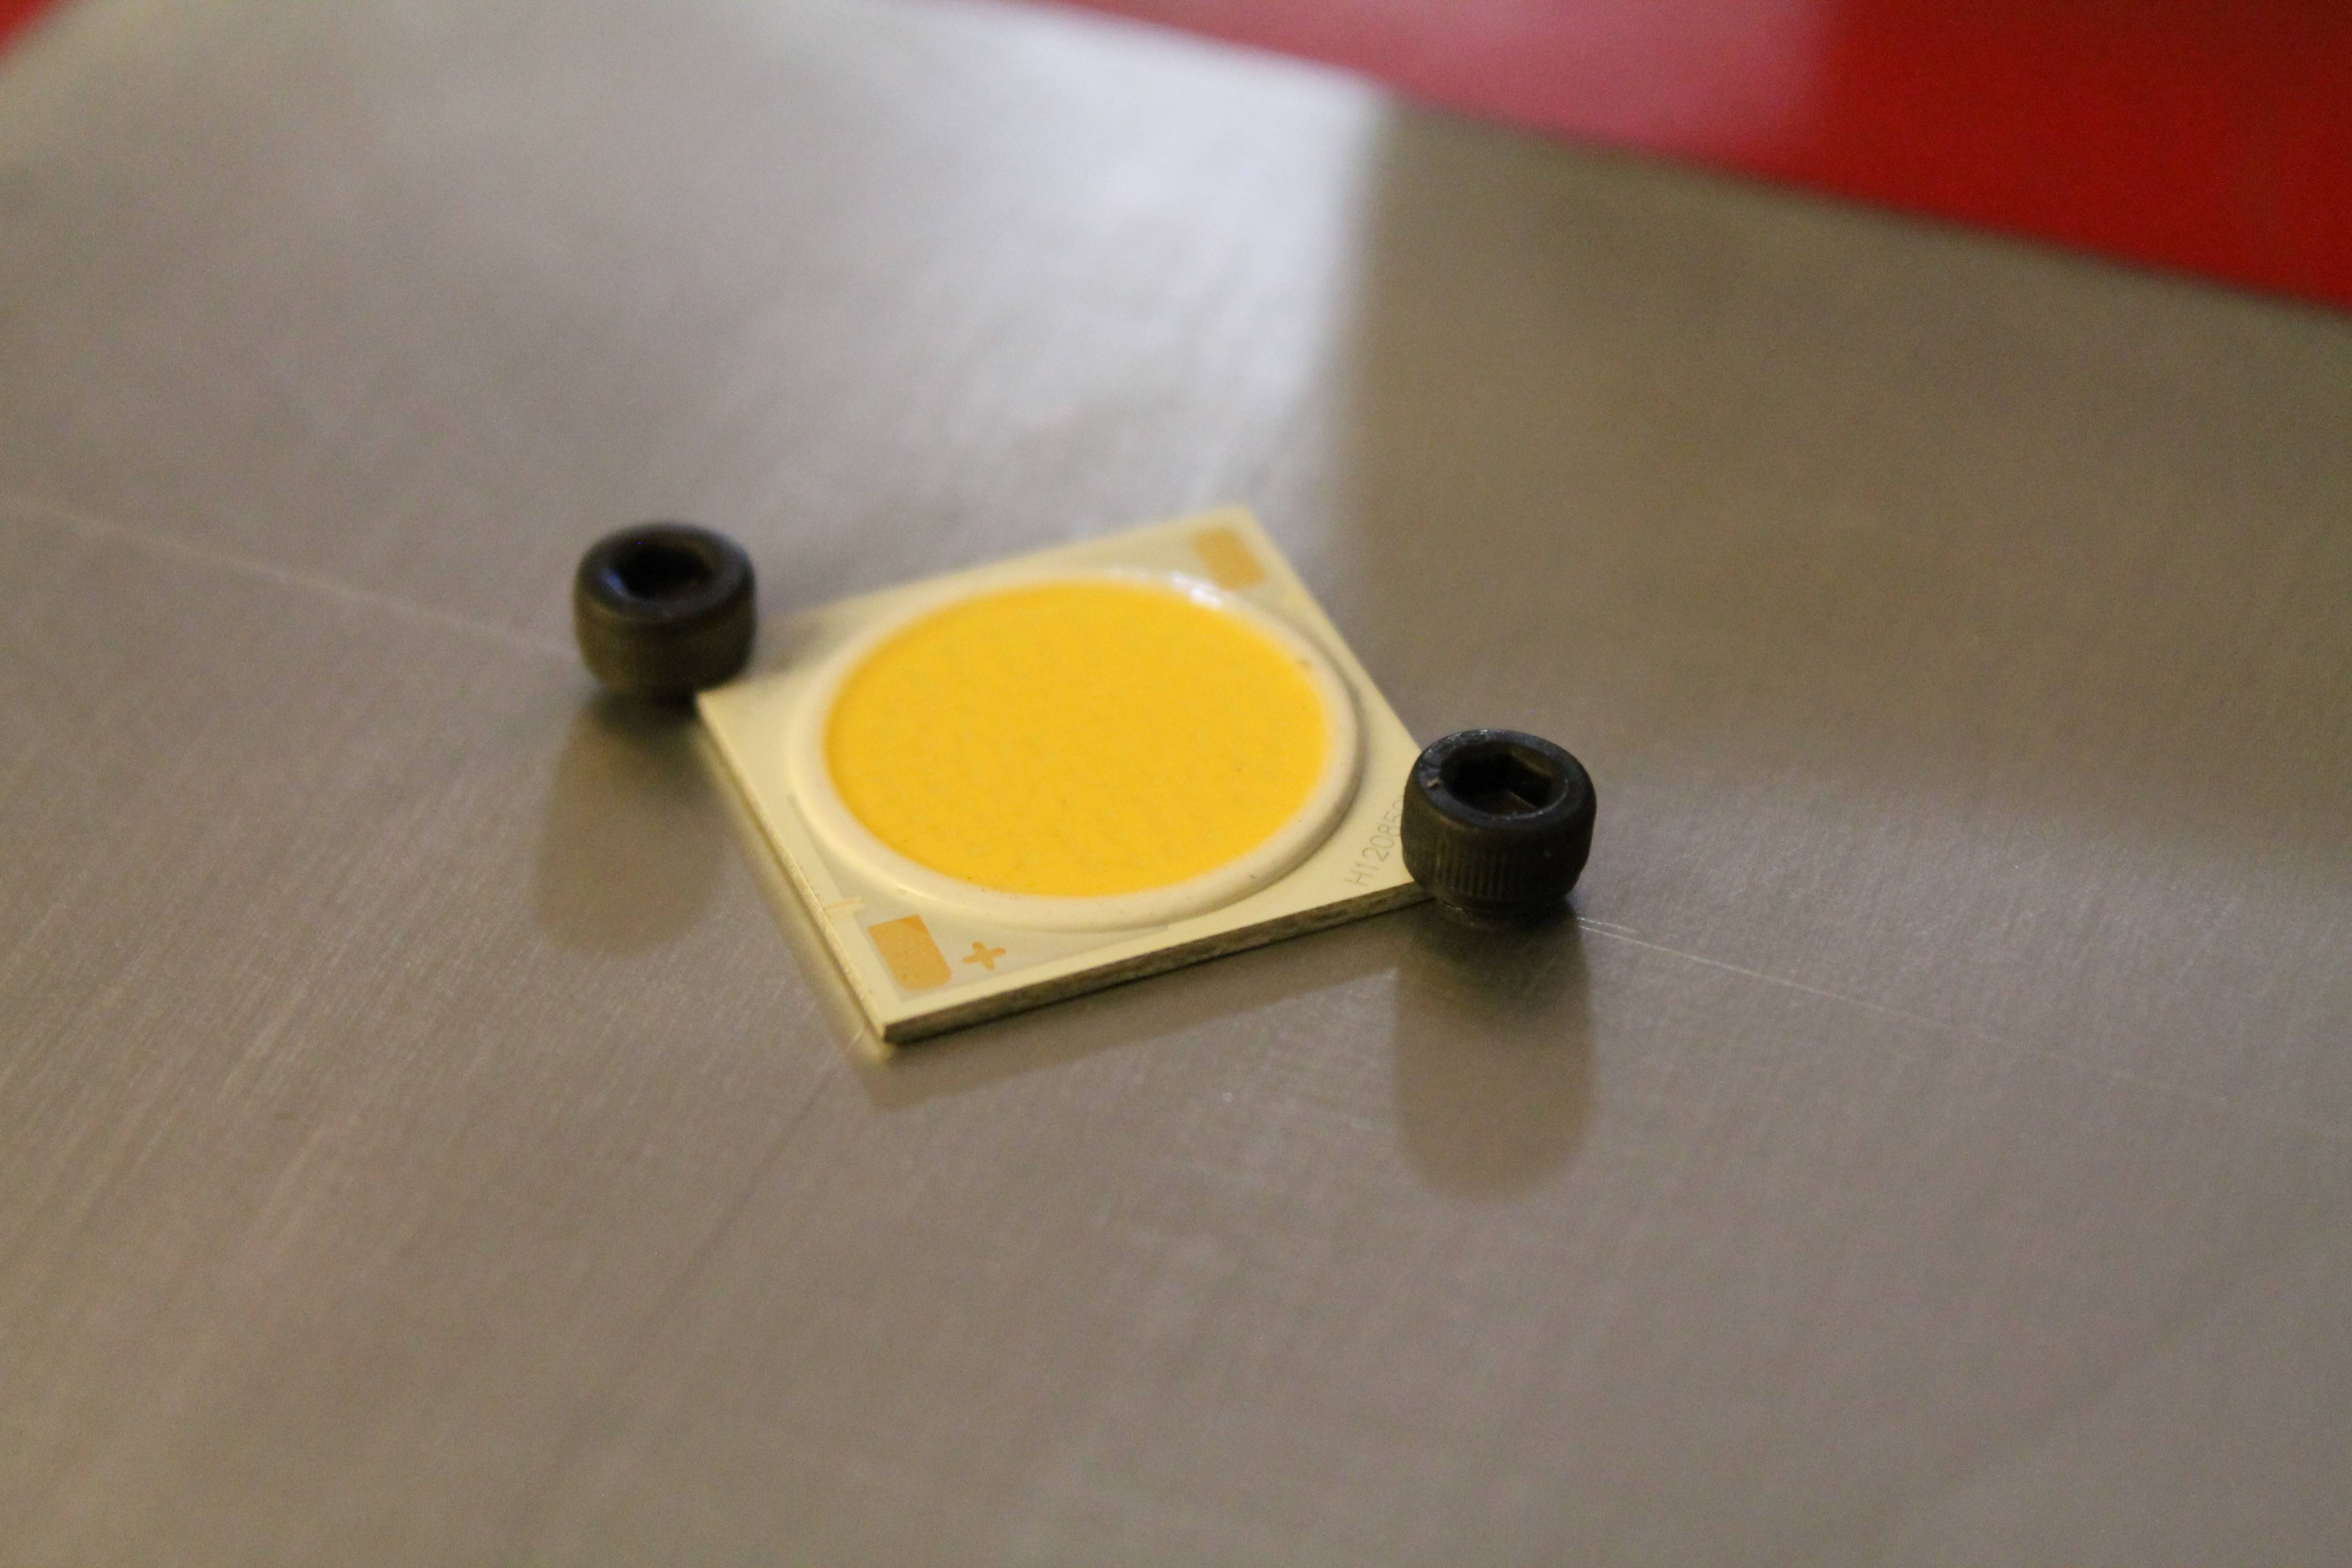
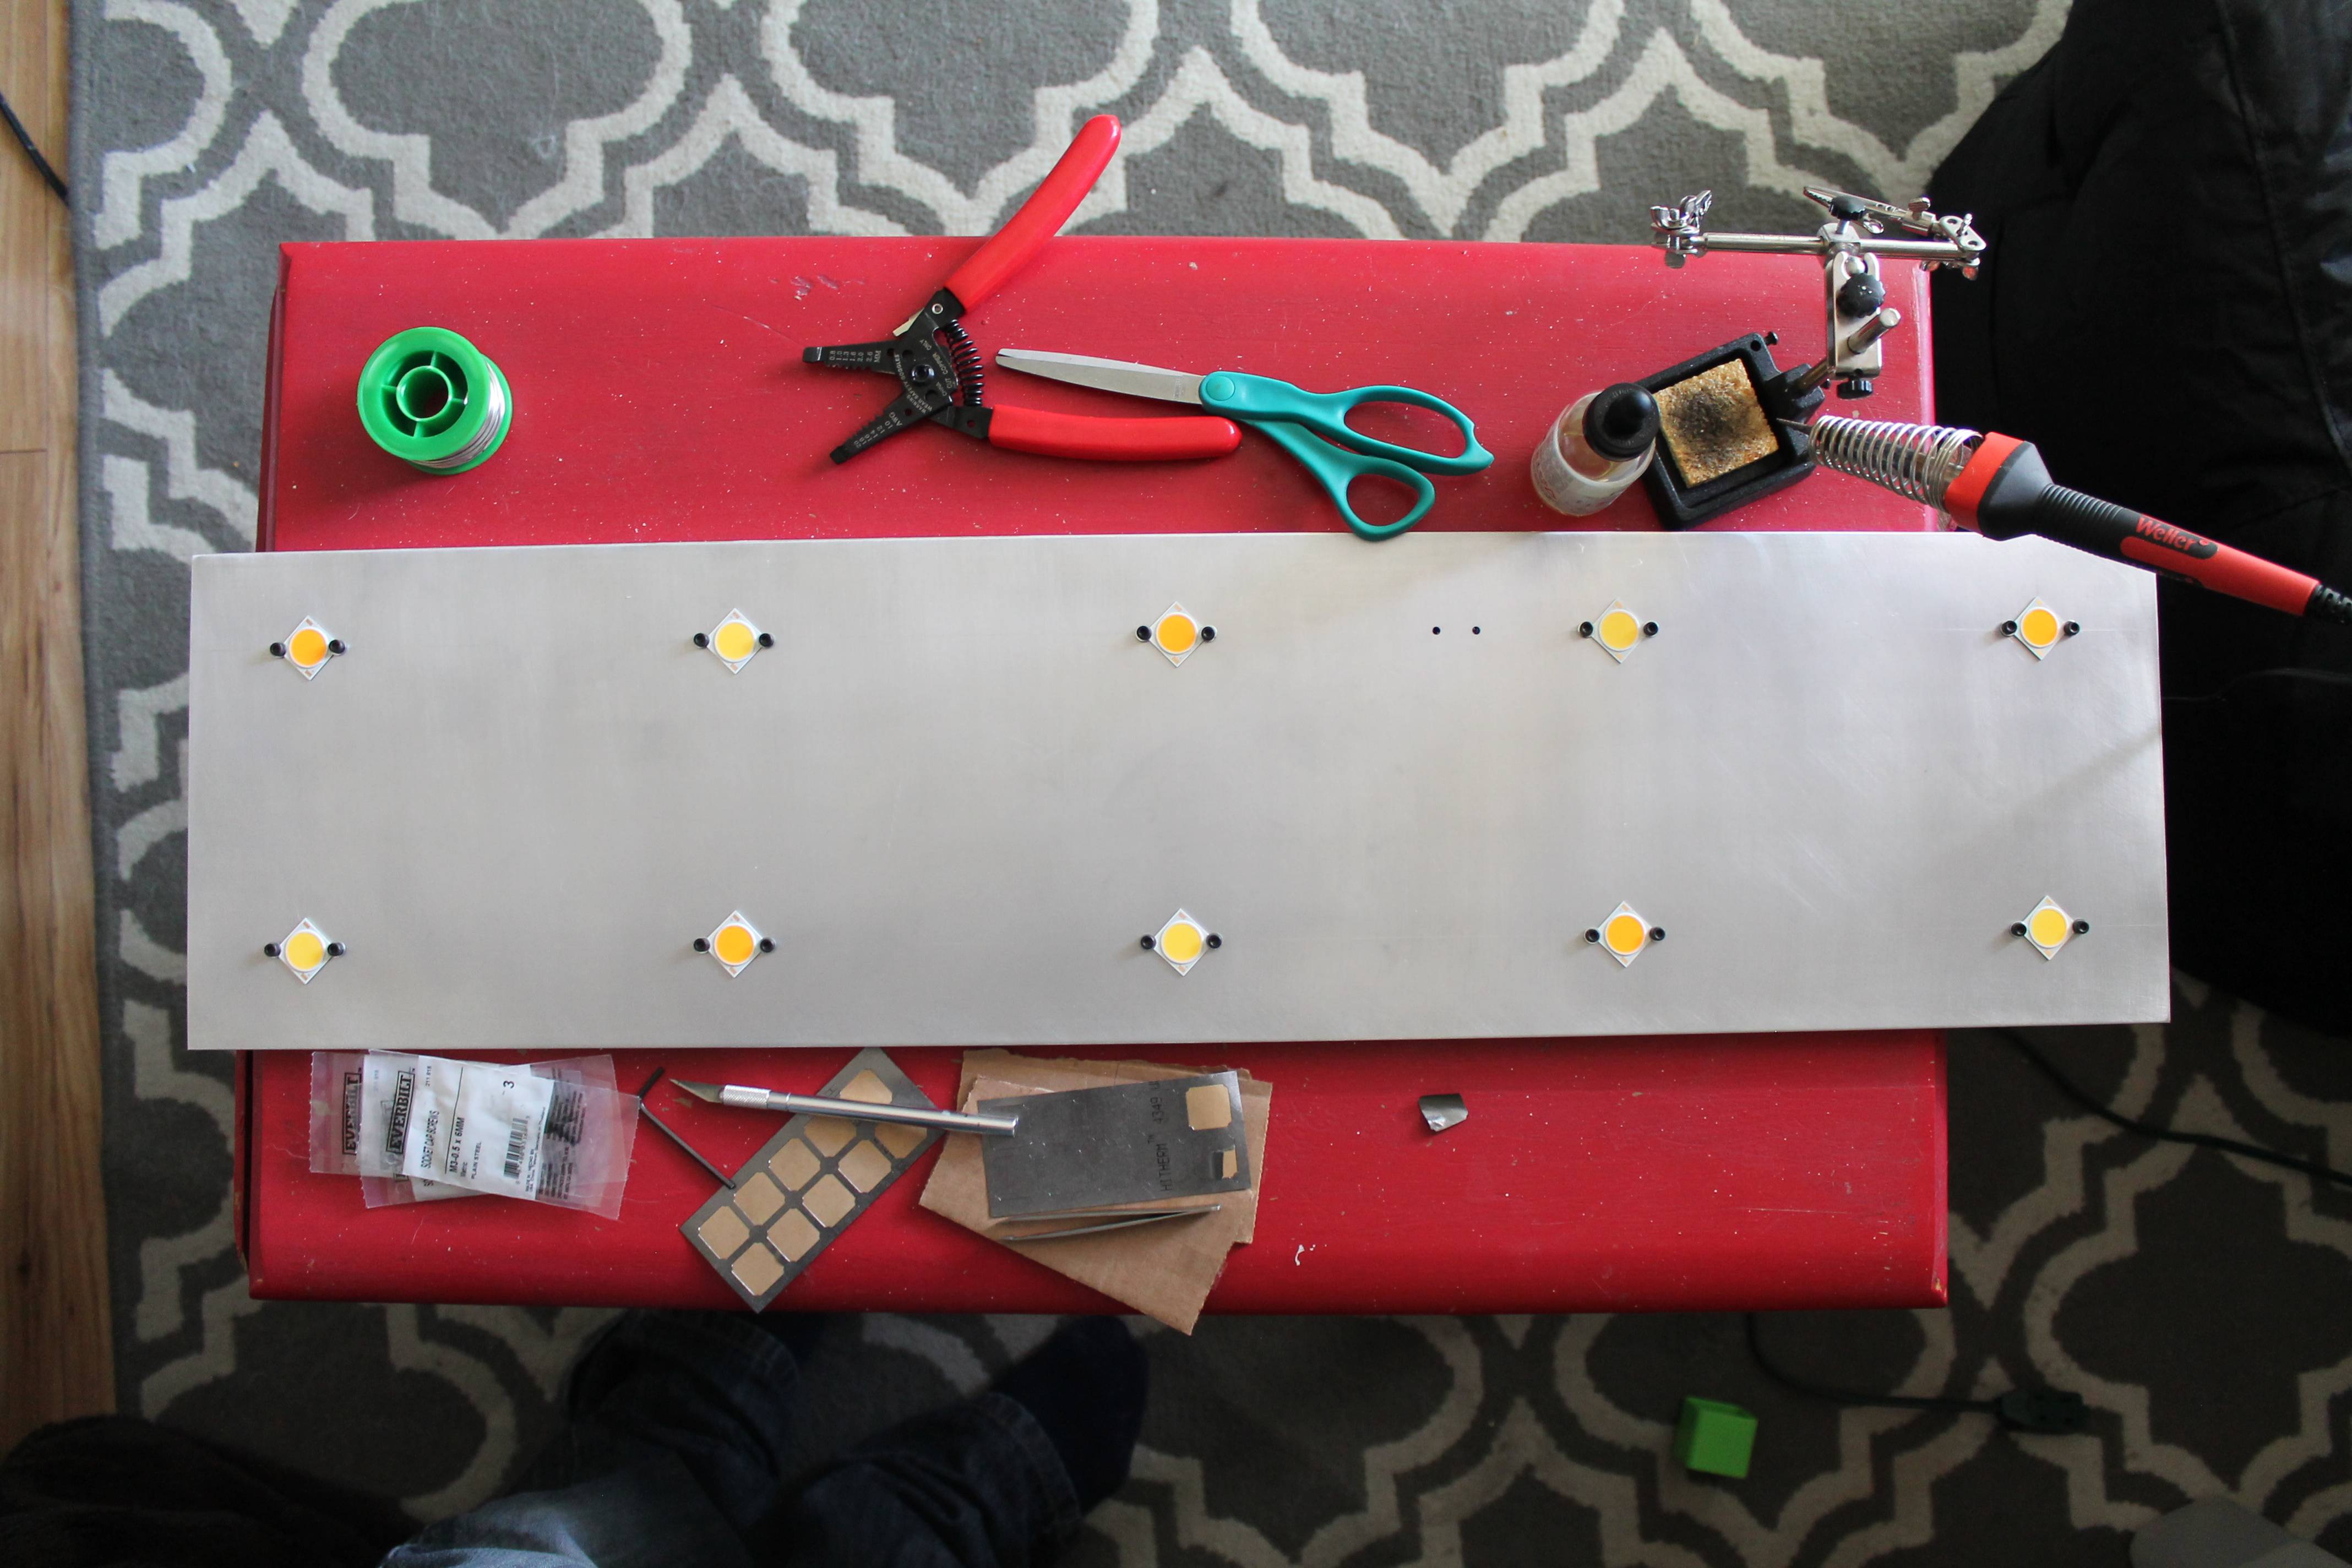
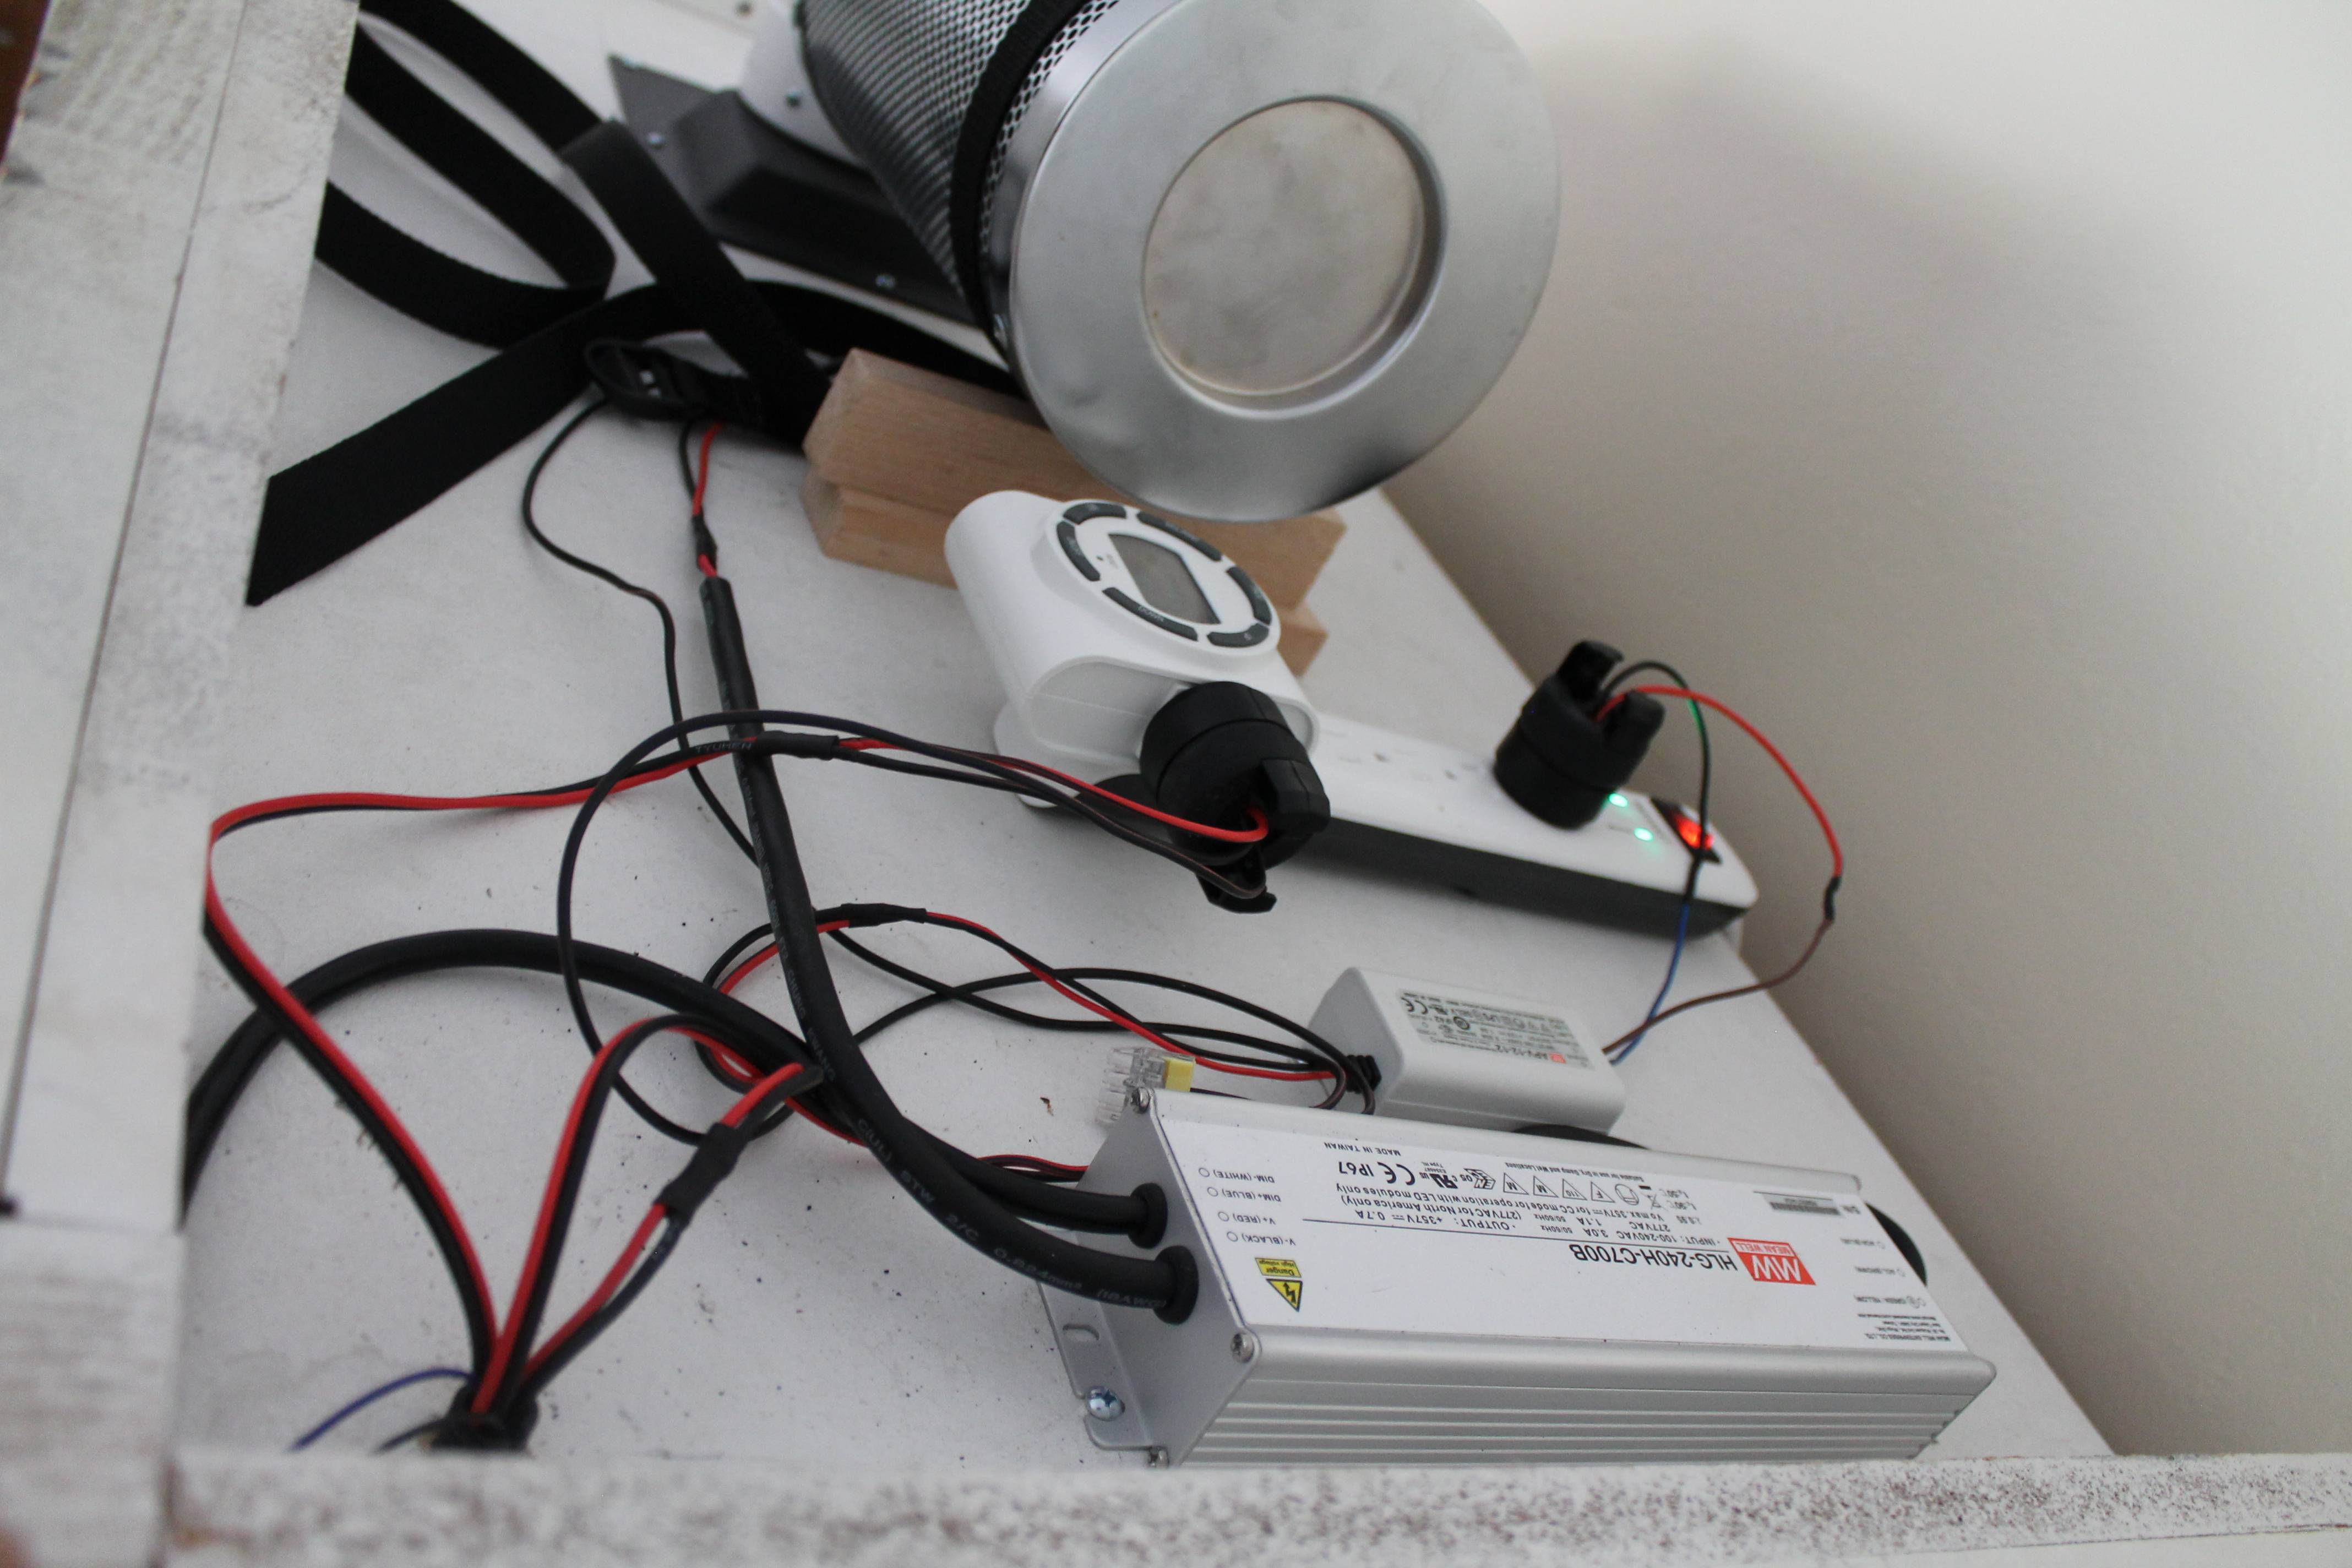
For the fun stuff, I've got 10 Citi CLU038-1208's (5 5000k, 5 3000k) to mount on a 32" 7.984" profile HSUSA heat sink. Those will be powered by a single HLG240H-C700B which is perfect because at full power I can eek out every ounce of juice the driver can provide, about 250 watts. I went with smaller chips and the wider heat sink for more even distribution, and I've got room to add some red/photo red/far red/uva mono's in the future. Drivers will be mounted outside the grow space on the top of the armoire.

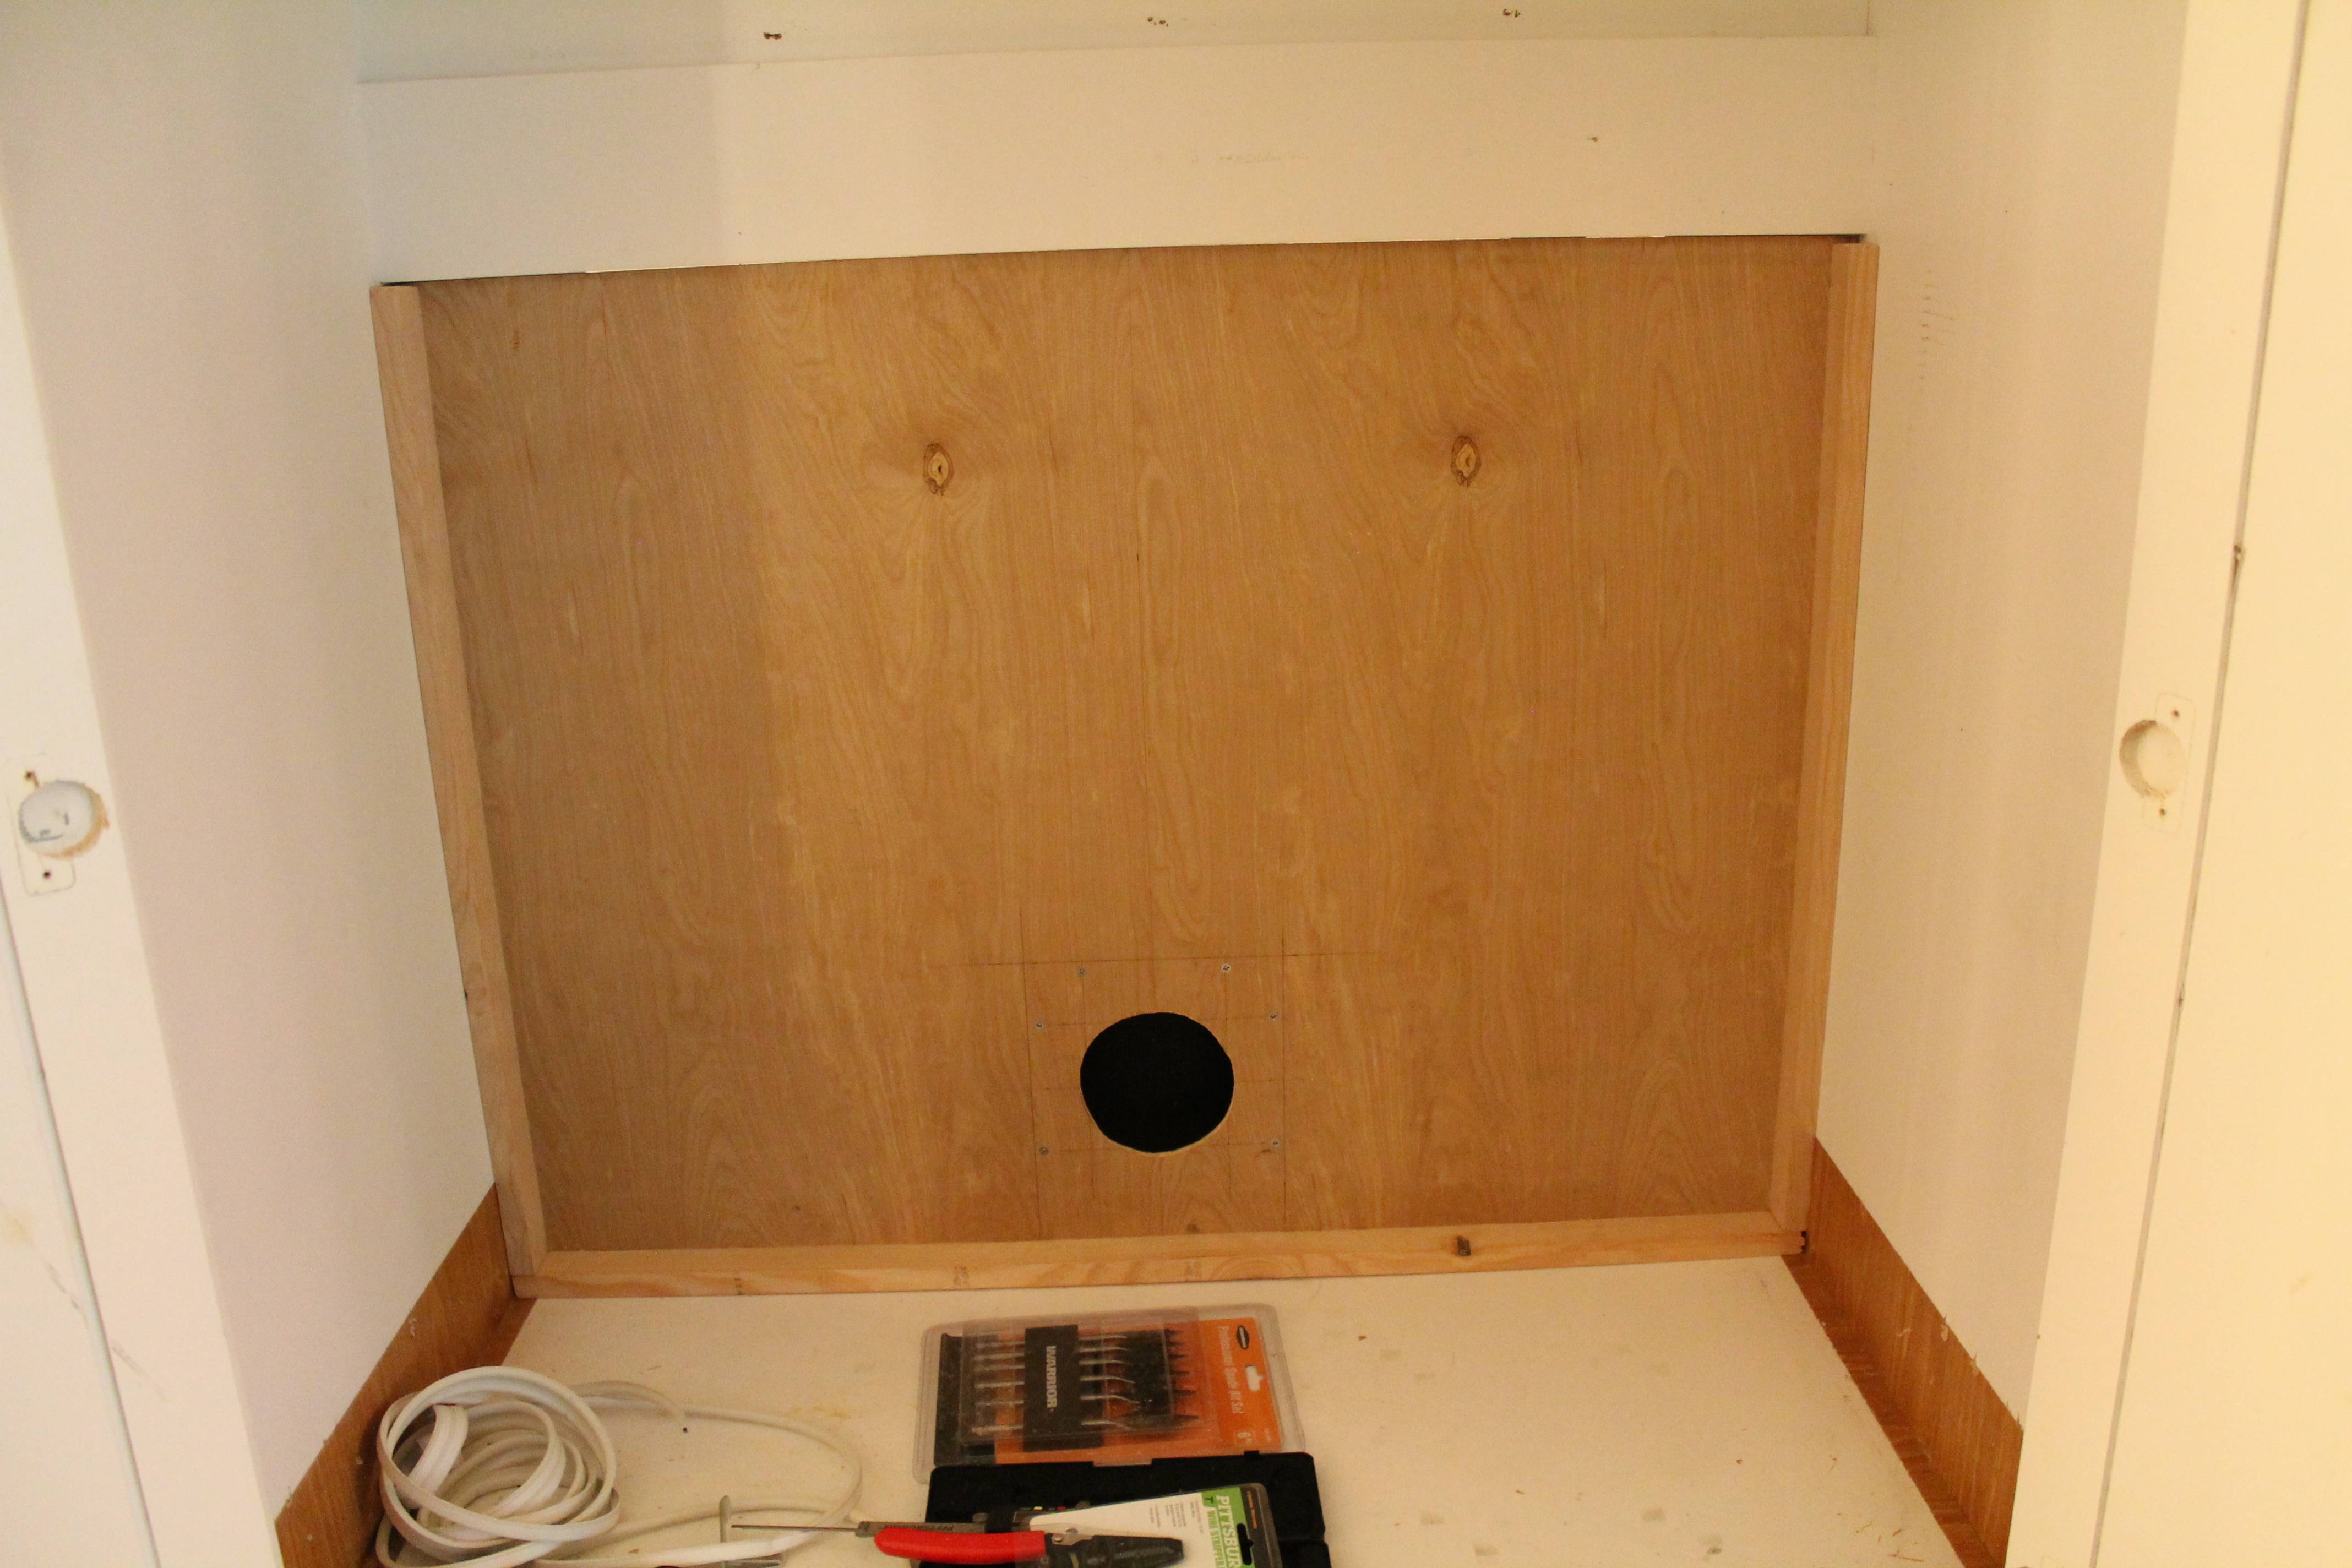
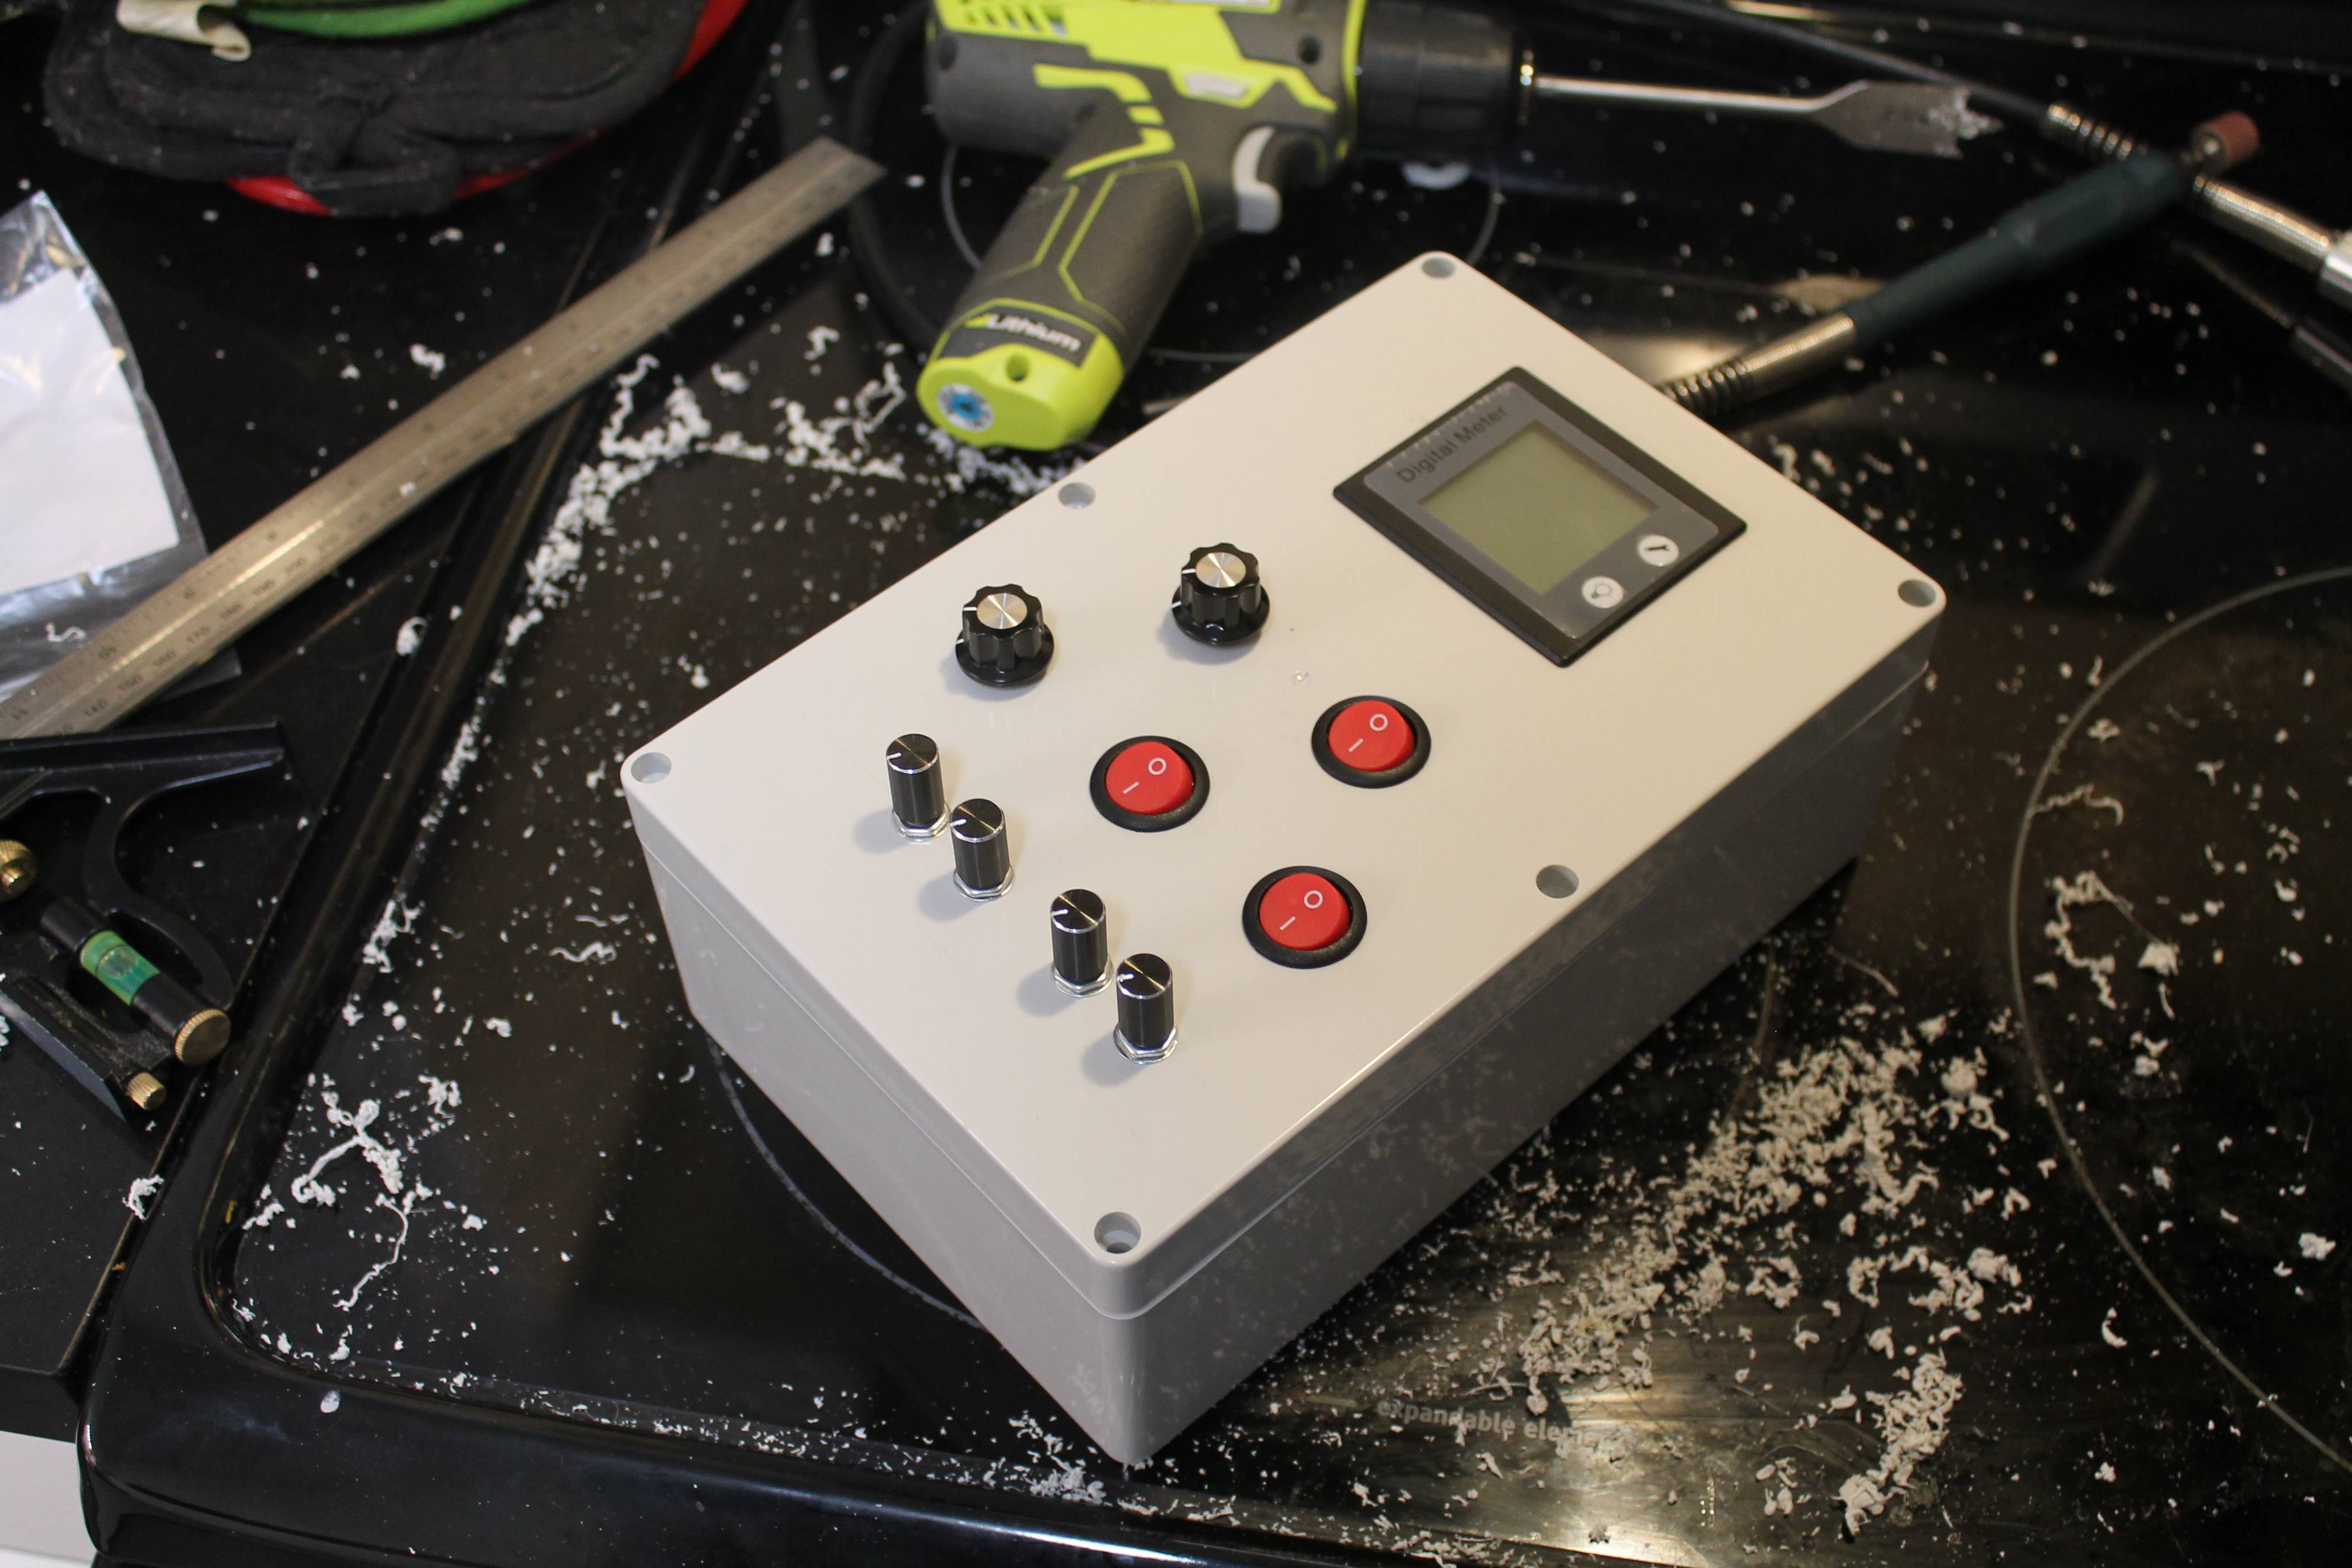
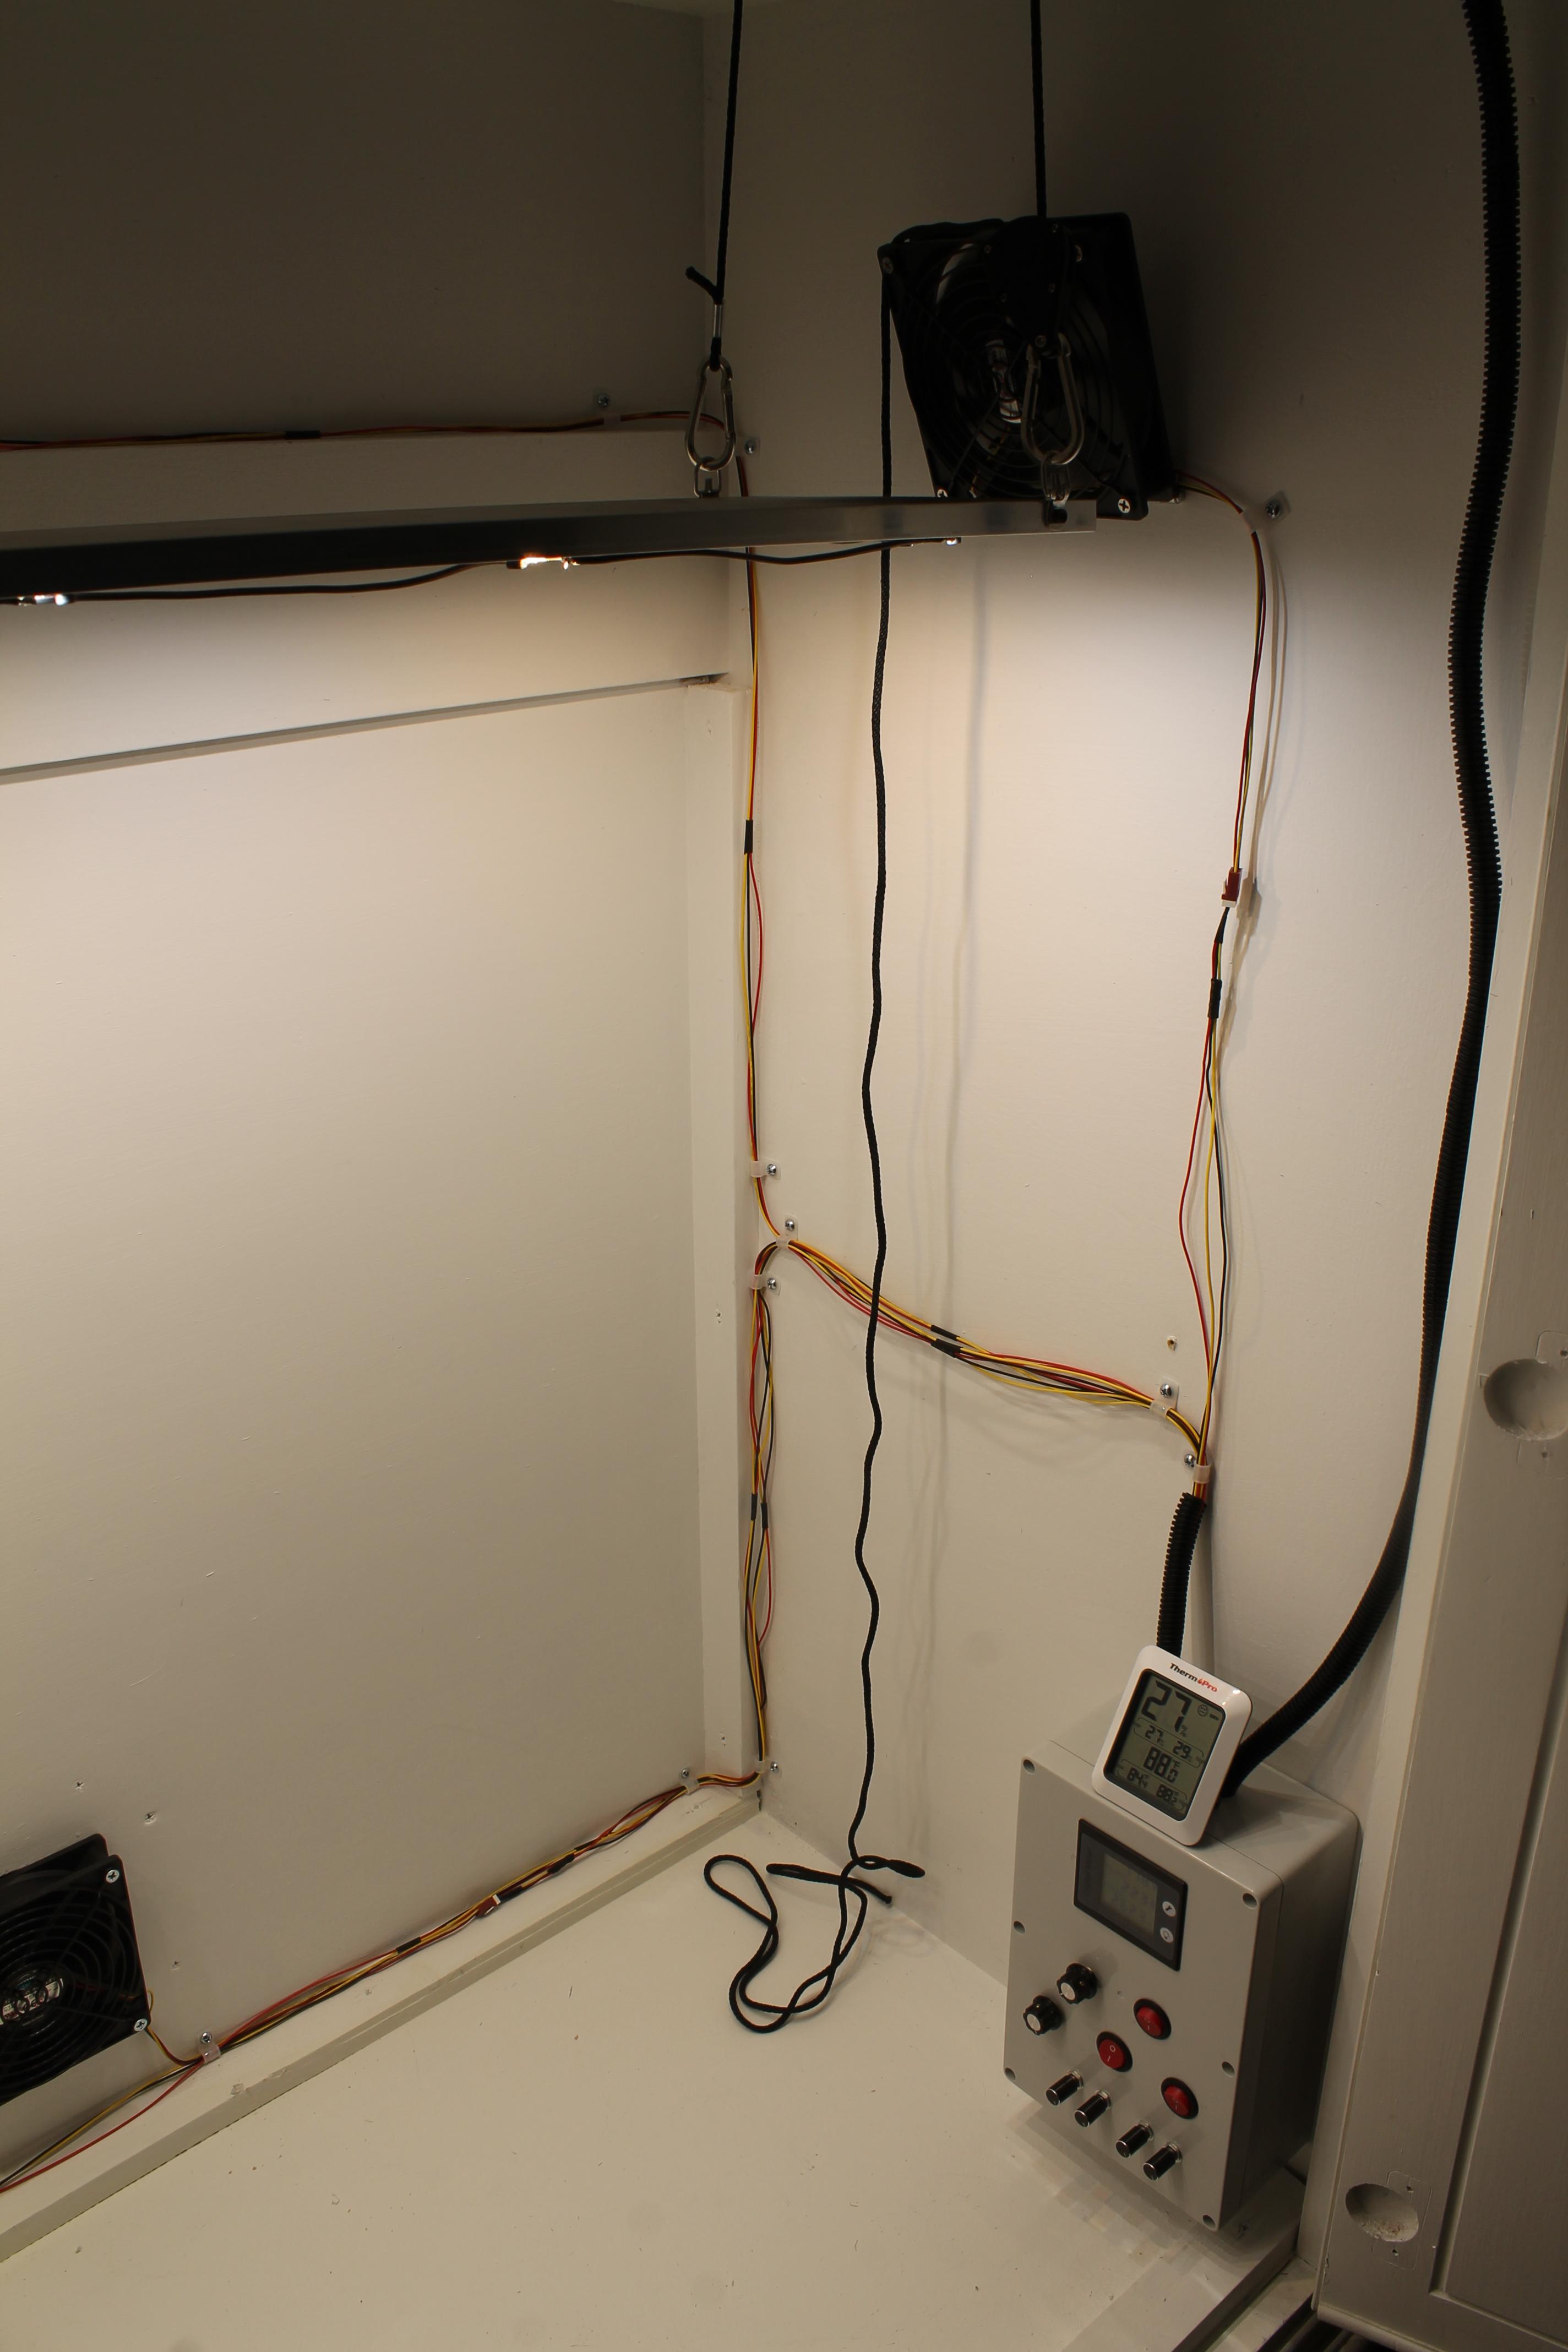
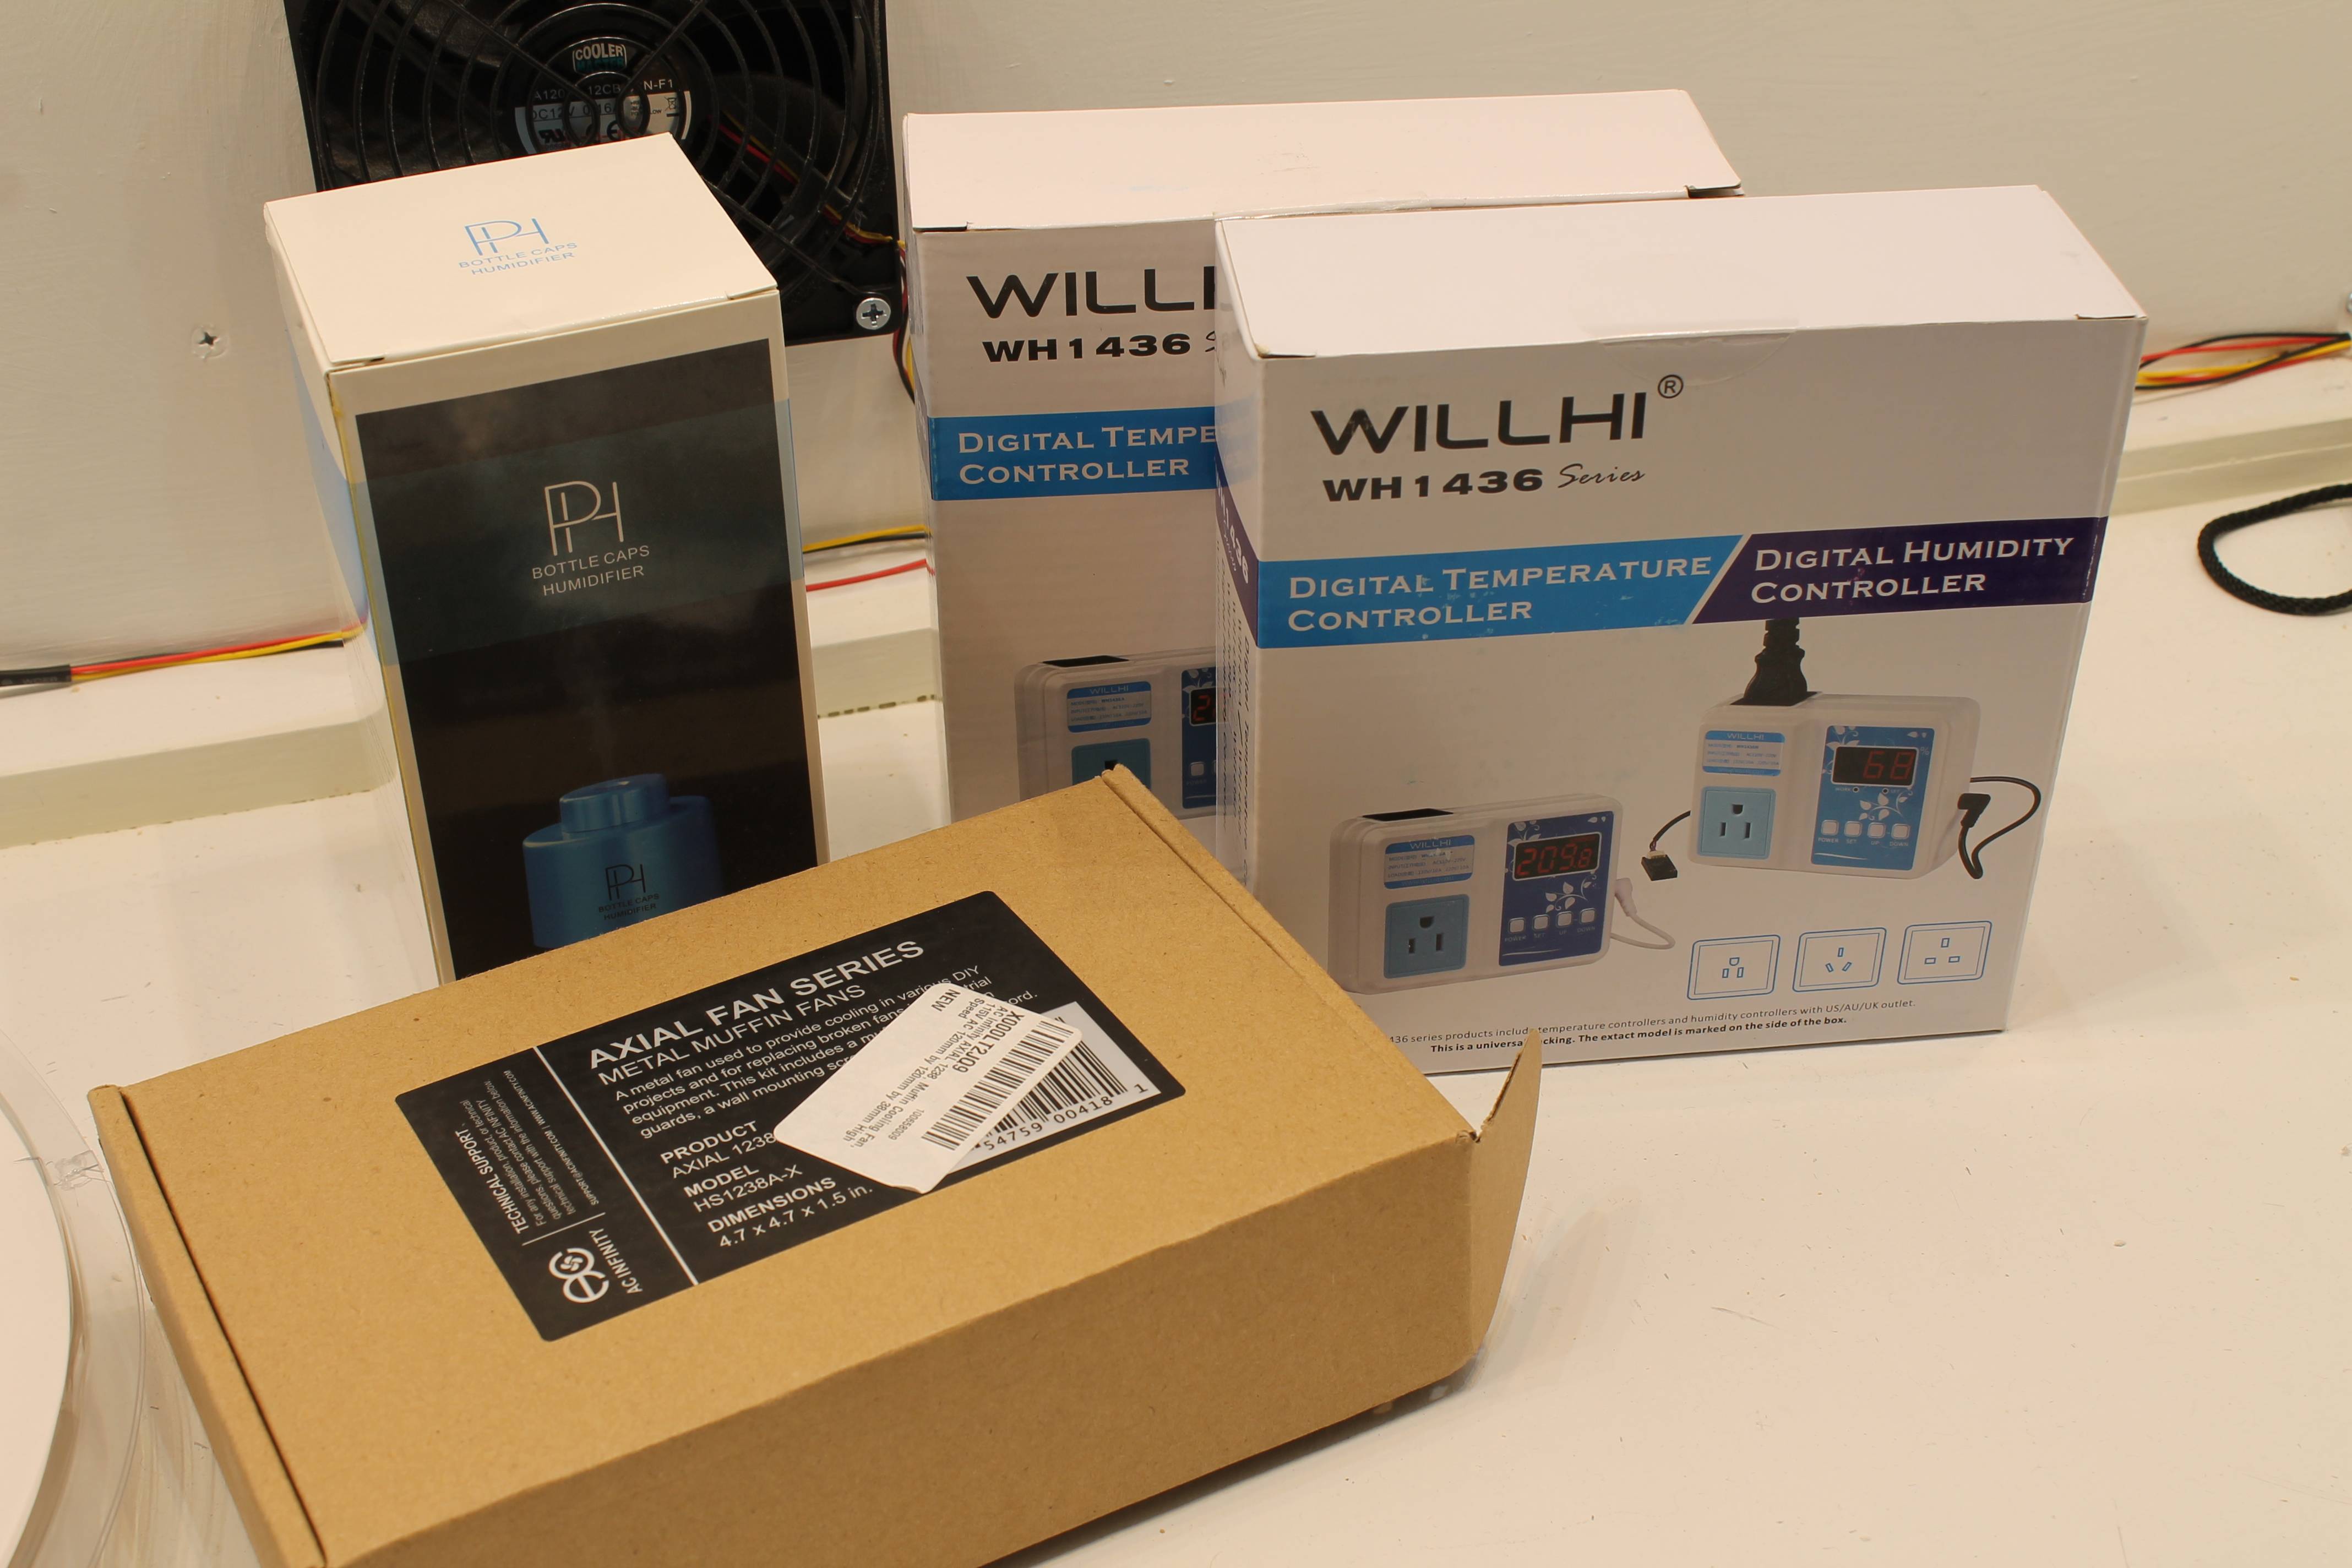
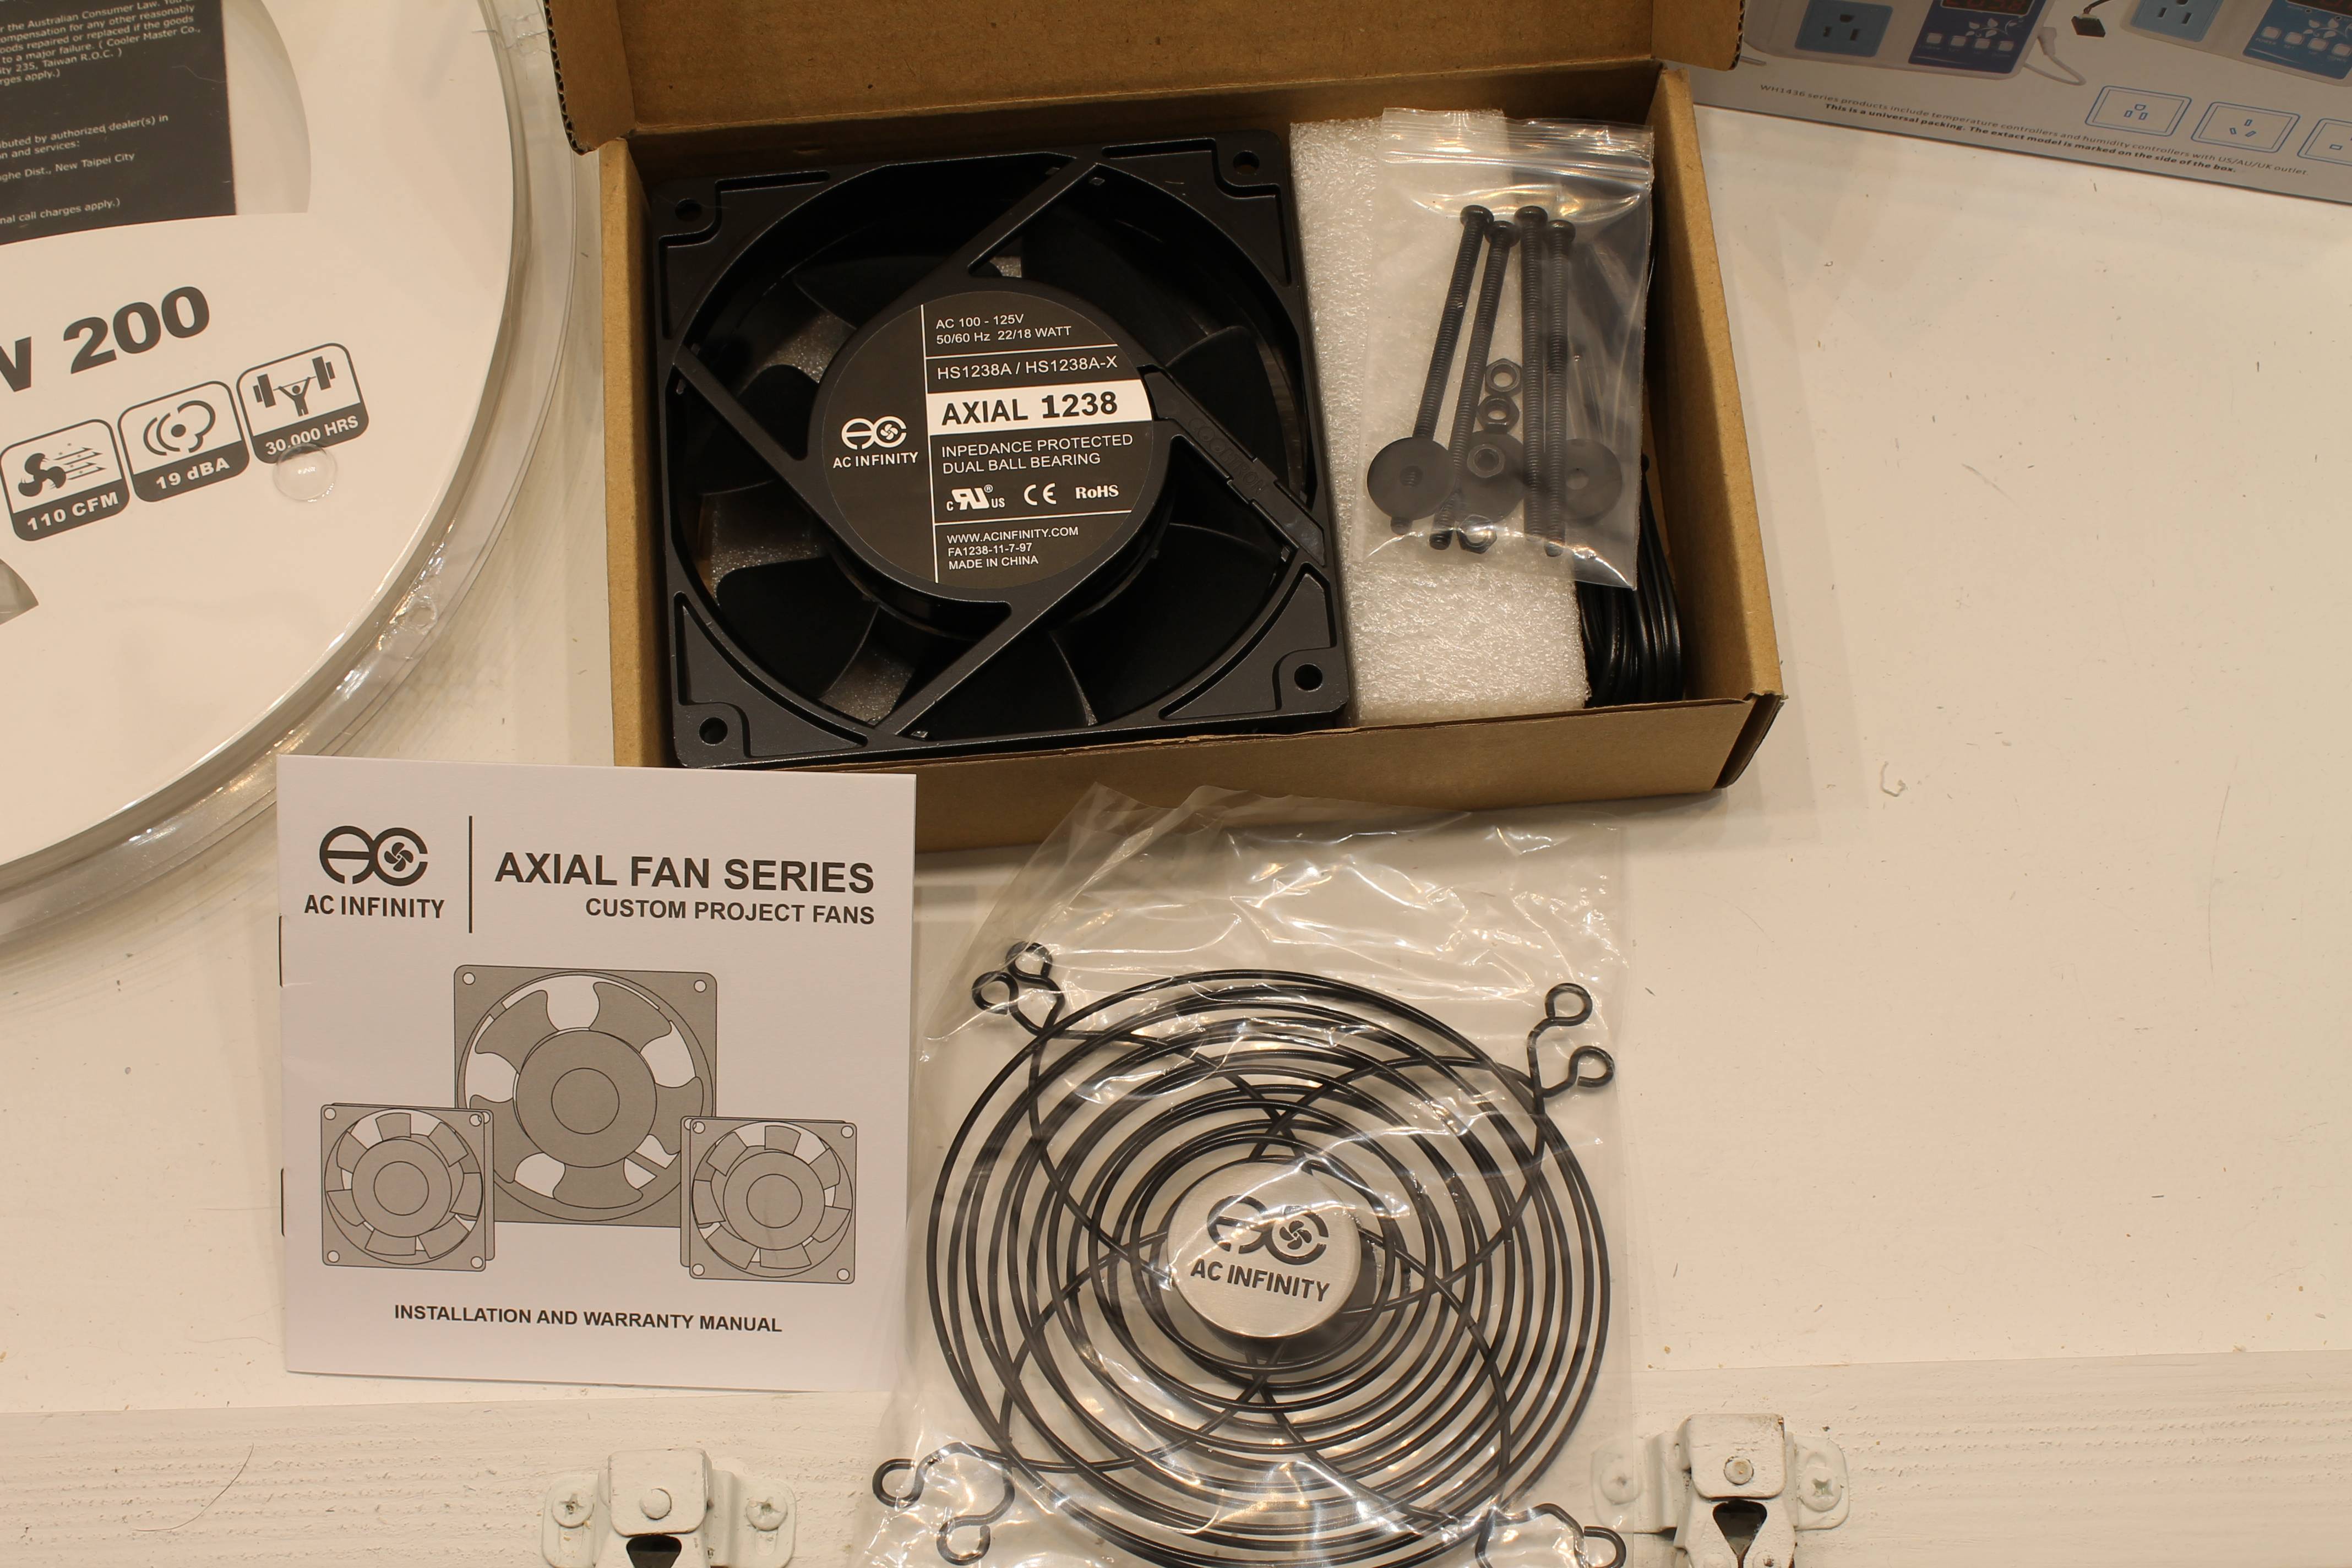
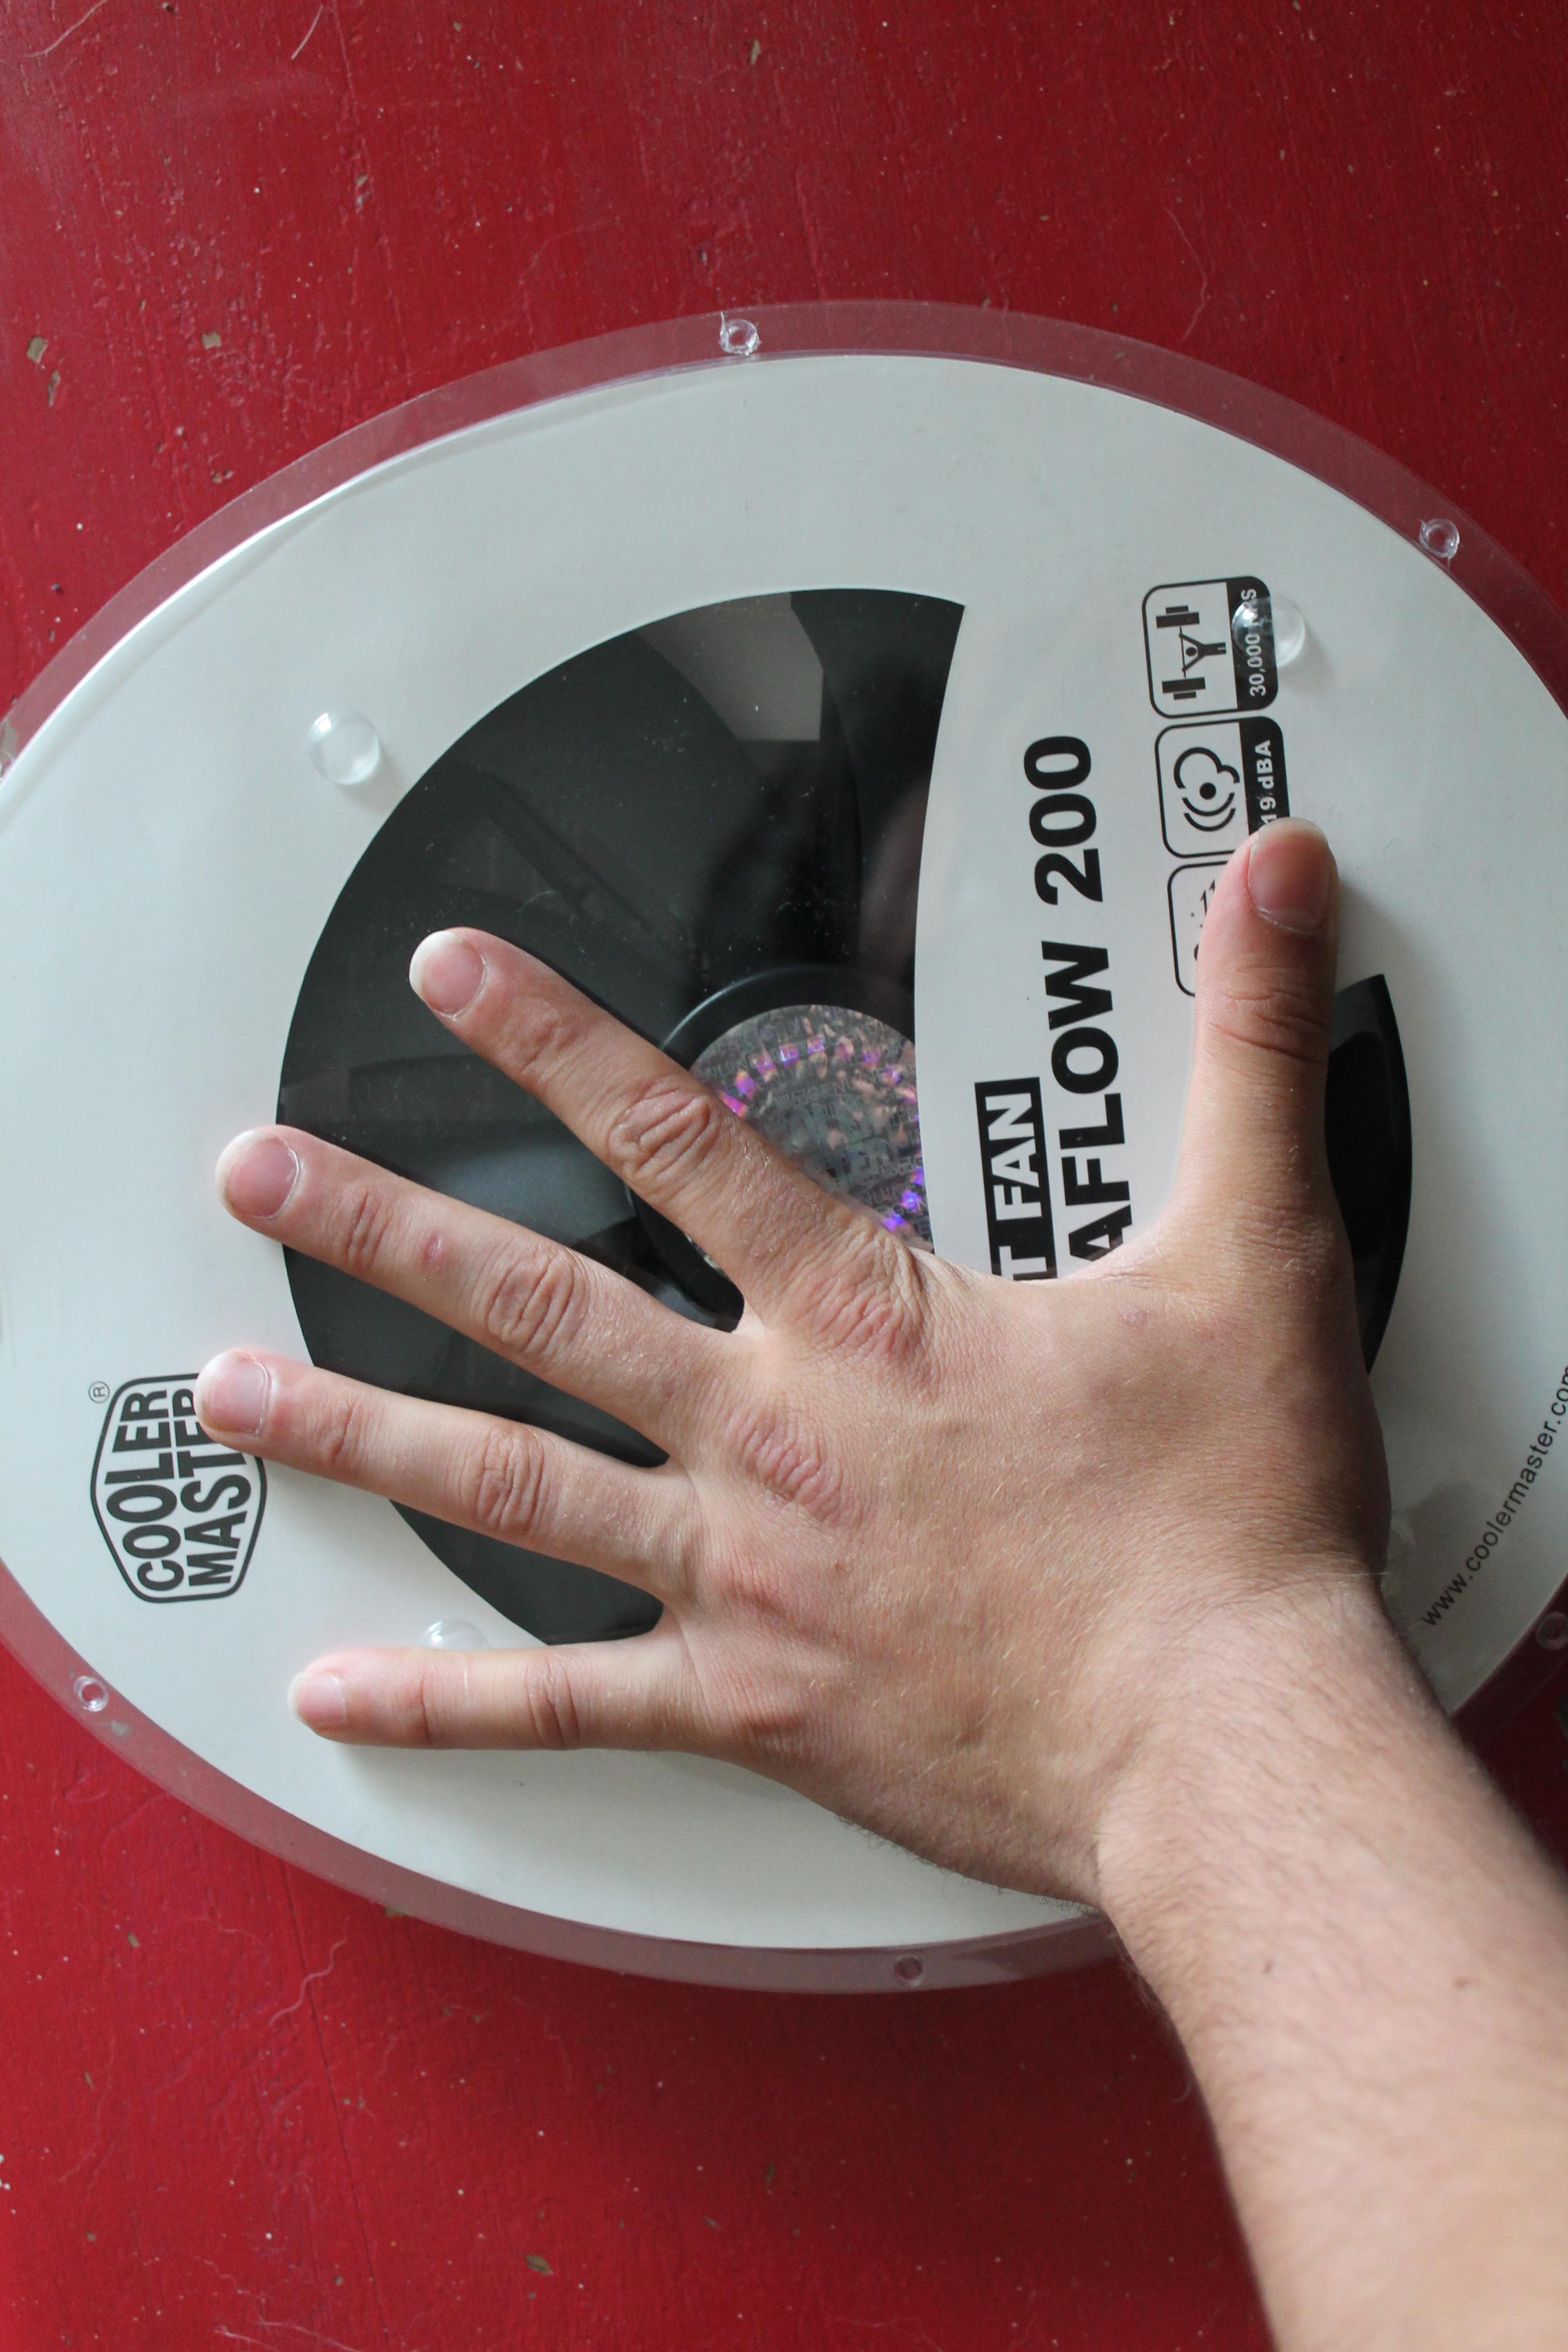
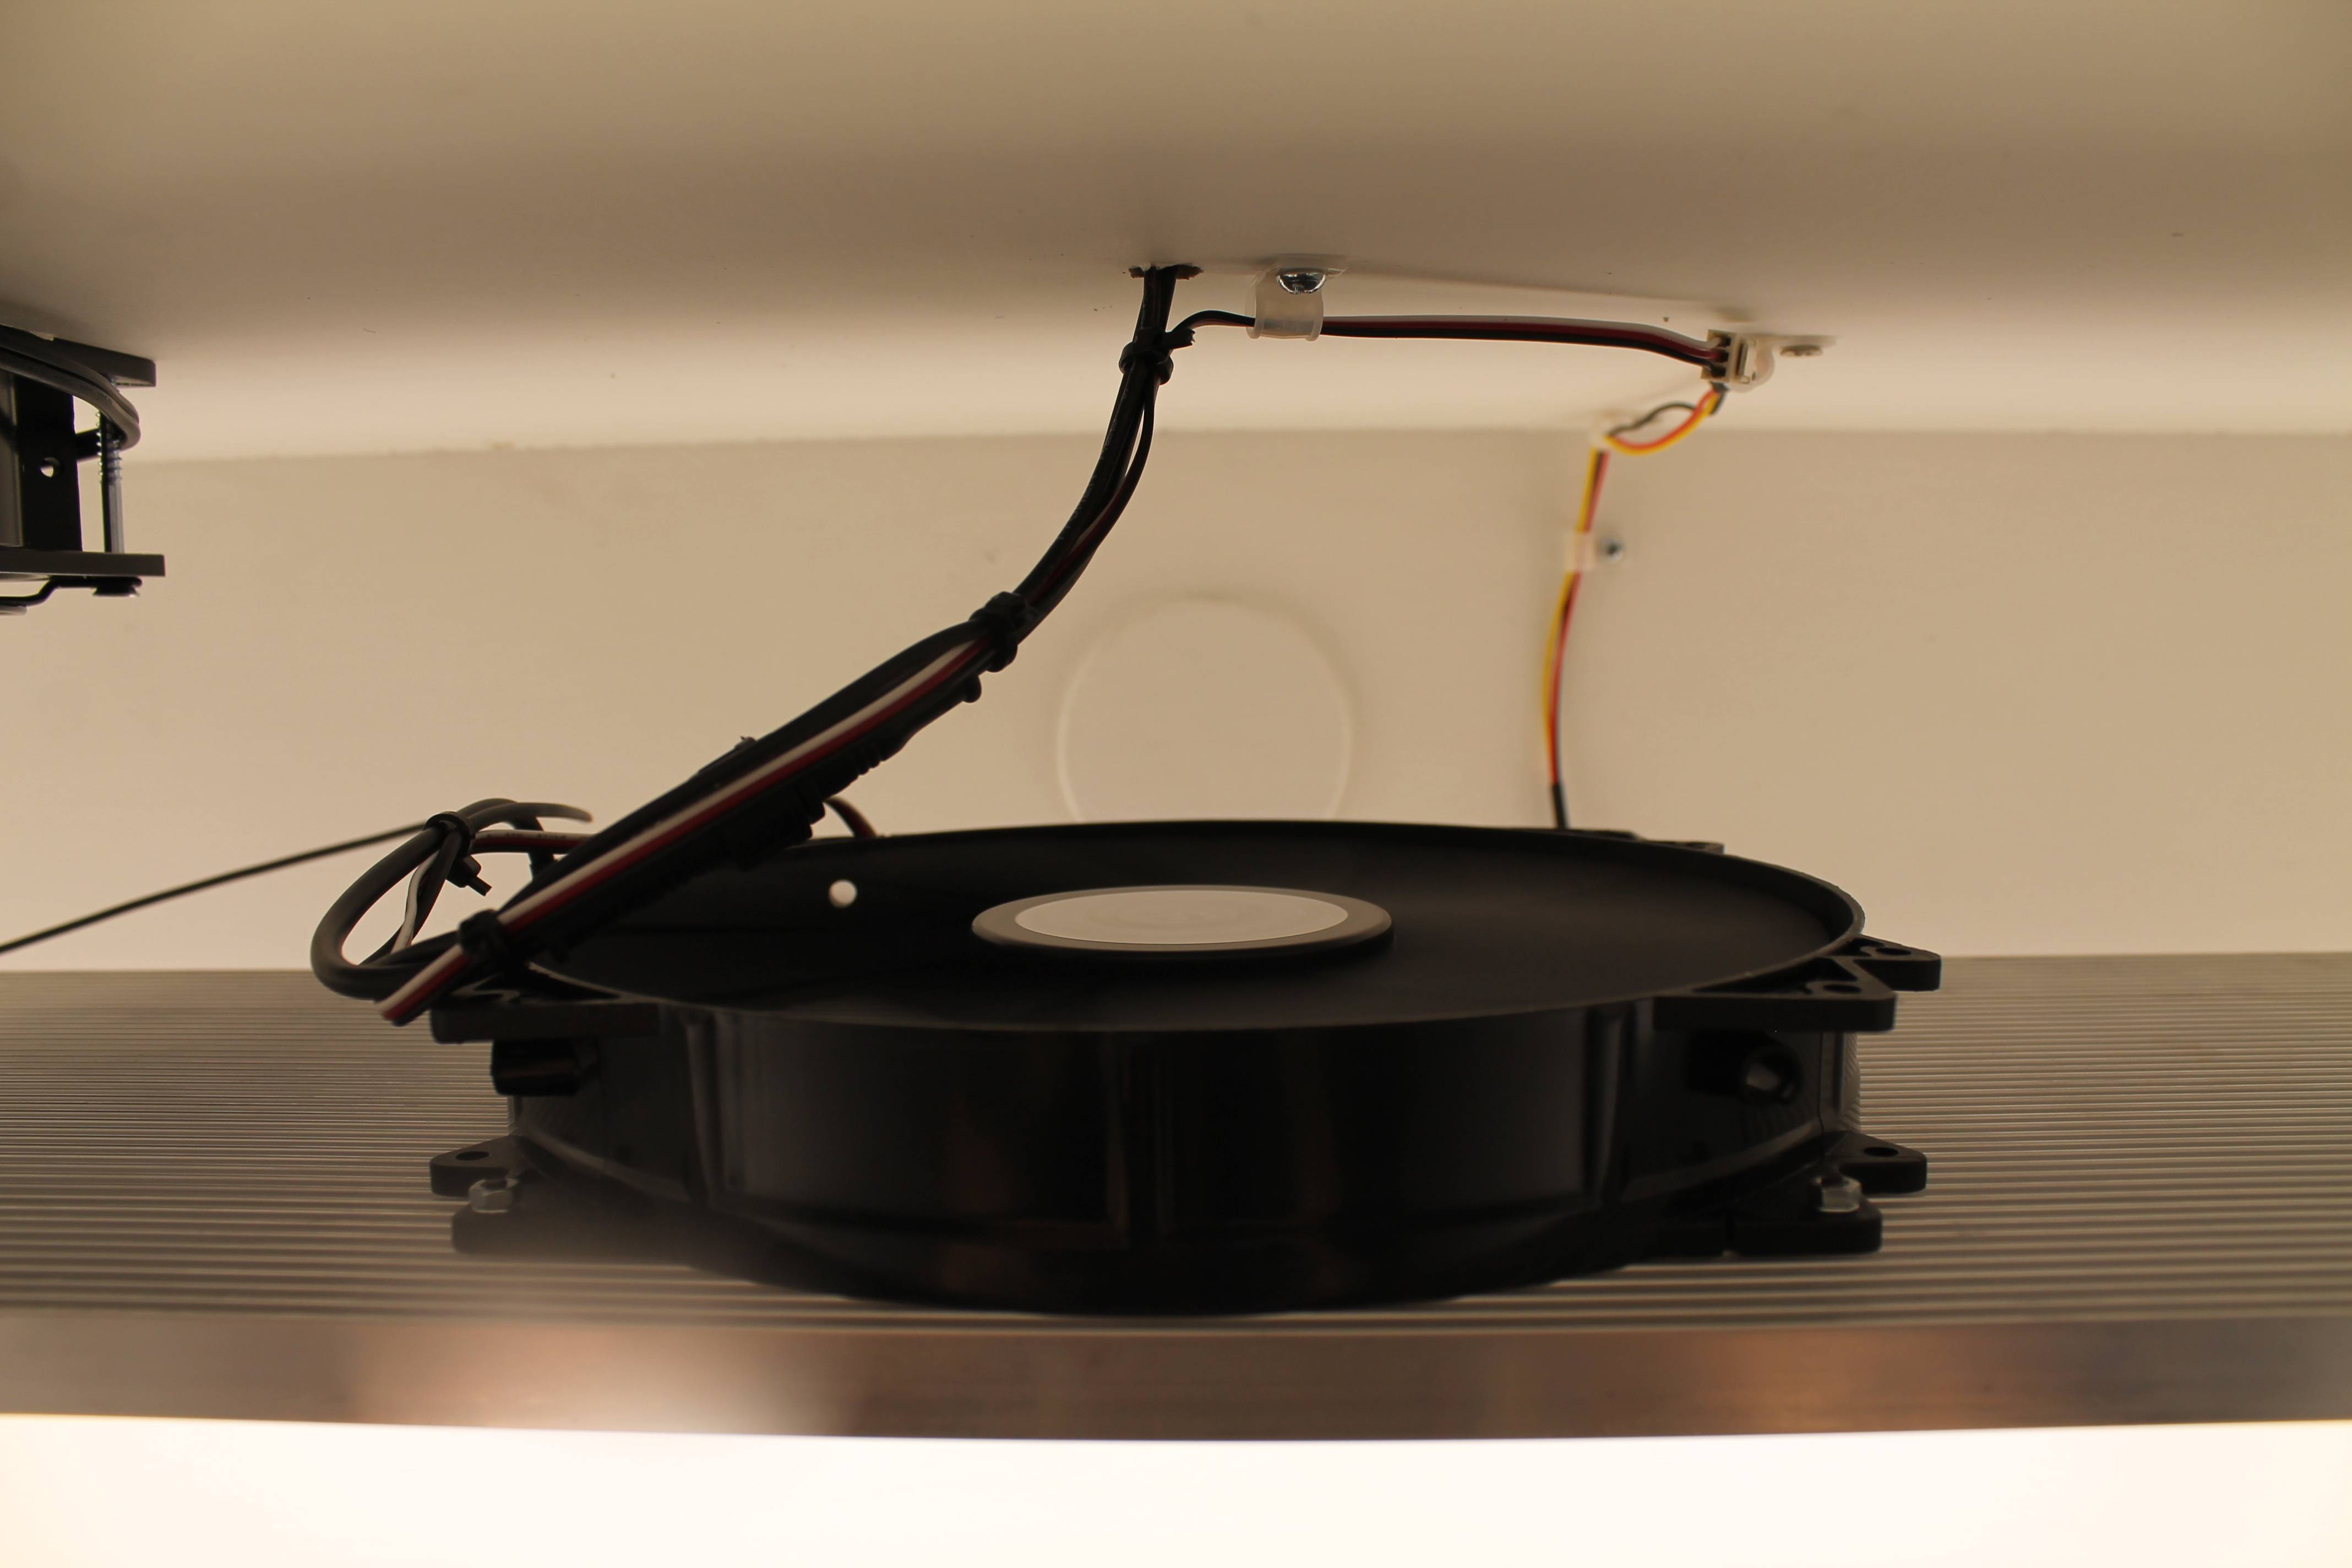
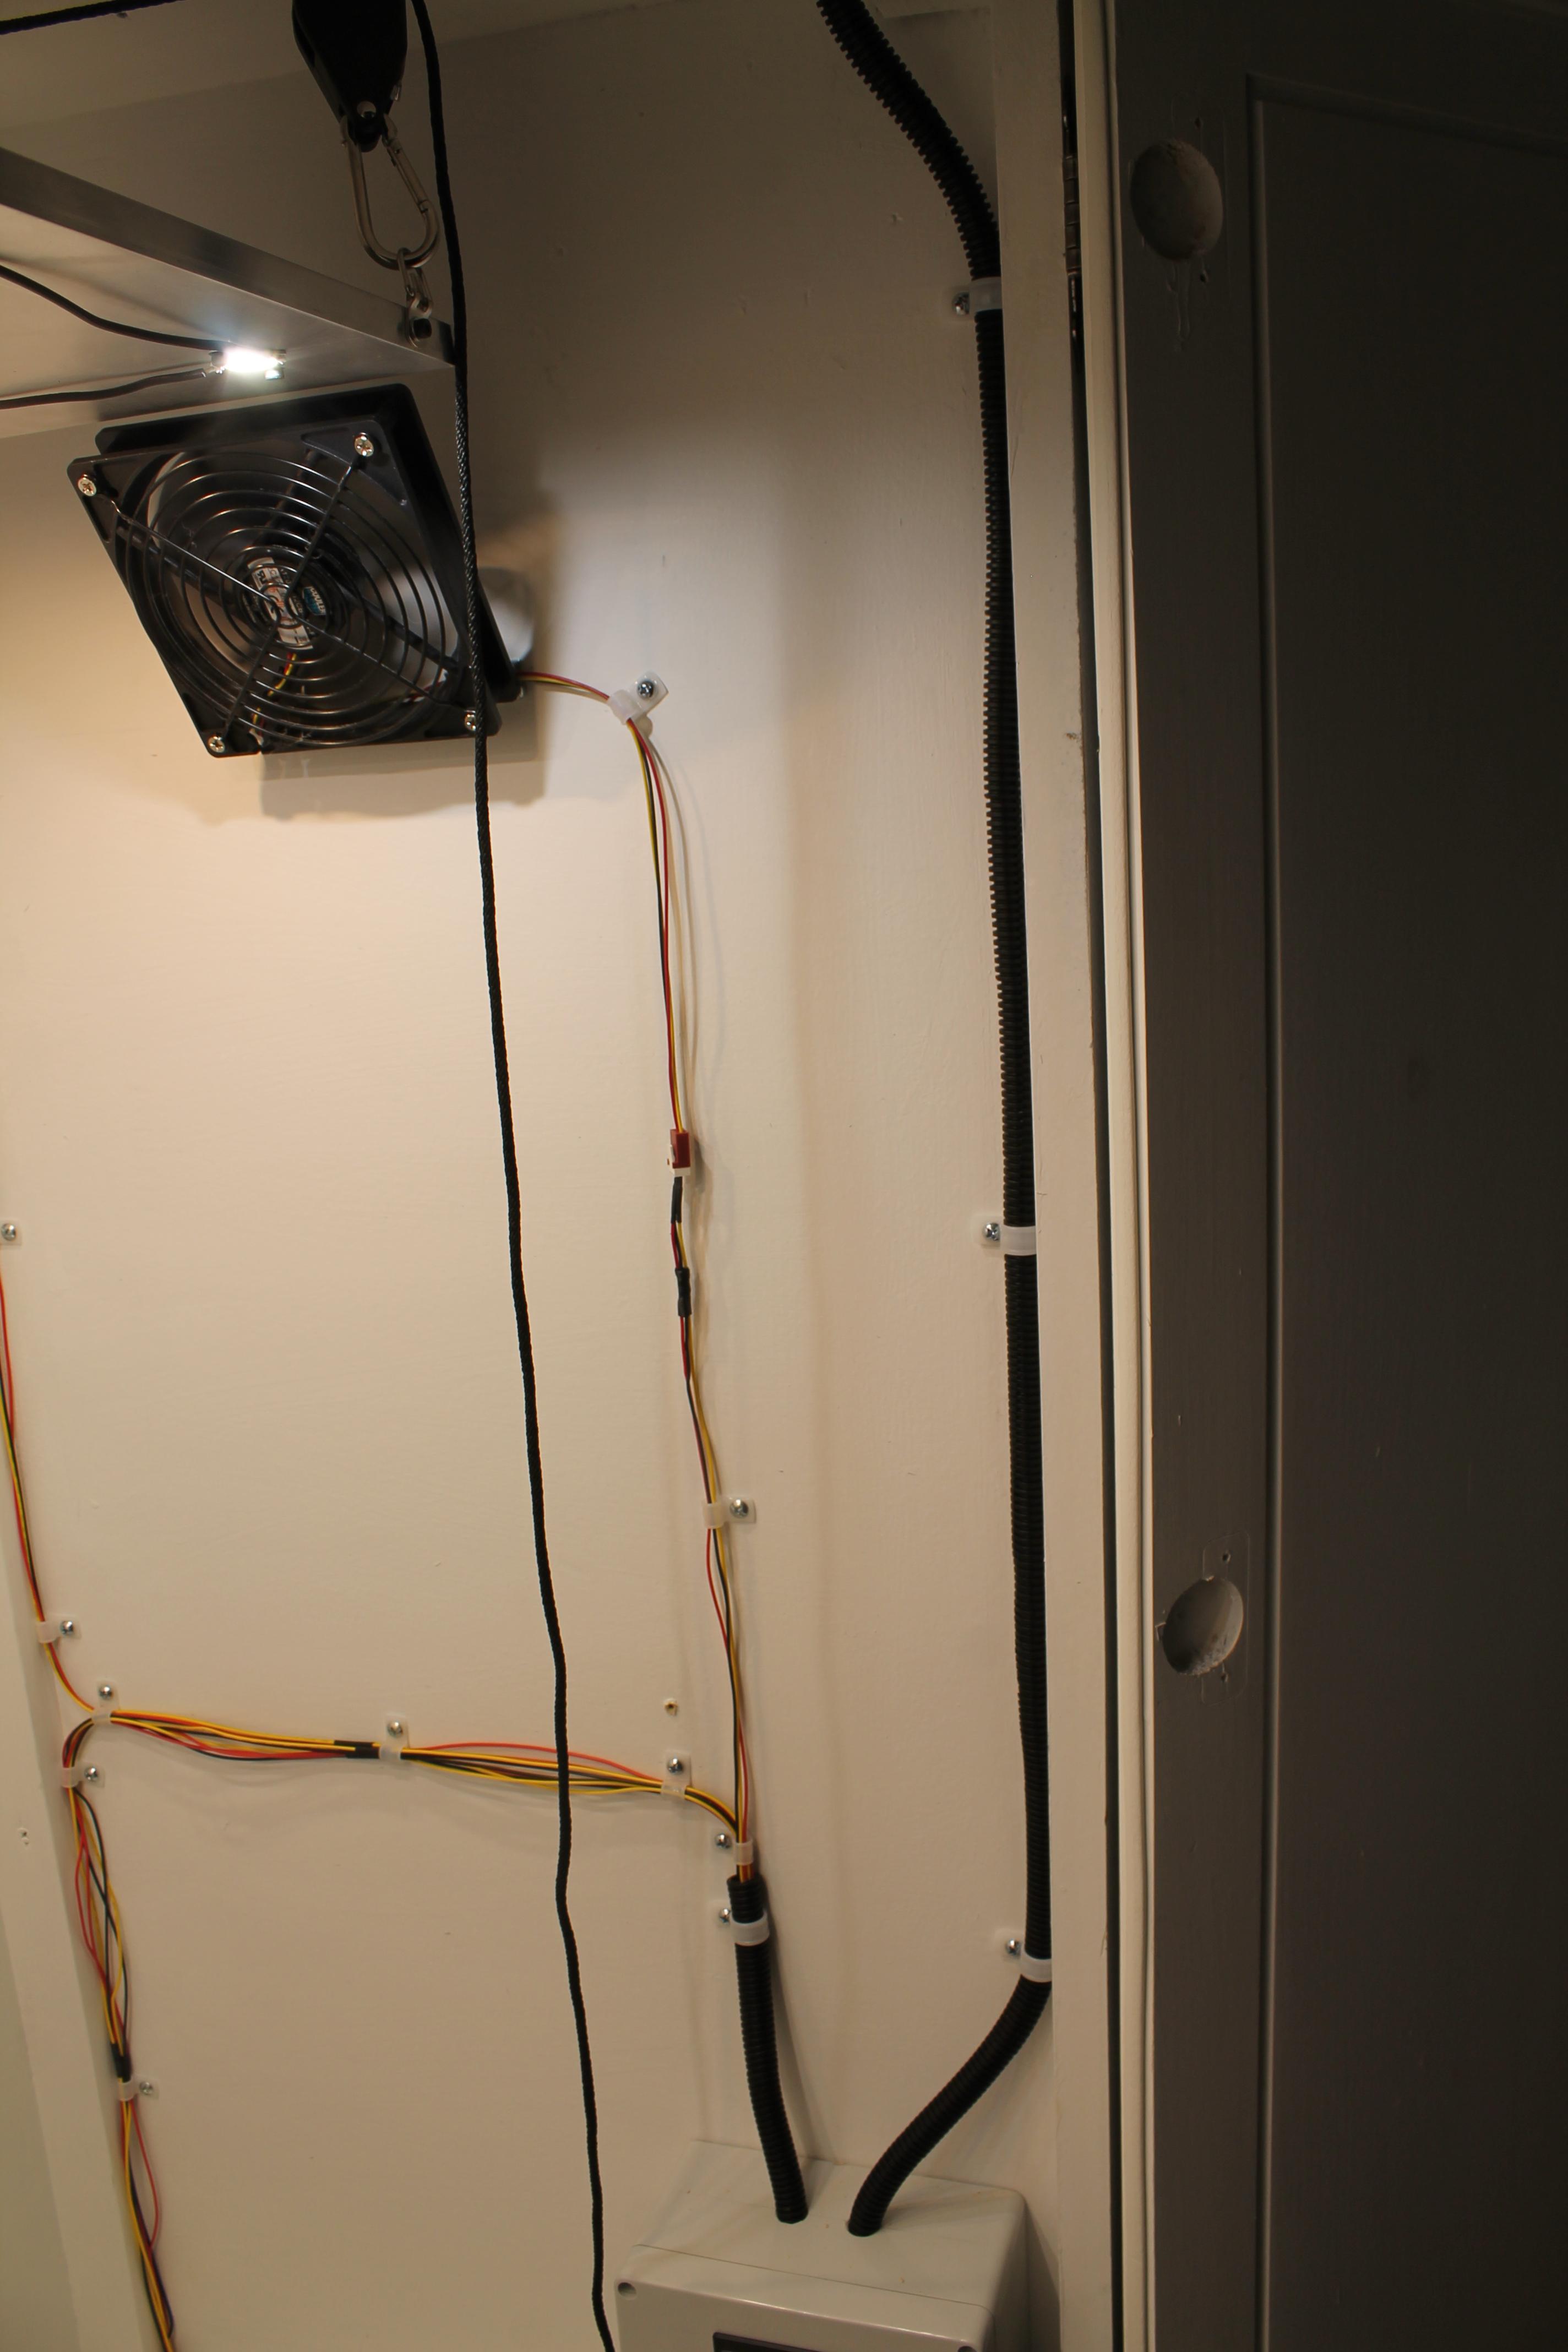
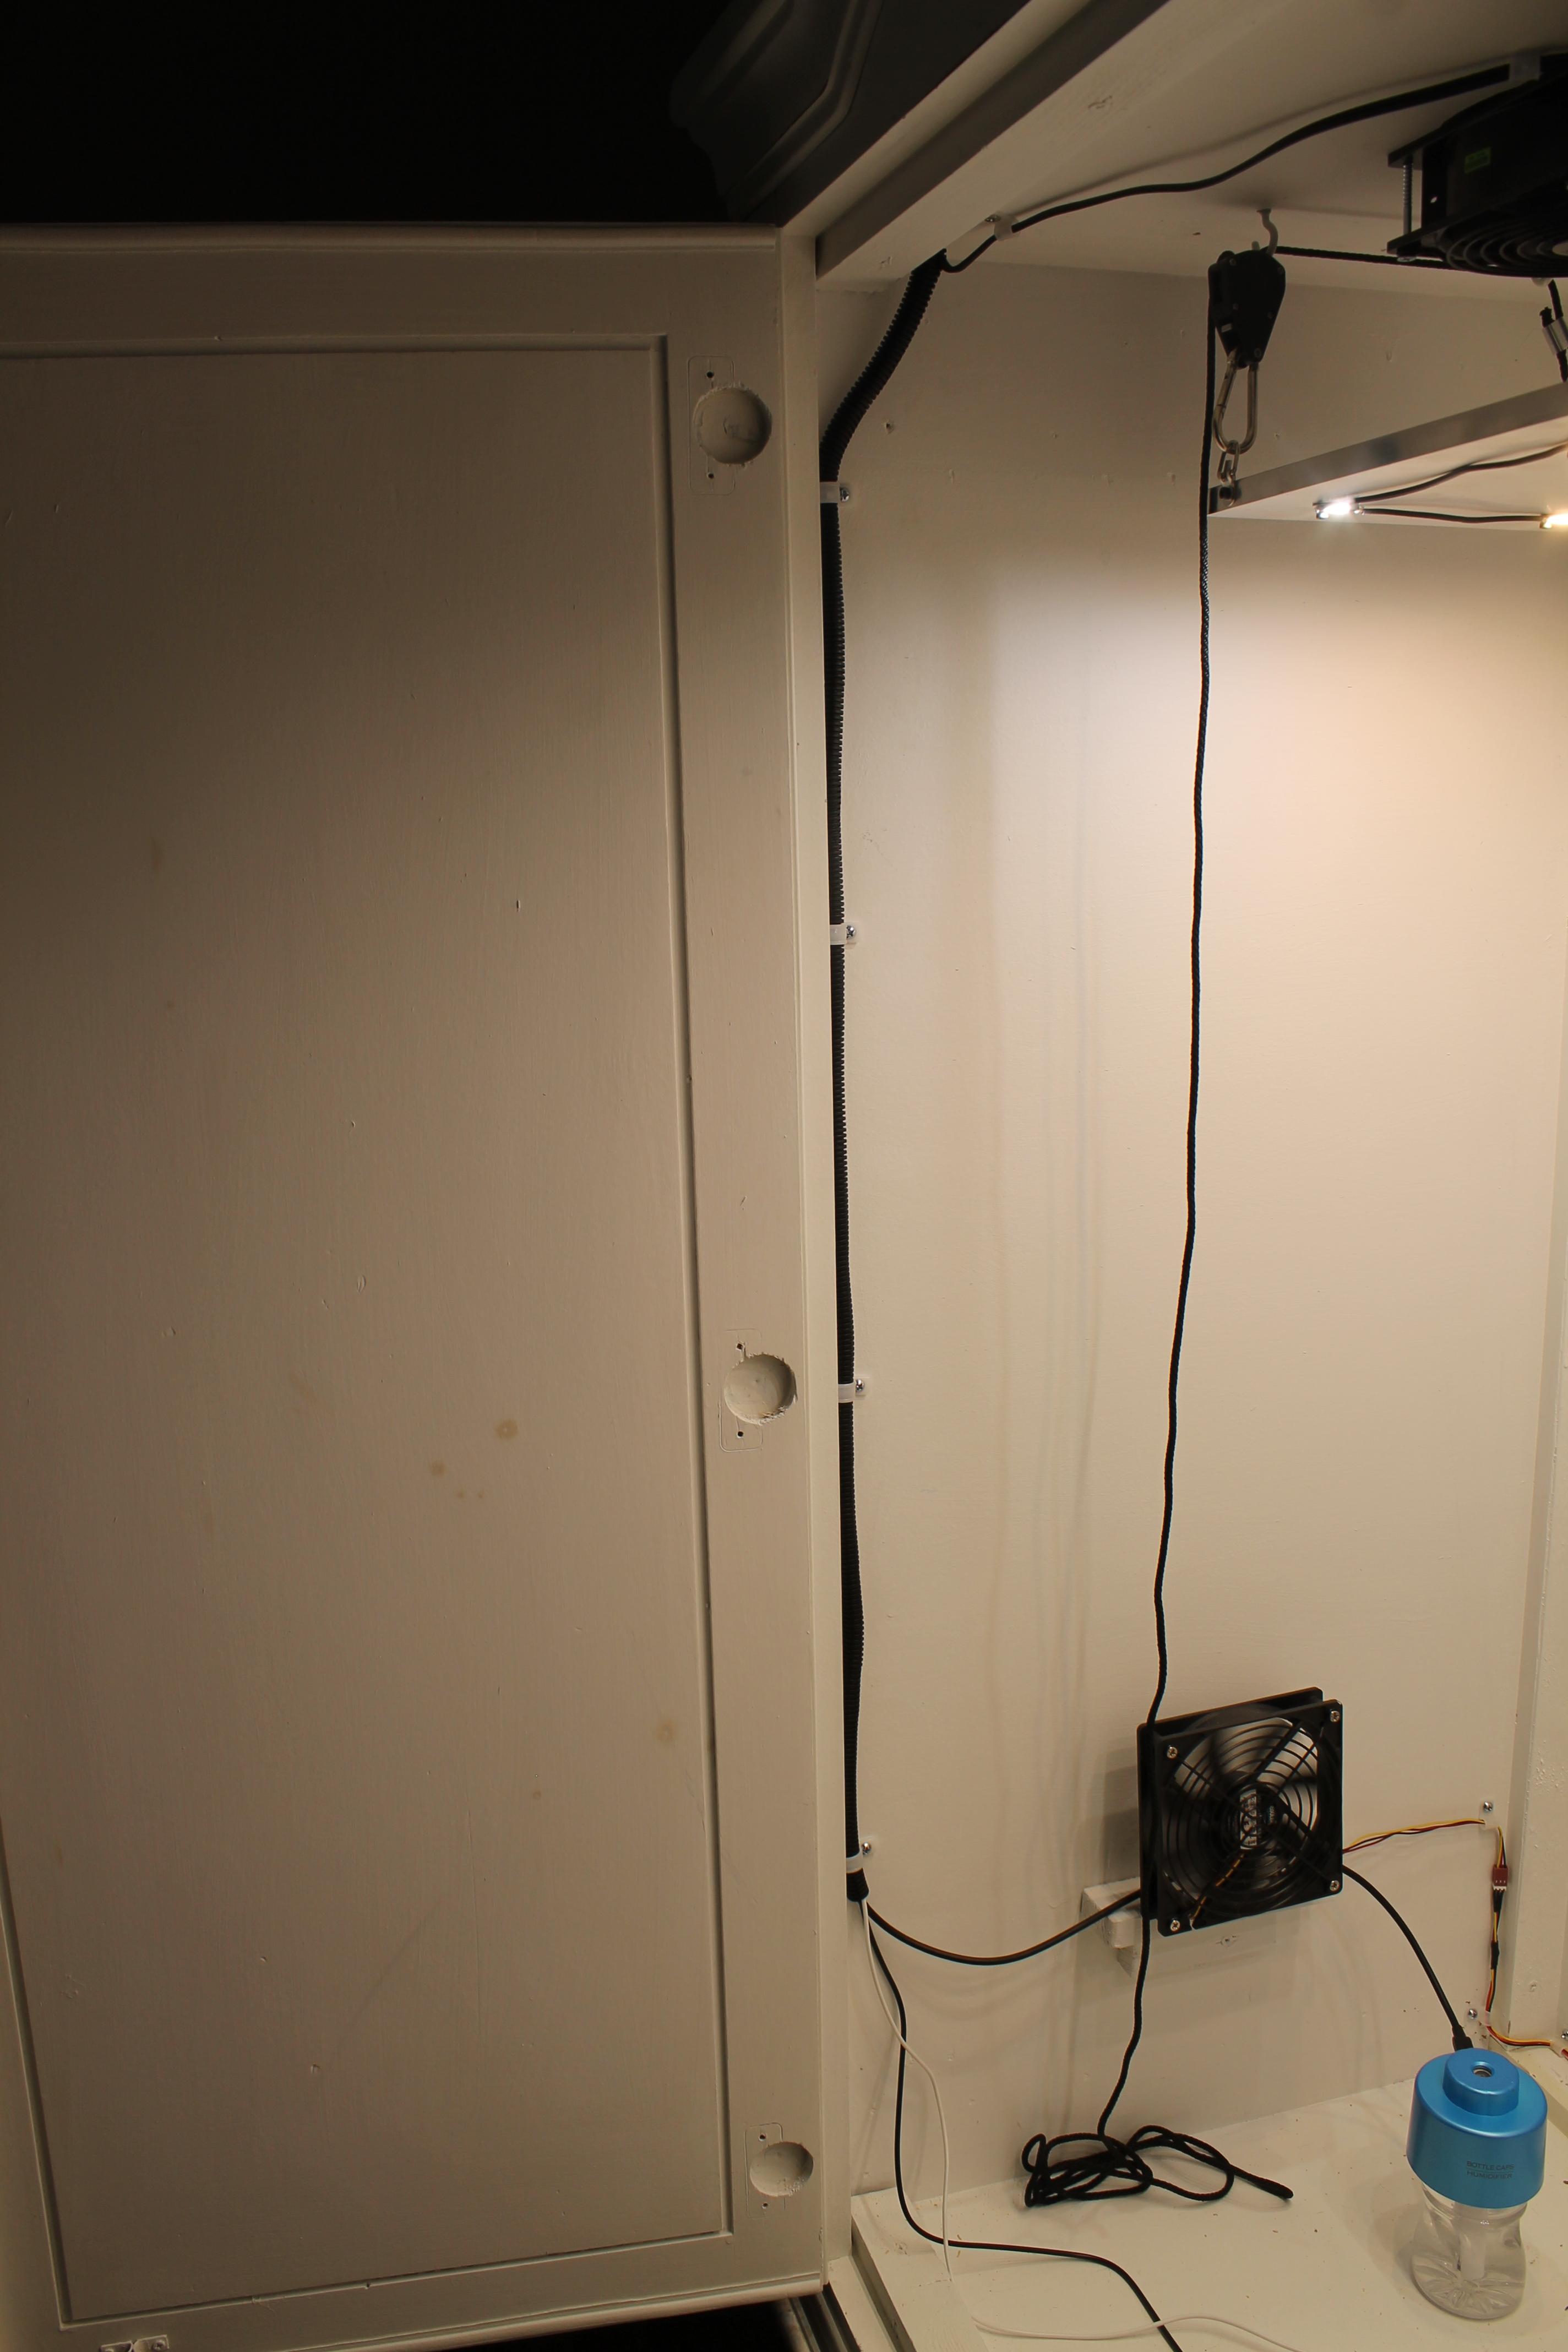
For ventilation, I went with the el-cheapo 4 pack of 120mm Coolermaster fans powered by an APV12-12 and a really cool 4 channel PC fan controller to adjust speed. Planning on running one intake and one exhaust, with the intake running a little slower and the exhaust plumbed through the top of the armoire to a 4" PCV elbow and into a 4"x12" carbon filter. The other two will be above and below the canopy to circulate air.

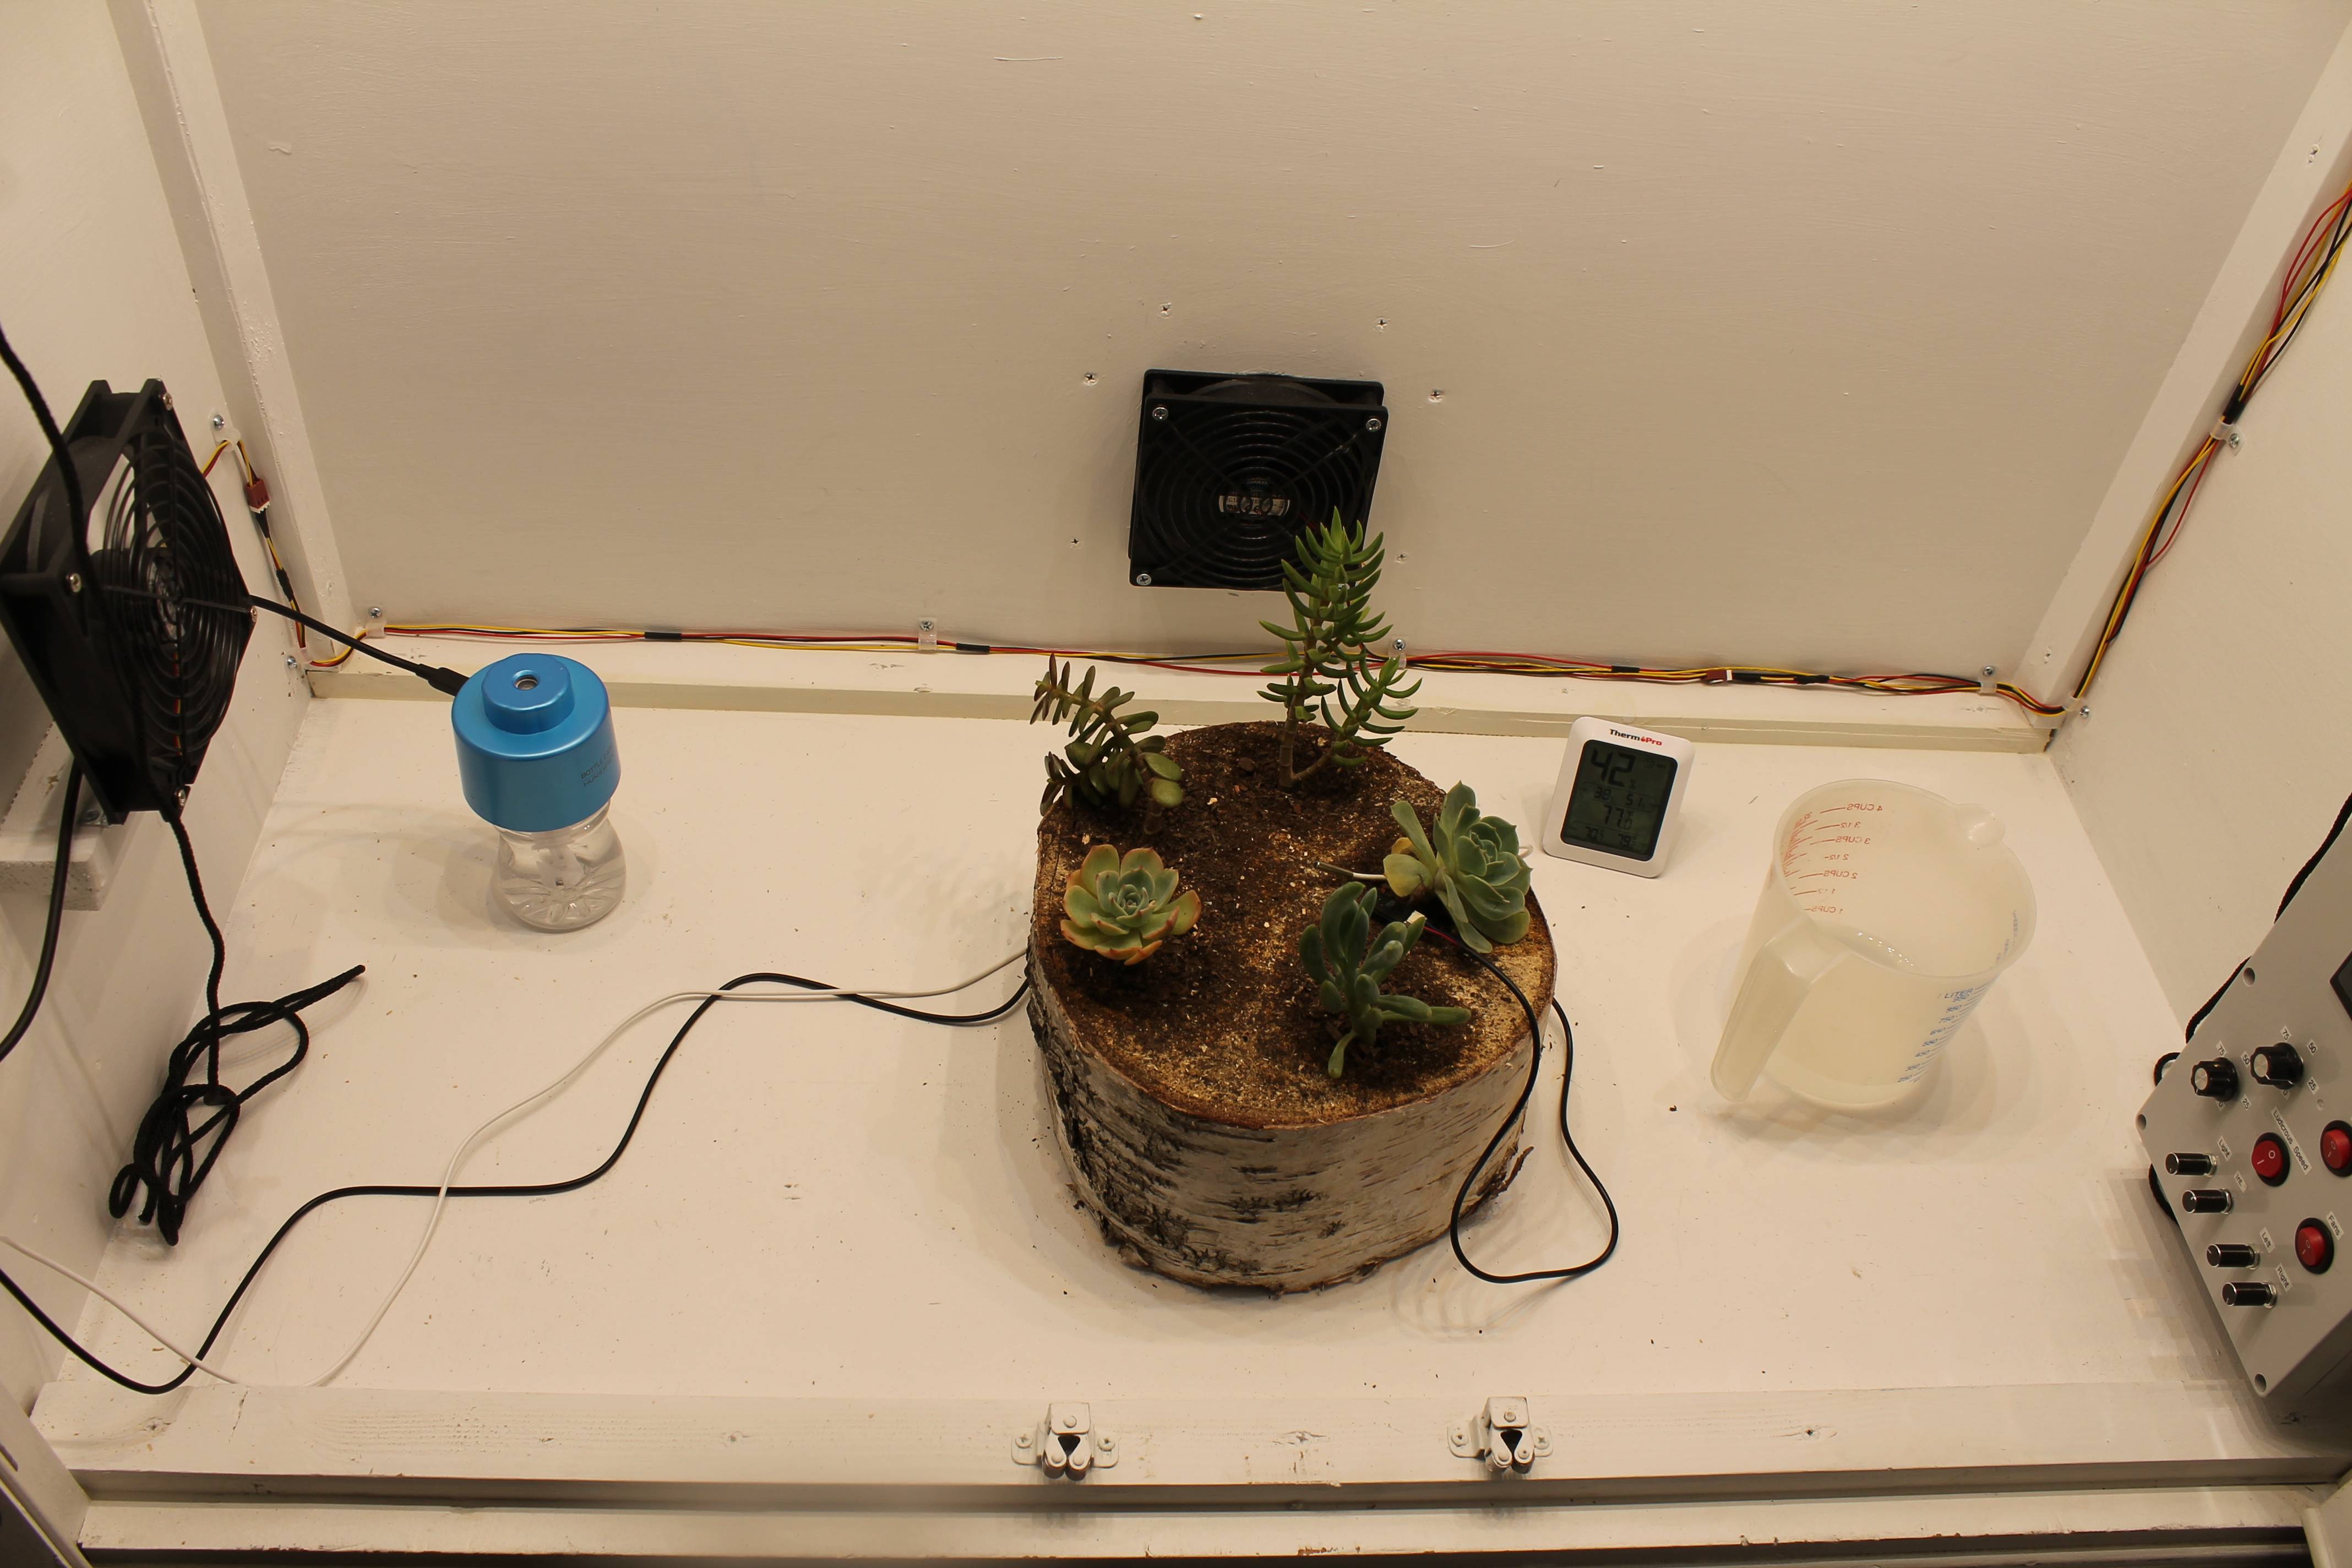
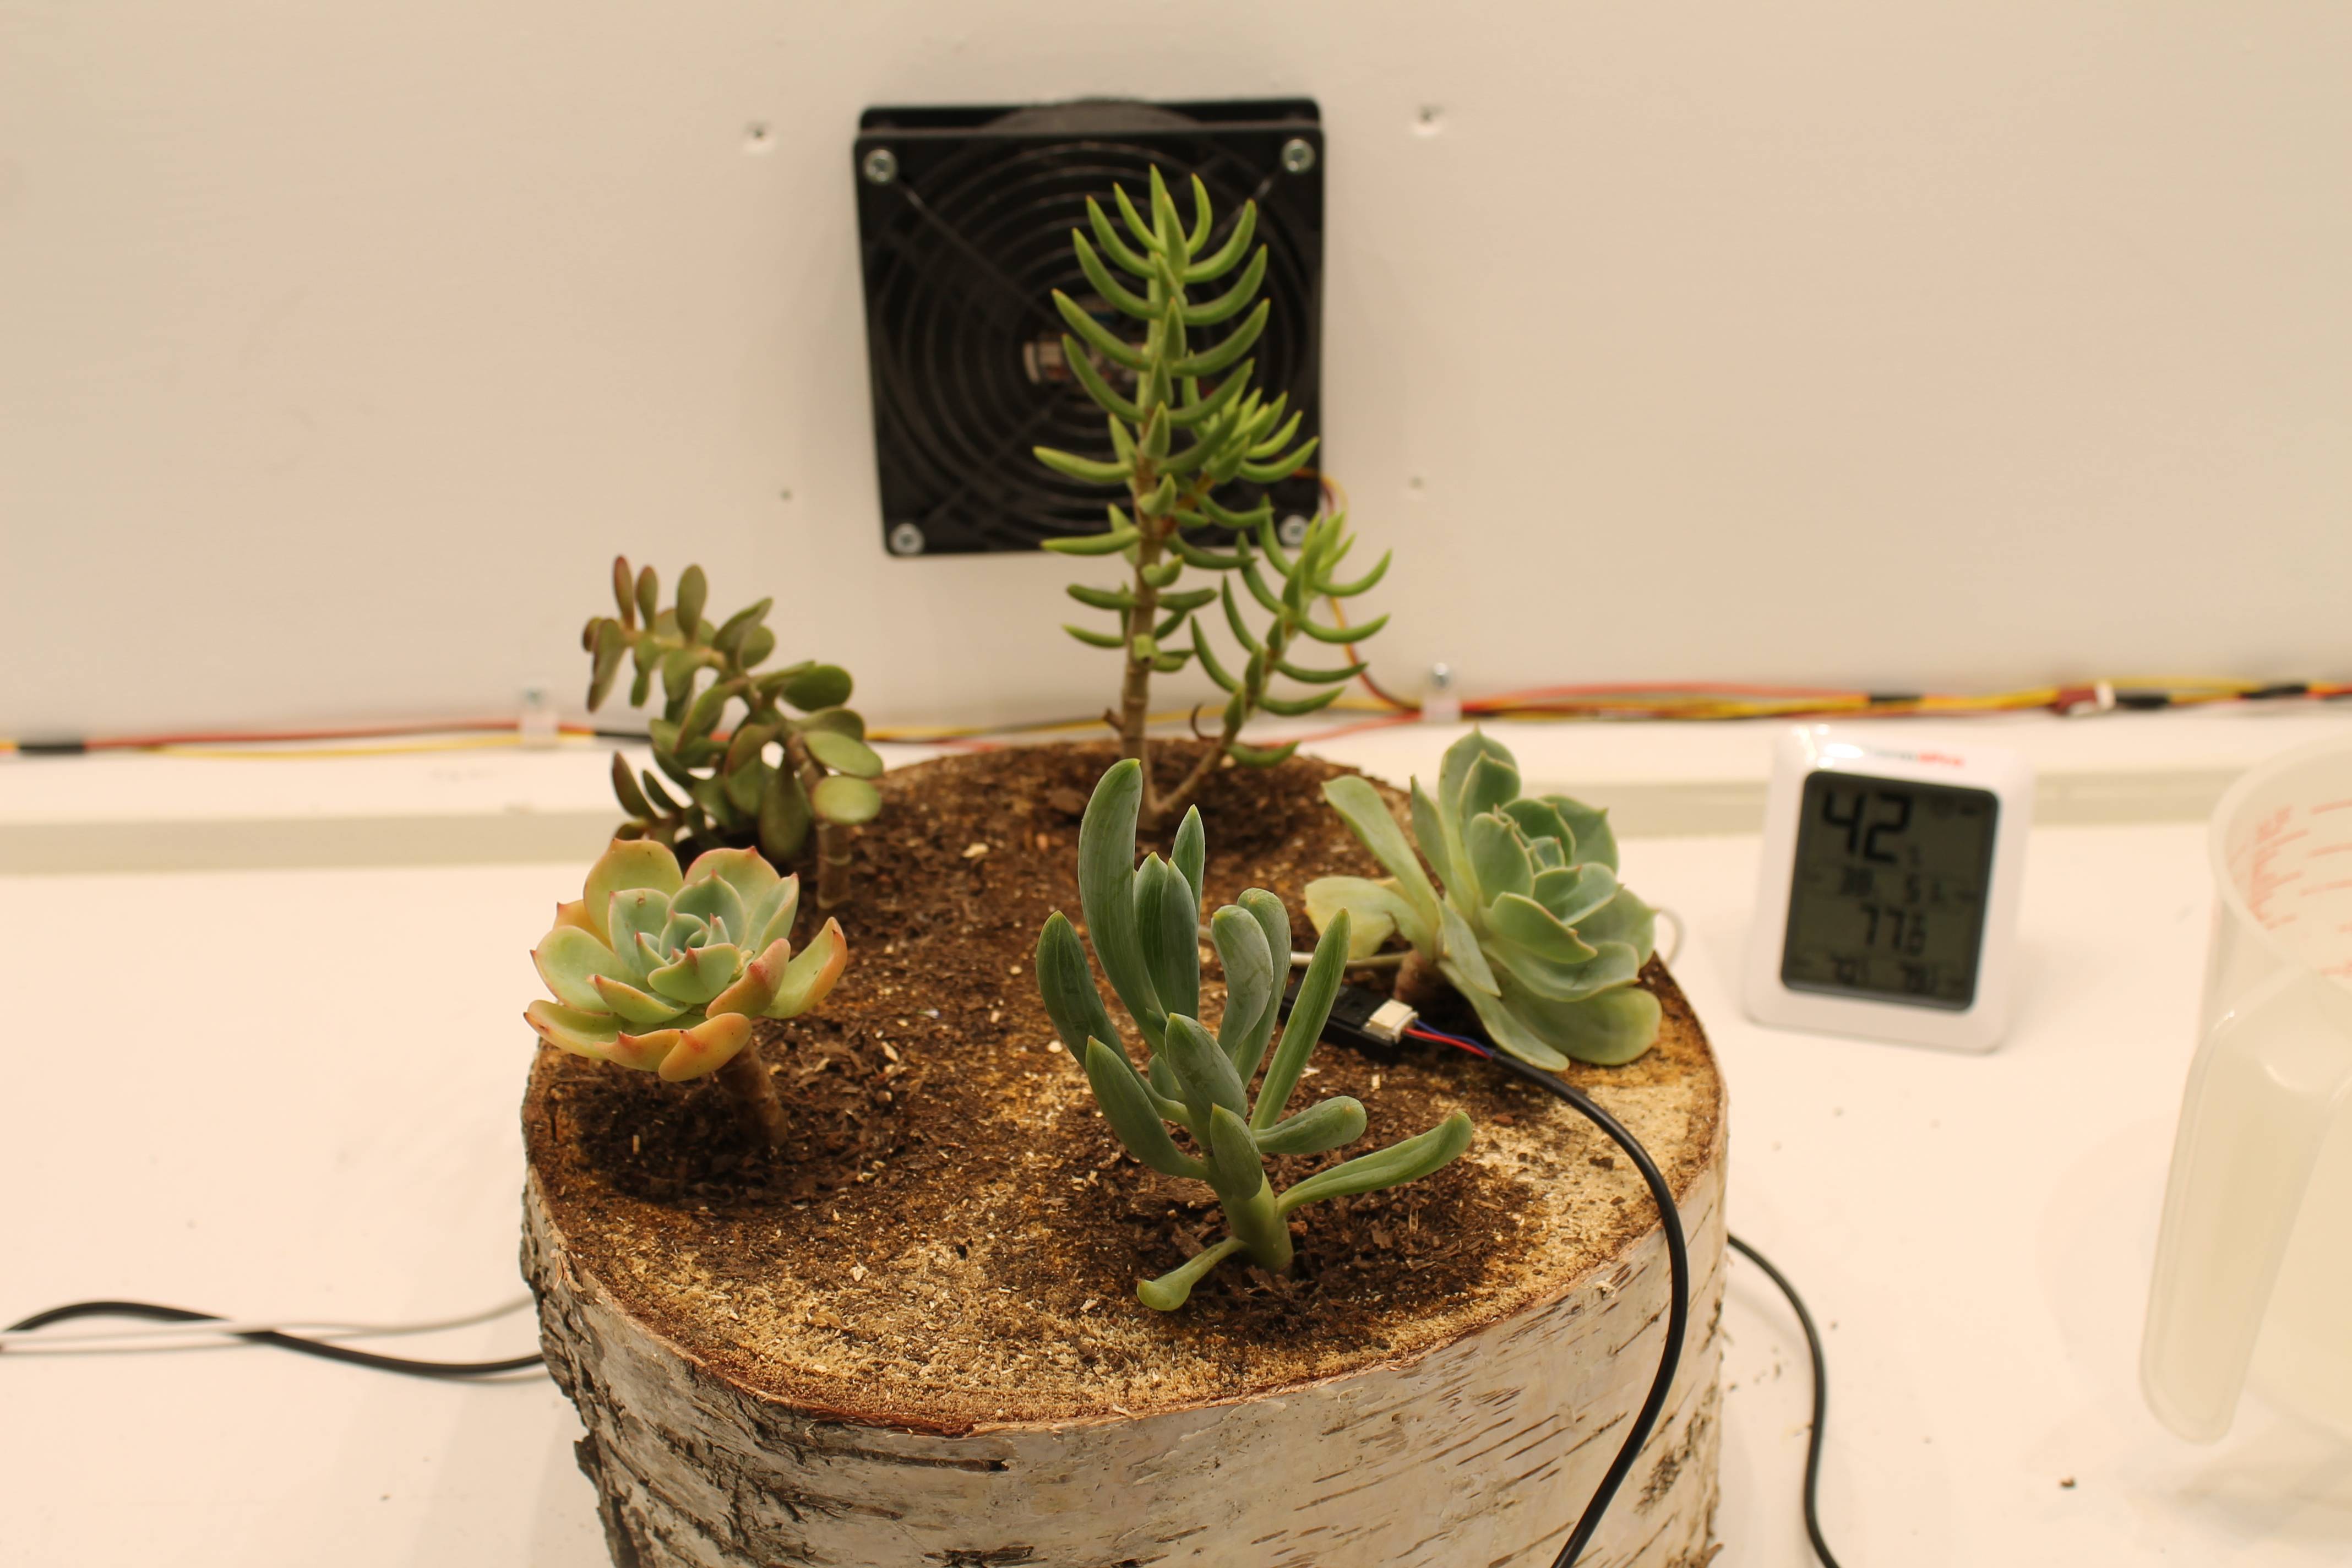
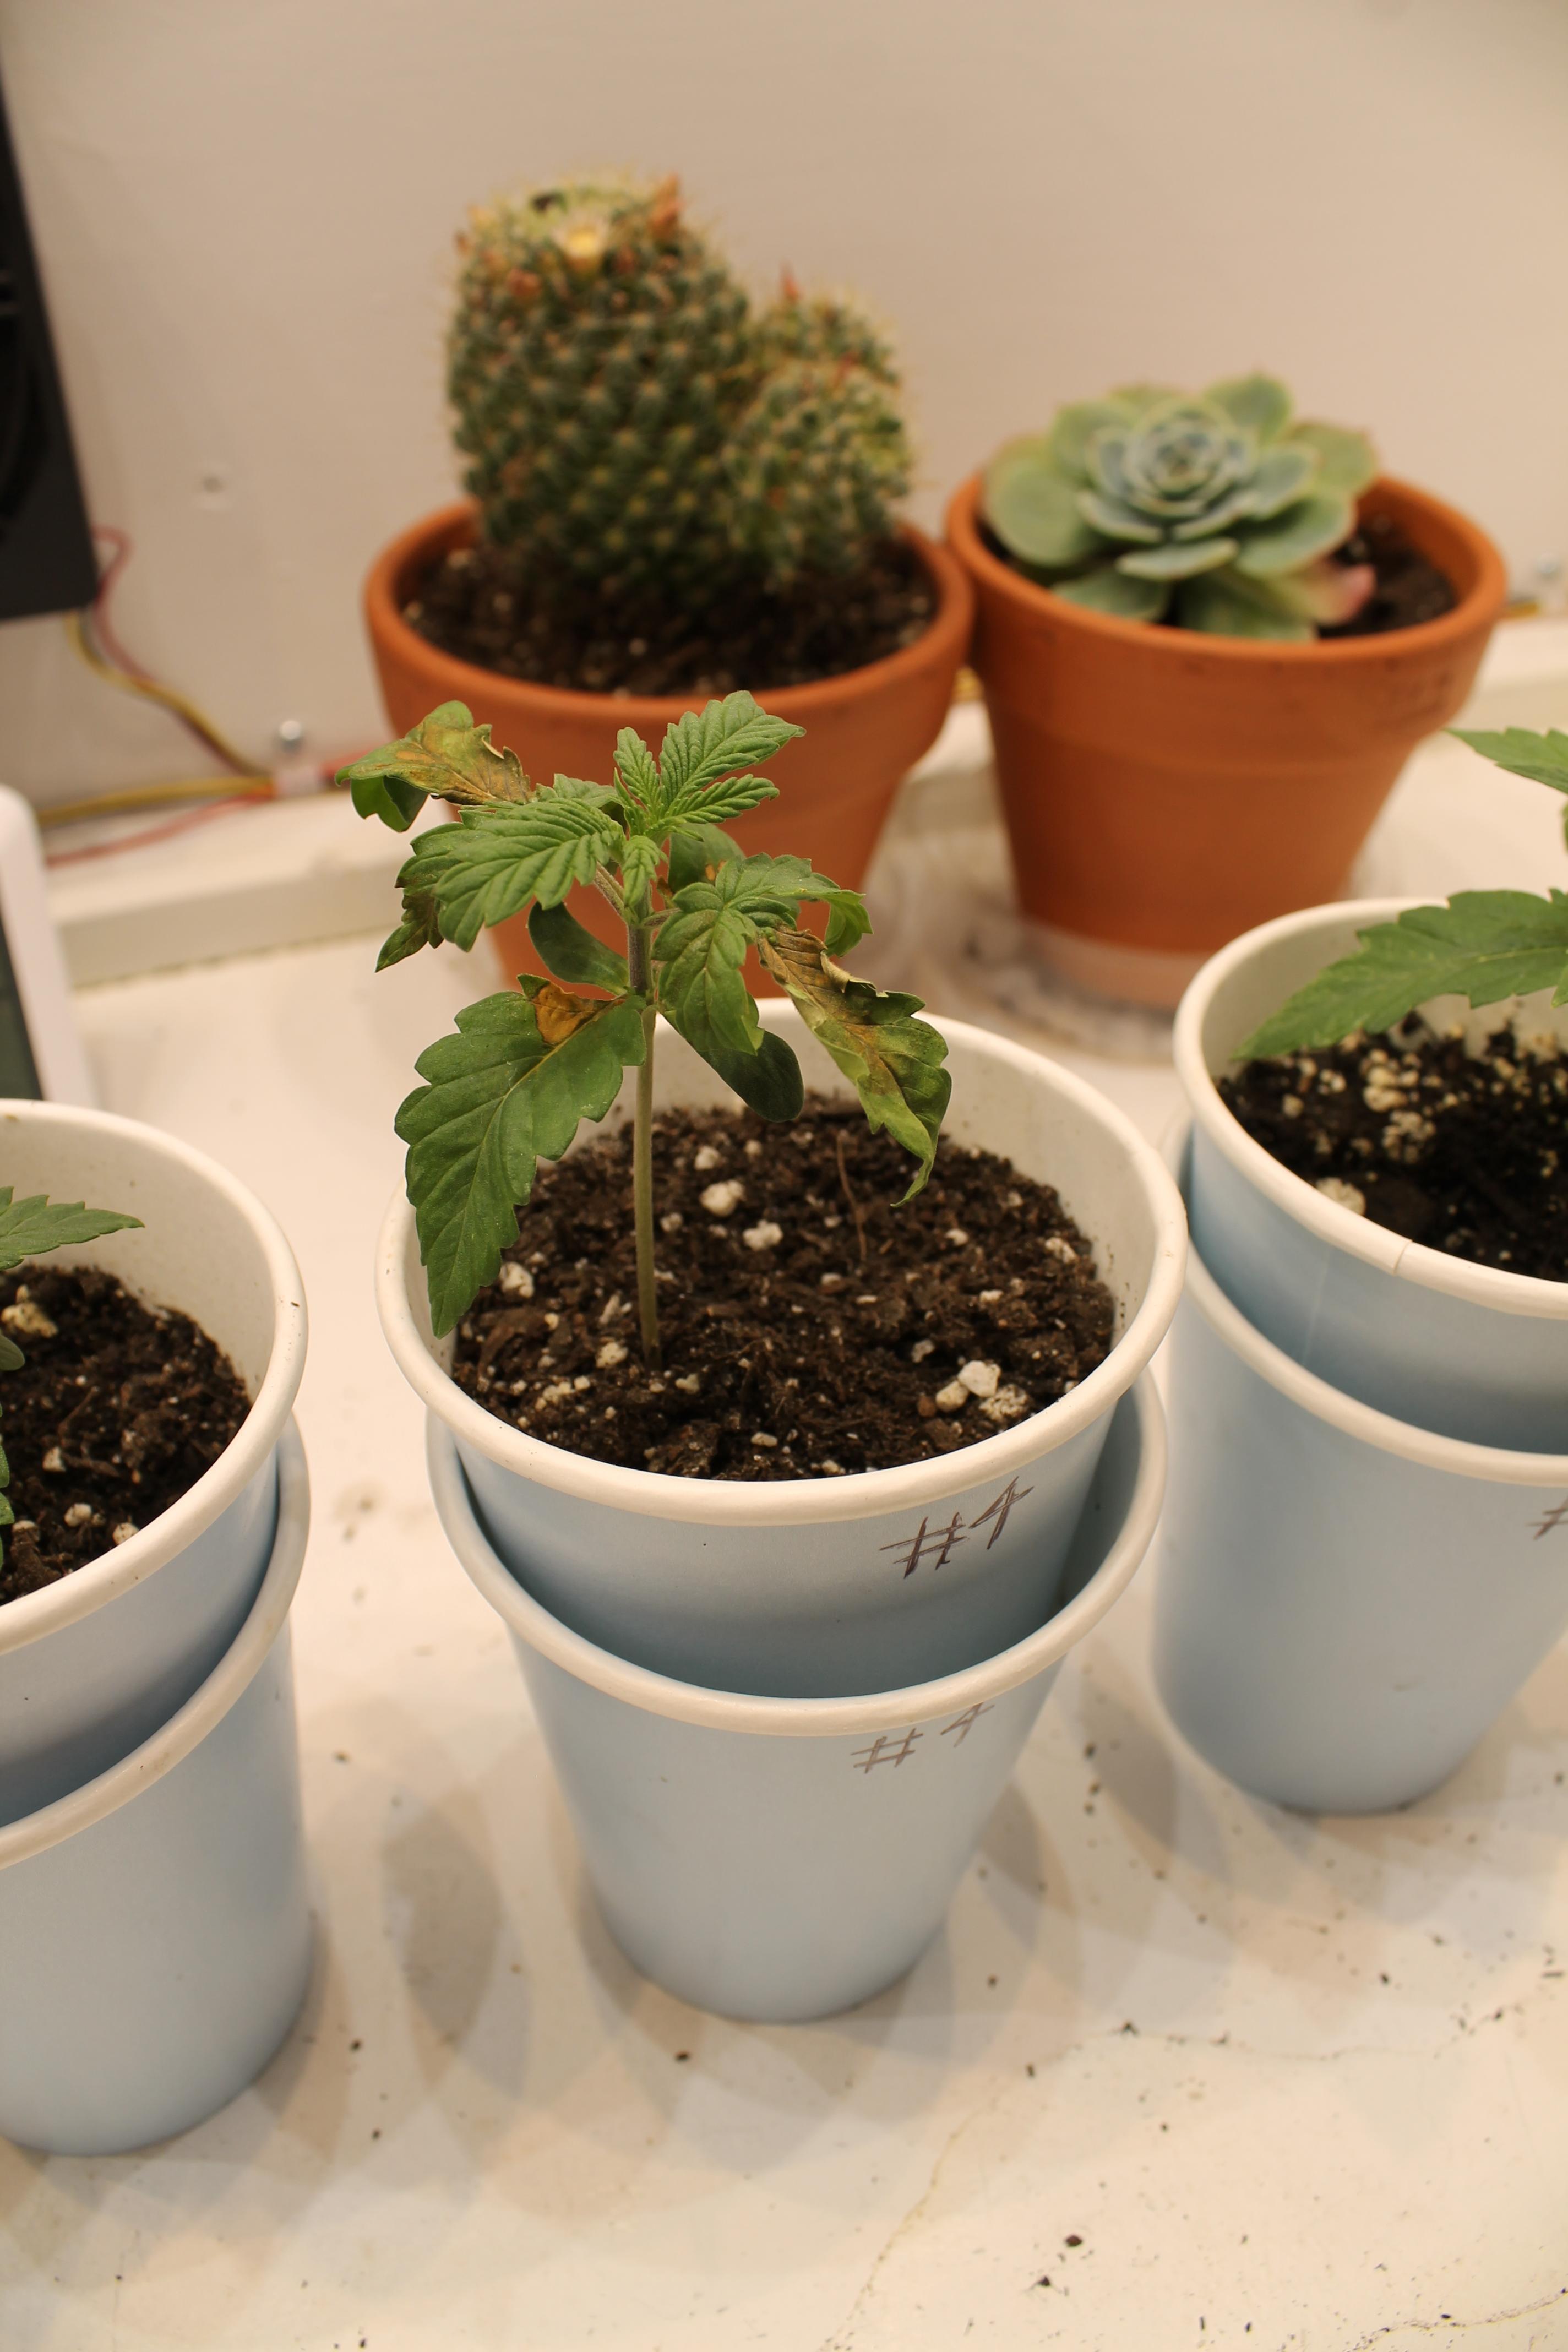
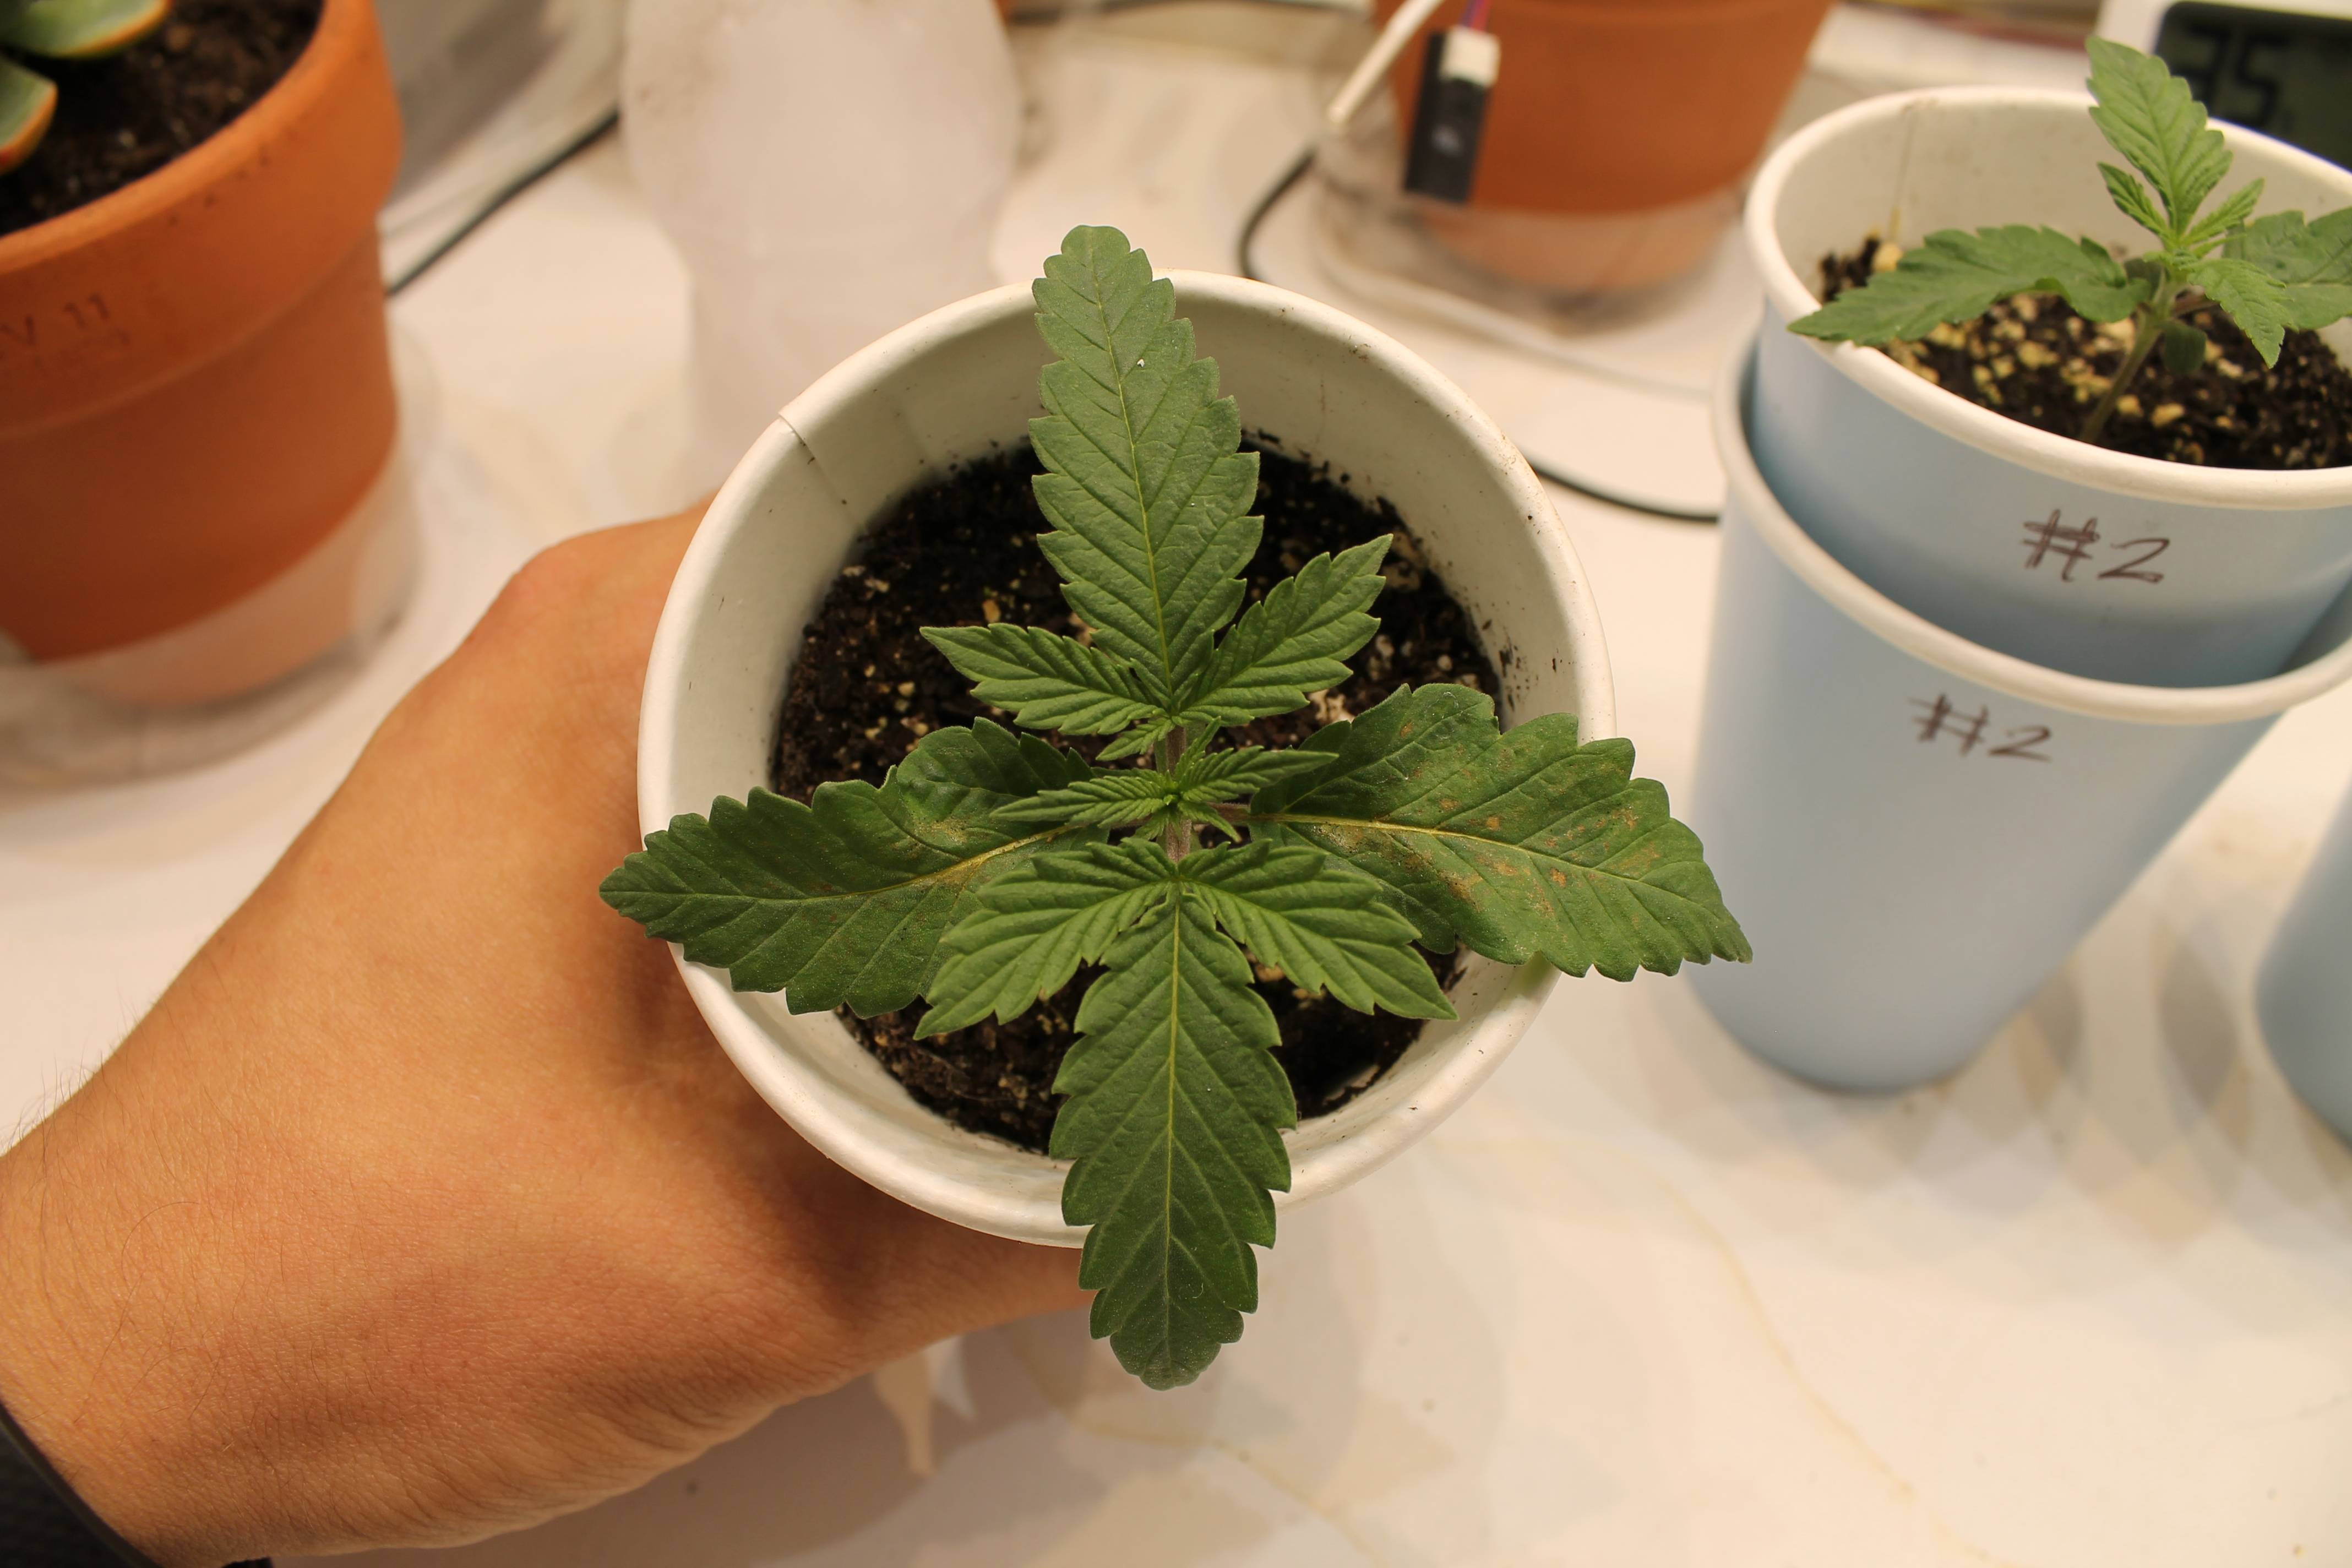
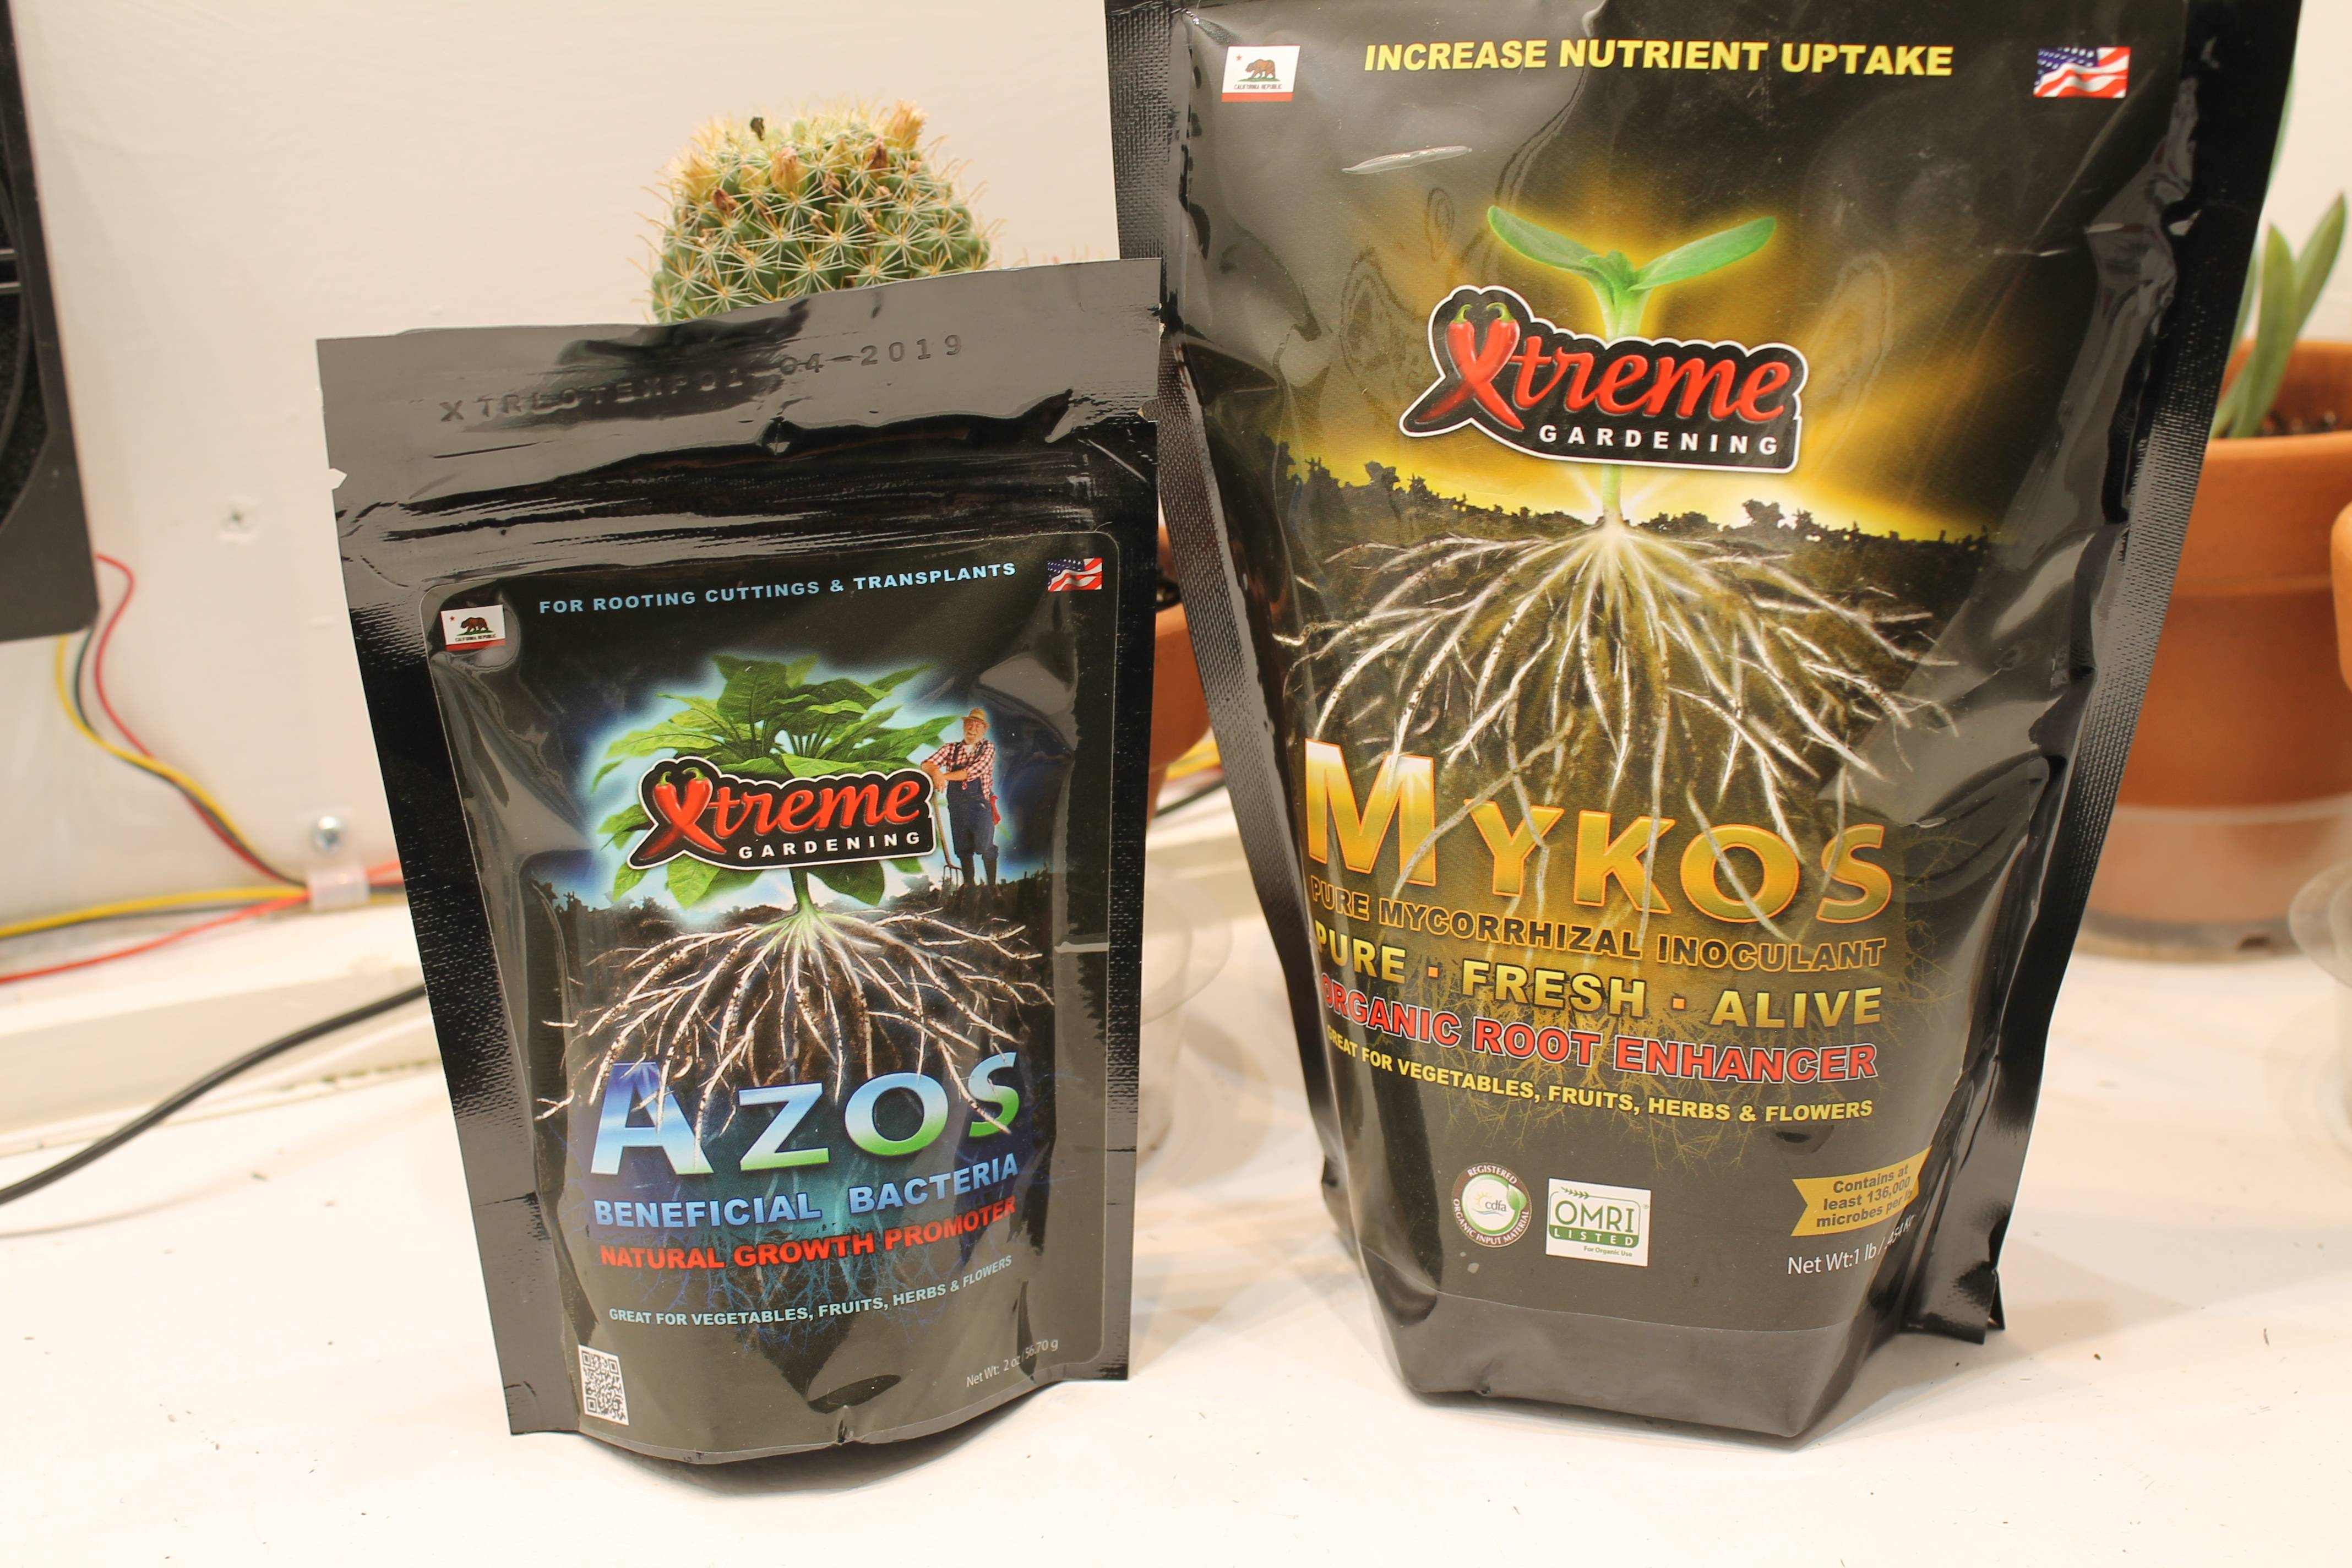
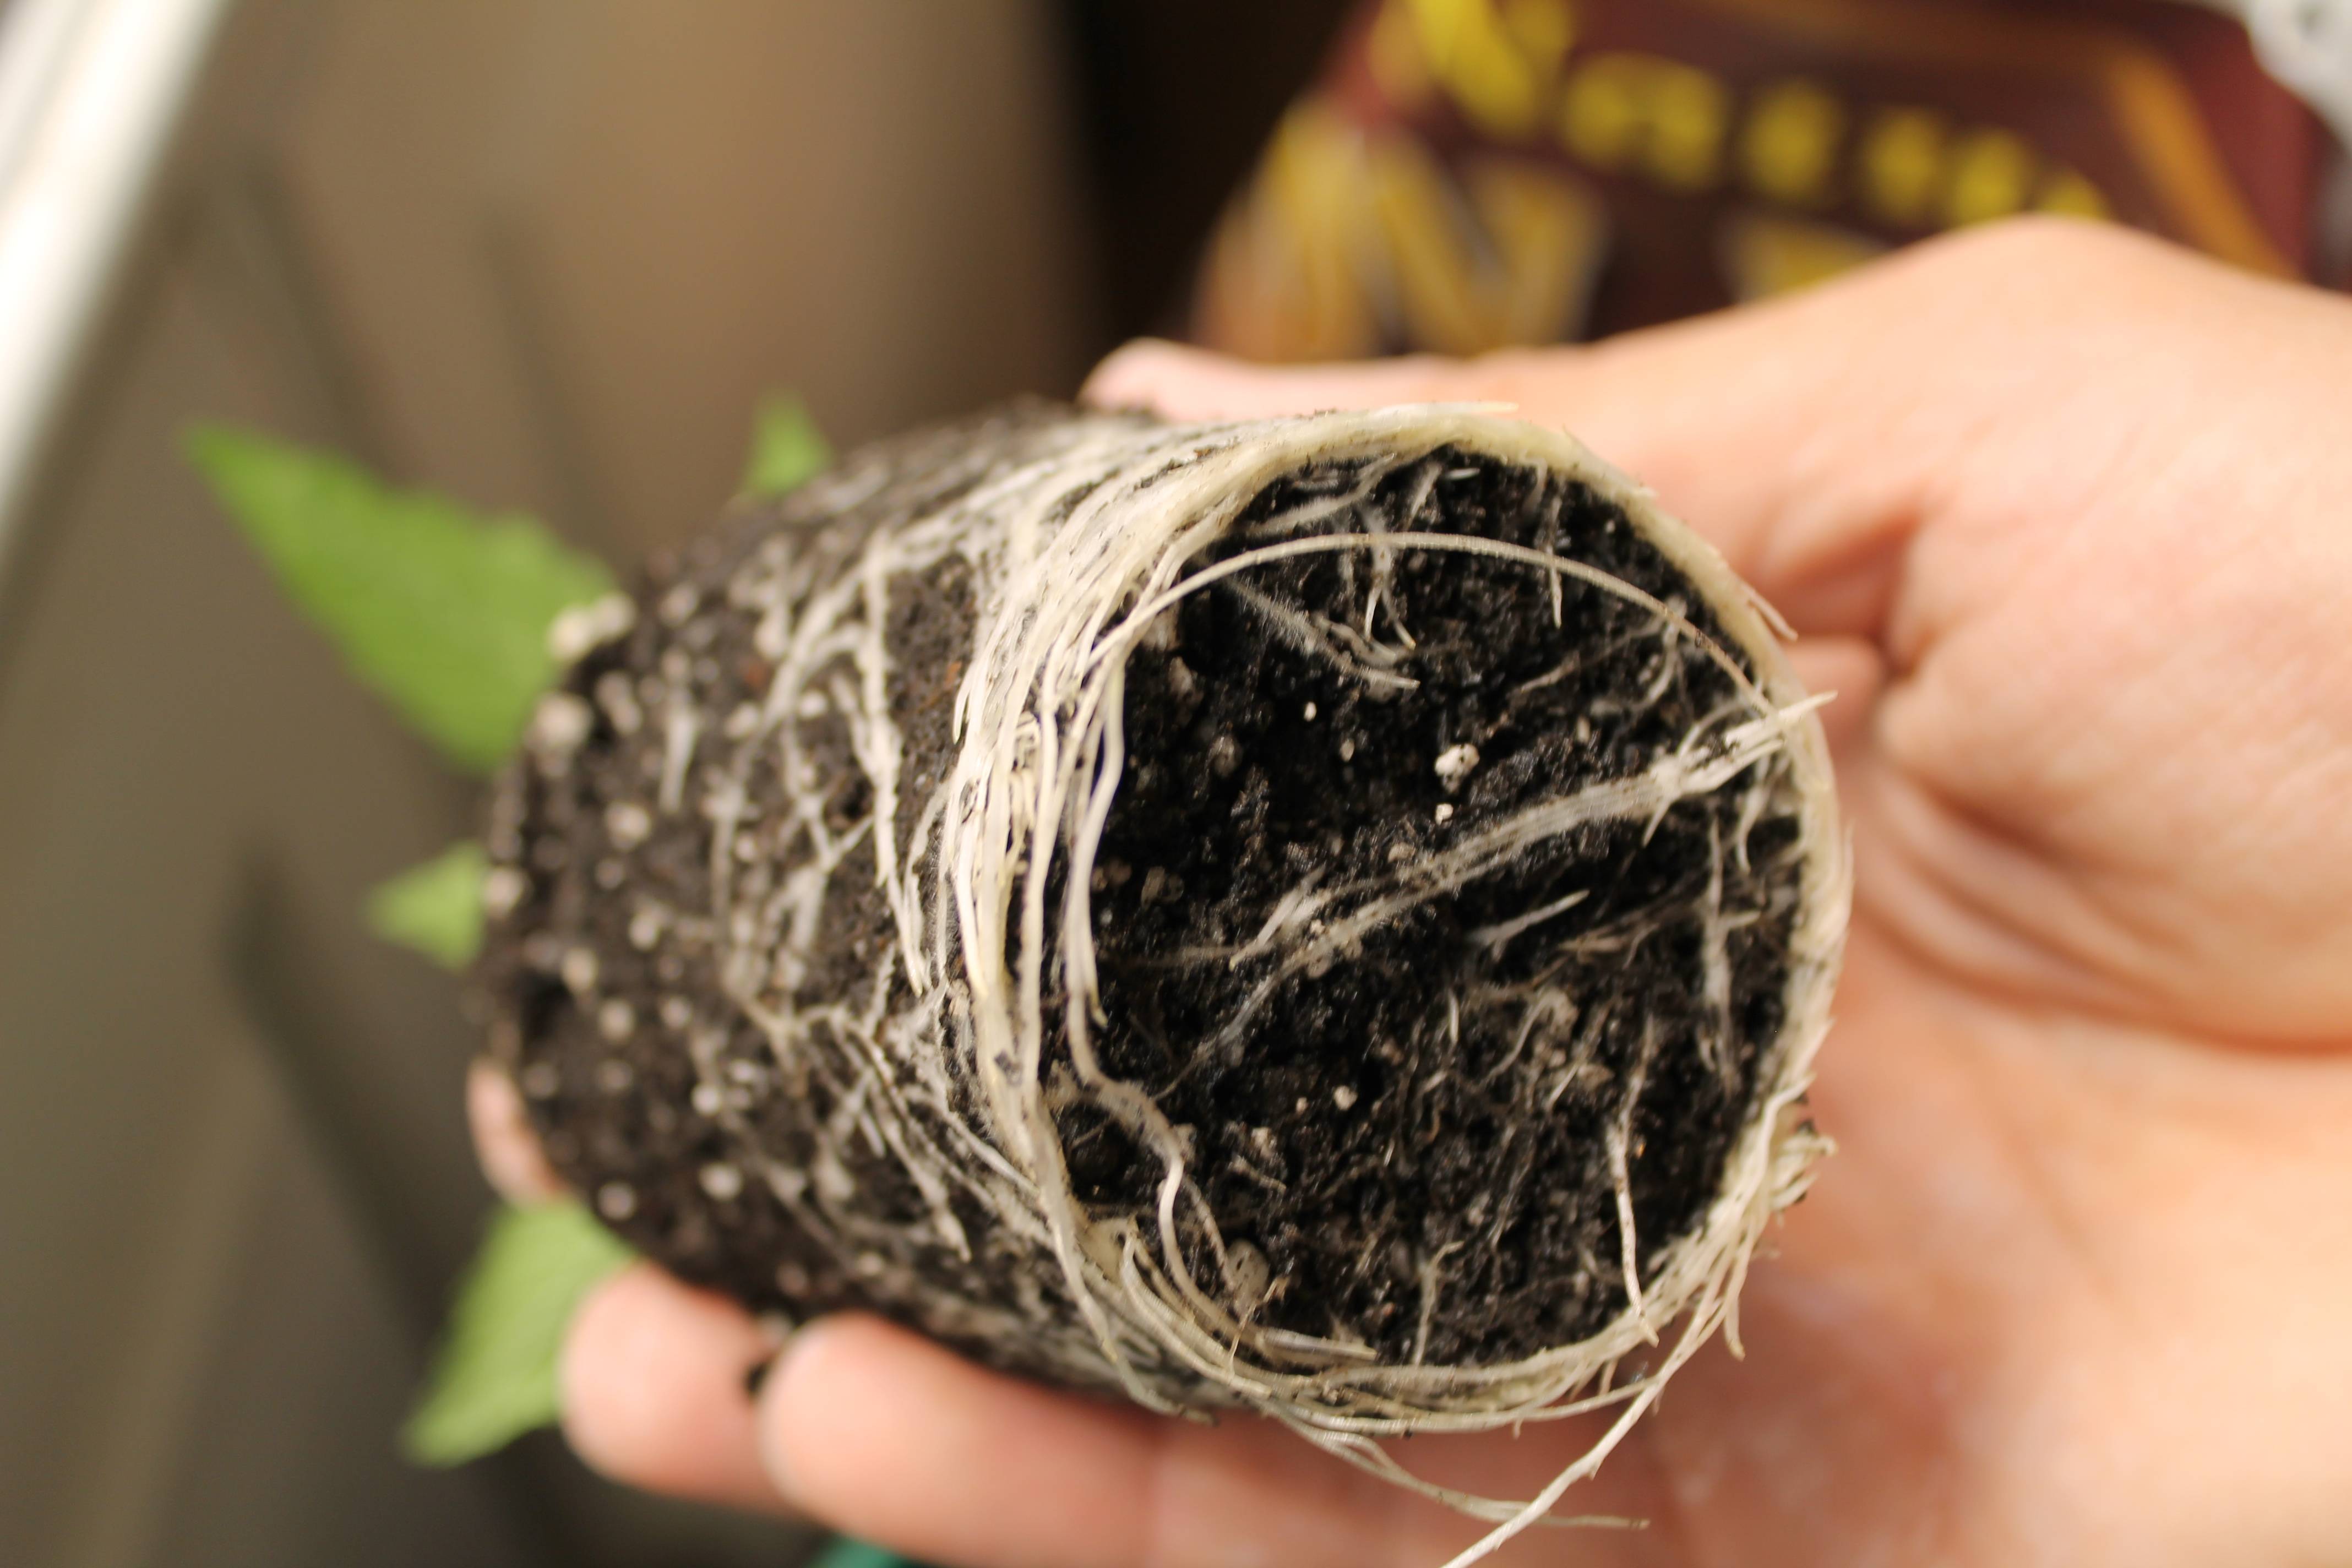
Since I'm new to growing cannabis, I plan to keep it simple in FFOF soil and the basic nutes trio. I've got some good recommendations from my local hydro store for some root enhancers, foliar spray, etc. Planning on running two plants, topped once or twice and scrogged a bit.

What are everyone's thoughts on the light spectrum? I figure the mix of 3000k and 5000k should provide a great spectrum for full cycle. What about the PC fans? My worry is that the one 120mm exhaust won't be enough. I have room on the APV to add one more, or I could just run a cheap inline booster from Home Depot. Anyone have good recommendations for simple nutes for a noob? Should I SCROG in such a small space? I feel like I'm more restricted with horizontal space than vertical in this setup.

I'll update with pics when the parts arrive and the build starts! Thanks for all the info RIU!
 

xX_BHMC_Xx

Well-Known Member
Progress! And pics!

So this is what I started with, pretty beat up and definitely under-utilized. Time to get to work!


First step was to add these cool hinges to the front side so I could remove the old slidey-hinge mechanisms.


Next up was to strip the old hardware and supports out to free up some space in there.


Made a simple wooden frame to block light and to provide a place to run some weatherstripping.


Cut a back panel out of thin plywood and made a hole for the intake fan.


Mounted up with a simple but effective light trap on the backside.


Test fit.


Prepping to mount the collector and elbow for the carbon filter.


Made a tiny shelf for one of the fans, cut a hole for the exhaust, and hit everything with a couple coats of Killz.


Fans mounted. Even re-used the old door catches.


That's pretty much it for the "construction" on the box. Next up comes the fun stuff, lights and wiring!
 

xX_BHMC_Xx

Well-Known Member
After I finished prepping the grow space, I started in on the light and the wiring.
I picked up a 32" piece of 7.984" profile from Heatsink USA, which has barely enough room for an M3 screw to fit between the fins. I started by drilling and tapping the heat sink for the COBs. This $65 Harbor Freight drill press made my life so easy here, and I'm sure I'll use it on more projects. Well worth the $$$.


Drilled, tapped, and sanded relatively flat.


Test fit. Almost like I planned it this way. Not using holders here because the string of 10 CLU038's is way over voltage for even the Ideal holders, and I didn't want to wait for (or spend money on) the HV B&W's. I did end up using little washers though to try to get a little more bite on the COB's.


Sunny side up. 5 3000k and 5 5000k.


Wired up!


Mounted the Vivosun filter to a dust hood designed for a router using a PVC elbow.


Messy.


Made this cool little control panel out of an Amazon project box. Cool digital gauge and a really cool 4 channel pc fan speed control with on/off control for each fan.


Wired up. I plan on adding some reds and uv for flower, so I wired up the extra switch and dimmer. I found these cool little Ideal push-in connectors at Home Depot. Similar to Wago's but single-use; only $2.50 for a bag of 10.


Hung the light with some picture frame hangers and cheap ratchet adjusters. I'll probably ditch the adjusters soon and tuck the light up close to the ceiling with some wire, I don't plan on moving the light really anyway. I also found these sweet water-resistant connectors so I can remove the light if needed.


We have photon production!


Almost complete!


Interior wiring.


Exterior wiring. Meanwell HLG240H-C700B and an APV12-12.


Full power.


Minimum power.


Finished product. Stealthy enough for my needs and I even fixed the lower door! I still need to seal up a few little gaps and build a SCROG frame/net. Waiting til payday to hit the hydro store and get this grow started.


This is my current problem though. The little 120mm fans just don't have the power to move the heat out of the box, only 44cfm. At full power temps quickly get over 90 and the heat sink is very hot, too hot to hold my hand on. I'm going to get a little 100cfm booster and move the pc exhaust fan to the heatsink. Hopefully I can get temps under control then.


This will be my first grow and I'll keep a log of it here. Any tips or suggestions are welcome. Let me know what you think of the setup! Of course, thanks for all the knowledge RIU!
 

xX_BHMC_Xx

Well-Known Member
Update! A small one anyway...

I was noticing these little black spots on the phosphor appearing on some of the COBs, and I got a bit worried.


So I flipped the lights on and got the best pic I could using the screen on the back of the camera, for obvious reasons.


Well, at least they still all light up... the little dots look like burn marks. Maybe I was just a bit careless with the solder? Not sure. Anyway, they all seem to be fully functional, so no worries I guess.

I had to get my environment in check. My temps were hitting 90F+ and humidity down to 11% with the lights at 180w on 18/6. Not acceptable to me, even without a couple plants in there respirating. So I stole a page out of Dirt Man Dan's book and grabbed Willhi humidity and temperature controllers, plus the little Bottle Caps humidifier and an AC Infinity exhaust fan. I'm sure I could have built a controller for less, but I just didn't want to invest the time tbh.


I can't say enough about this AC Infinity fan. I'm actually super impressed considering it was $19. All metal construction, moves a ton of air for its size (rated 110cfm), and actually isn't too loud. Plus, it plugs right into an AC wall outlet, which makes the temp control suuupper simple.


I also grabbed a Coolermaster 200mm fan to cool down my heat sink. It's so close to the top of the box, there isn't enough air movement and it gets too warm for my taste. I wasn't ready for how big this thing actually is. Dead silent too.


AC exhaust fan mounted.


Heat sink fan mounted. I just re-routed the old DC wiring for the old exhaust fan and plugged right into the new 200mm fan. Runs dead silent at like 700rpm. Sweet. Heat sink thanks me.


The only thing I don't like about this humidifier is that it has a little blue light inside the cap that turns on/off with the humidifier. I might have to paint the inside black or something. Don't want any light inside the cab at night.


Mounted up top. I ran a second conduit down this side of the box for the temp/humidity sensors and the usb cable for the humidifier. Also ran the AC power for the exhaust through the same hole.


Cleaned up my wiring a bit.


Done! Install was really easy, and temps/humidity have been perfect since. Got some succulents chillin while I run tests and wait to hit the grow shop.


Beauty shots:


Still need to seal things up with silicone and get a dust filter for the intake. And load up at the grow shop. Getting real antsy at this point. Really looking forward to getting started!
 

brewbeer

Well-Known Member
Nice work @xX_BHMC_Xx . Where did you source the digital multimeter from? I'm getting ready to start my cabinet build and want to incorporate meters like you have.
 

xX_BHMC_Xx

Well-Known Member
Nice work @xX_BHMC_Xx . Where did you source the digital multimeter from? I'm getting ready to start my cabinet build and want to incorporate meters like you have.
Thanks! I got it on Amazon, same people that sell the one that displays v/a/w/Kwh all at once, just a little cleaner. You can switch between w/Kwh using one of the little buttons. Just search "AC digital voltmeter ammeter" and it should pop up.
 

xX_BHMC_Xx

Well-Known Member
Alright, as promised, it's time for an update!

All 5 bagseeds germed in a water glass overnight, then in a damp paper towel for another 12 hours or so. All 5 sprouted healthy taproots, so all 5 got planted right into the Happy Frog with no amendments. Today is day 11 since the first seed sprouted and things are humming along. Growth is a little slower than I expected, but not too far behind. There are two distinct phenos emerging. Looks like I might have two sativas and 3 indicas. Yay bagseed! I need to transplant in the next couple days, probably going to have to wait for my day off to get to the grow shop. Temps are staying between 70-85, usually hovering around 81. Humidity hovering around 40%, though it has dipped just below 30% briefly. I might try a frozen bottle of water to cool things off a bit.


#4 was the first to pop, but kept her shell on like a helmet for a couple days and she got real leggy. Now shes not lookin too hot. I'm getting mad curling on all leaves, and some nasty looking discoloration in spots. At first I thought it was just over watering, but things have taken an ugly turn over the last couple days.


First, a little rust-colored spot appeared on one of the first true leaves. Now I'm getting more yellowing and also some dark discoloration on the second set of leaves. Things are getting worse by the day. Anyone have any suggestions? I haven't been PHing my water because I'm in soil and my city's water comes out about 7, but I'm thinking I should start. HELP!

I'm noticing some little critters crawling around on my leaves as well. They look like they could be thrips, but they're so damn tiny I can't get a good look at them. I can see a few crawling around, but they are on different plants, and only #4 is showing real signs of damage. Also, the symptoms aren't consistent with thrip damage I have seen. I'll probably pick up some neem and diatomaceous earth just on general premises. Any ideas?


I'm also finding little tiny black spots on #3. (Really hard to see in this photo)


#1 and #5 are looking great! Very healthy. These two might be the keepers.


That's all for now. I would love some help diagnosing poor little #4 and any suggestions on how to keep temps down and humidity up. Thanks for all the help RIU!
 

Serva

Well-Known Member
Really nice cabinet!

Your humidity isn't a problem for seedlings. But if you need to get it up while you are using clones, the only way is a proper humidifier ;)

And from what I see, I would guess they are too wet. Some will get problems, while some won't....
 

xX_BHMC_Xx

Well-Known Member
Really nice cabinet!

Your humidity isn't a problem for seedlings. But if you need to get it up while you are using clones, the only way is a proper humidifier ;)

And from what I see, I would guess they are too wet. Some will get problems, while some won't....
The soil looks really dark in these photos, but I haven't watered in a few days. These little paper cups don't drain that well though... gonna transplant tonight or tomorrow so hopefully they bounce back. Any way to help the sickly one now?
 

xX_BHMC_Xx

Well-Known Member
Transplant Day!

The girls were looking a little rough and out growing the little paper cups. Time to transplant!


#4 was looking much worse than the other day. Lots of yellowing and curling. No bueno. However, everyone else was looking ready for a new home.


#1 looking like the best of the bunch.


#5 looking good, just a little calmag deficiency maybe?


Root growth!


These girls were ready...


Well, there was only room for four ladies in these #1 Smartpots, so I had to make a decision. Pretty easy call considering the sad state of #4. All 4 ladies got some tap water PH'd to 6.5, and a hit of GH CalMag along with the Azos and Mykos for the transplant. I wouldn't use these paper cups again, if I did I would be sure to make some larger drain holes in the bottoms. Too wet. Time for veg!
 
Top