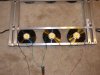
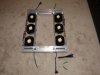
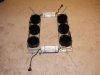
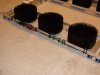
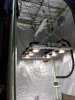
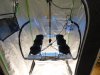
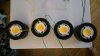
Very nice! best use of a 3D printer, ever. Brilliant man.Hey! New here. Just put together my 300w kit from Timber. I'm a nerd so I 3d printed some connectors for the L Channel to hold everything together and a holder for the dimmmer. Would have done a power plug to but needed the little extra length.
View attachment 3784950
View attachment 3784951
View attachment 3784952
View attachment 3784953
View attachment 3784954
View attachment 3784955
Edit: you were close to a screwless design. Something to shoot for..?
Last edited: