REALSTYLES
Well-Known Member
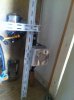
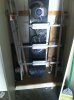
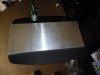
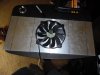
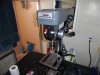
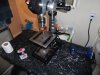
Today I will be building a 413 watt panel with Cree CXA 3590 cobs. I can only build one for right now, I have to wait for the rest of my drivers to come in. Here are some of the things you will need.
- Tools: wire stripper , drill ( I have a drill press), drill bits 1/8, 5/32, 3/16, 3/16-NC18 tap
- Misc: solder, shrink tubing, 18ga wire I use solid wire not twisted for my application, because I'm using cob holders that eliminates having to solder wire to cobs, wing nuts and #8 x 1/2" self tapping screws, thermal grease
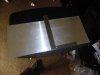
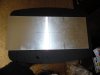
- Parts 8 - Cree CXA 3590, 8 - Ideal 2303CR(cob holder), 1 - 10" x 24" heat sink, 4 - 5/16" x 3-1/4" eyebolts and 2 - 3/16" chain cut to 6 links= 1ft, 4 - #10-24 x 2-1/2" machine screws and 2 - #8-32 x2" machine screws with the nuts and 4 spring chain links.