firstnamelast
Well-Known Member
Happy New Year FNL, right on!
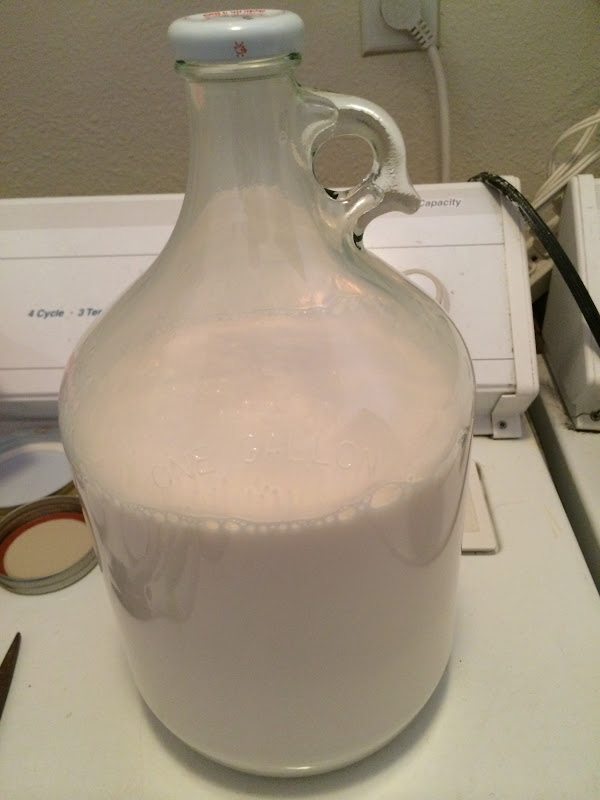
If so, to #5, for sure I would suggest probiotic living soil. Even if not, I would still suggest probiotic living soil, lol... if you want to learn the best way thats the ticket.
- First, have you got a worm farm by chance started yet, cause fresh castings are so powerful its not funny, and store bought suck so bad its sad!
- Also, indoor grow I assume?
- Lets start with your grow space size including height allowance. That will help determine a soil volume we're after.
- And are you growing shorter flowering indicas or longer flowering sativa.. 8 wks vs 14-16, That will determine a couple things too.
- And are you growing for medical reasons, or for anyone with a compromised immune system or vegan lifestyle..that would determine whether you should go probiotic and avoid low grade factory farm animal products and their untasty additives. Which I like to avoid as is, overall, minus Frass, castings, and a bit of fish bone meal or crab shell meal, which I also aim to phase out but still use here and there.
Ps.
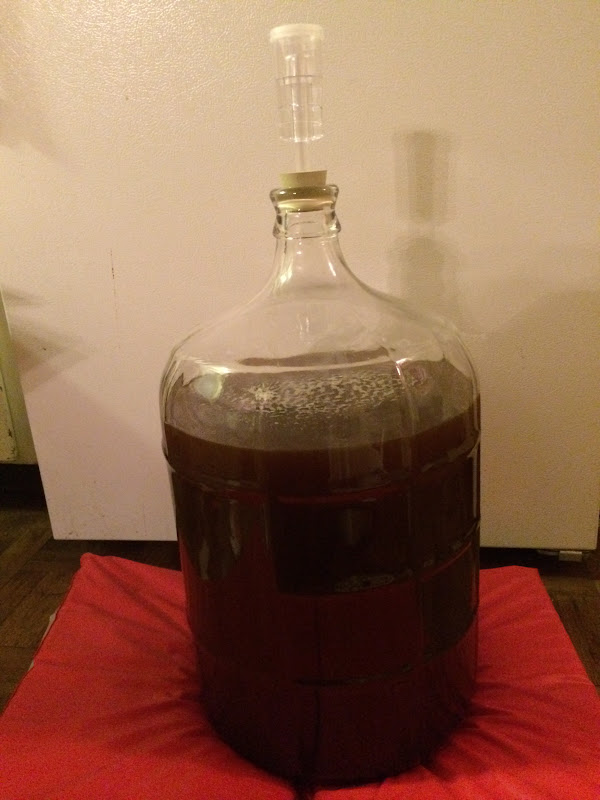
My first round was a water only grow in 1 gallon pots, but as you will quickly learn, the bigger the better in organics, so getting some 15 or 20 or even 25 gallon pots would be very wise. They only need to be a foot tall, but the extra size will help all the micro life stay alive and that will keep nutrients cycling if a good soil food web is established.
Let me start by thanking you again to take the time to explain this to me. I've been stuck for a few months and this is a saving grace.
1) Nope but how do I start? And how long will it take before it's ready? Also does it stink? Lol
2) Indoor yes
3) I'm growing in a closet in my room for flower, and a much smaller closet in another room for veg. 8ft ceilings, 59" long x 36" wide for flower. I'm on the fence if I should get a tent or not for flower. I'm trying to stay under 5 plants total between both rooms
4) No really long flowering sativas, mainly indica or hybrid
5) I'm open to anything that you would consider a superior technique
I'm willing to do whatever I need to. I'm open to any and all suggestions. I've been begging my friend for help for months and I finally just decided to ask online haha. I'm using Photon Fantom's LED sun boards and fusion boards if that matters. Take care!
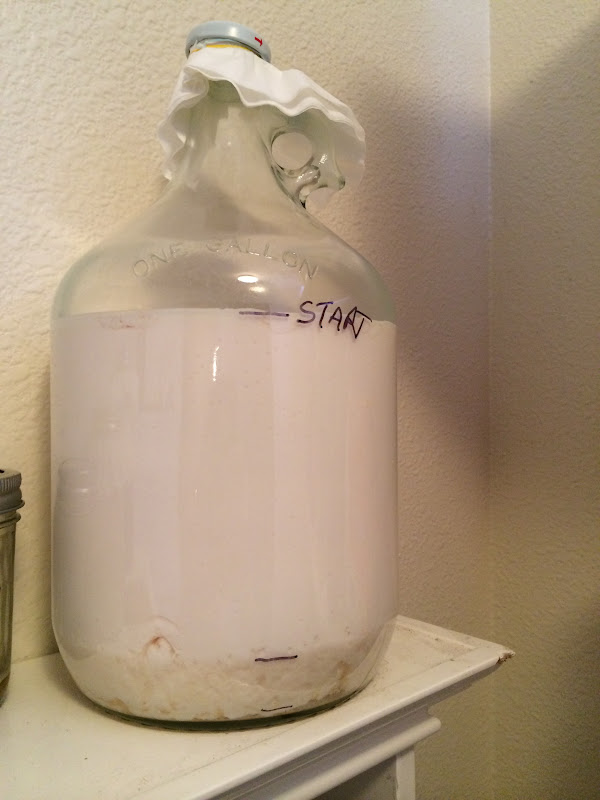
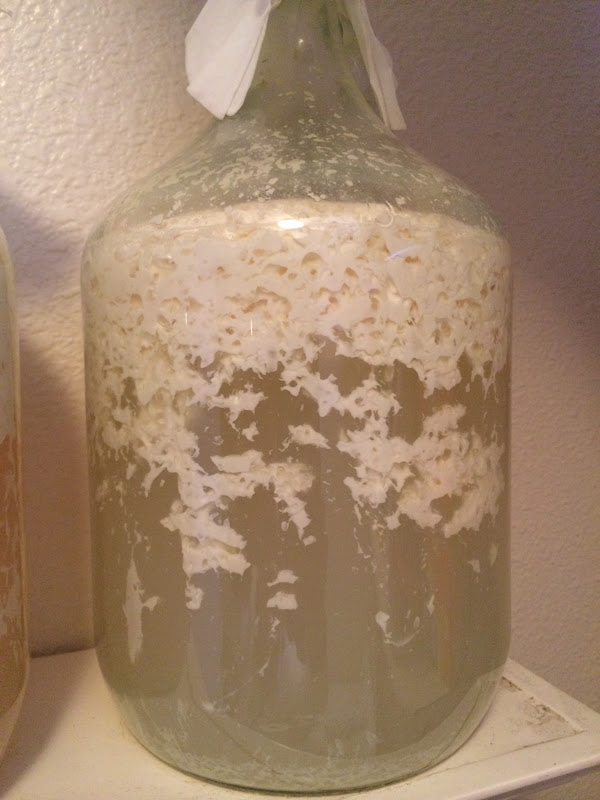
 I've got a ton of strains stockpiled already. For the worms do I just get regular nightcrawlers? And just feed them food scraps? Coco and root balls for bedding? And I'll definitely want a screen to separate the castings? Where can I start with making the labs? I'll try your method without the bone and blood meal and I'll read the previous pages here. Would you say I need a tent for my closet grow? I have the option to wire the lights in 200 or 300 watts, I'm concerned about heat though and a minimal exchange of air without a tent.