JB's New Growroom with Graphics

JSB99

Well-Known Member
Nice work man, those heat sinks are great looking, sure beats my 2 year old design with fans and wires strewn about lol. From your graphic design it looks like you will be using PVC as a frame for the "grow" space?. Have you used this material before with success? I would advise against using 1/2" if that's the case, unless you fill it with sand or put threaded rod through the PVC with nuts and washer to give it more rigidity. I have built shelving with PVC, outdoor greenhouse, and even with glue the 1/2" PVC alone gets a bit warped over time. Indoors you may not have temperature changes large enough to cause issue though.
Thanks, I appreciate the compliments :-) It takes a real nerd to get more involved with the graphical design than the project itself. LOL

The tent is actually a Gorilla Grow Tent, and I went with that for a few different reasons. One of which was how strong both the frame and the fabric was. Advice is always welcome though, and if I hadn't known that before, it would have definitely taken your device.
 

OrganicCanuck

Well-Known Member
Right on brother, so you go everything up and going i take it. You are obviously interested in the LED's, i was just watching this youtube video on water cooled DIY LED modules, the guys builds them for a high speed filming light. The idea looks killer has me interested in trying a version like it. Well maybe not 1 KW on one small module like that...but as far as the cooling goes, it seem legit, and i like the direction it takes LED's.


ttystikk

Well-Known Member
Right on brother, so you go everything up and going i take it. You are obviously interested in the LED's, i was just watching this youtube video on water cooled DIY LED modules, the guys builds them for a high speed filming light. The idea looks killer has me interested in trying a version like it. Well maybe not 1 KW on one small module like that...but as far as the cooling goes, it seem legit, and i like the direction it takes LED's.

Interesting stuff! I've built my own water cooled systems.
 

JSB99

Well-Known Member
Interesting stuff! I've built my own water cooled systems.
I was always afraid of having water around equipment, in the case of a leak. Those liquid-cooled HPS bulbs are a really cool idea, but could you imagine the damage if something went wrong? I like the Ice Box coolers for air cooled hoods. Thought that was cool, except for the condensation that it must drip.

Anyone running an Ice Box on their hood(s)?
 

ttystikk

Well-Known Member
I was always afraid of having water around equipment, in the case of a leak. Those liquid-cooled HPS bulbs are a really cool idea, but could you imagine the damage if something went wrong? I like the Ice Box coolers for air cooled hoods. Thought that was cool, except for the condensation that it must drip.

Anyone running an Ice Box on their hood(s)?
I ran cold water through my COB LED modules. Works great!
 

JSB99

Well-Known Member
I ran cold water through my COB LED modules. Works great!
I was just thinking that I'd feel pretty safe liquid cooling LEDs. Would it be necessary? Do they put out that much heat?

Btw, anyone know how much an entire COB light (cob, heatsink, lens) weighs?
 

JSB99

Well-Known Member
Right on brother, so you go everything up and going i take it. You are obviously interested in the LED's, i was just watching this youtube video on water cooled DIY LED modules, the guys builds them for a high speed filming light. The idea looks killer has me interested in trying a version like it. Well maybe not 1 KW on one small module like that...but as far as the cooling goes, it seem legit, and i like the direction it takes LED's.

I love everything filmed with a high-speed camera! Cool stuff!

Guess it takes a lot of light for filming high speed. Who here is going to be the first to build one for their grow? Should we start making bets?

:-)
 

JSB99

Well-Known Member
The tent is actually a Gorilla Grow Tent...
The tent in the renderings is scaled to the actual size. I have it showing the second height extension on top, but I'm actually not going to get it. I'll adjust the pictures soon. If it wasn't for the renderings I wouldn't have know that I'm really not going to need it.

Extra space, in a tent, is more air that has to be cooled and replaced, so it's usually better not to have a whole bunch of space.
 

JSB99

Well-Known Member
Hey everyone!

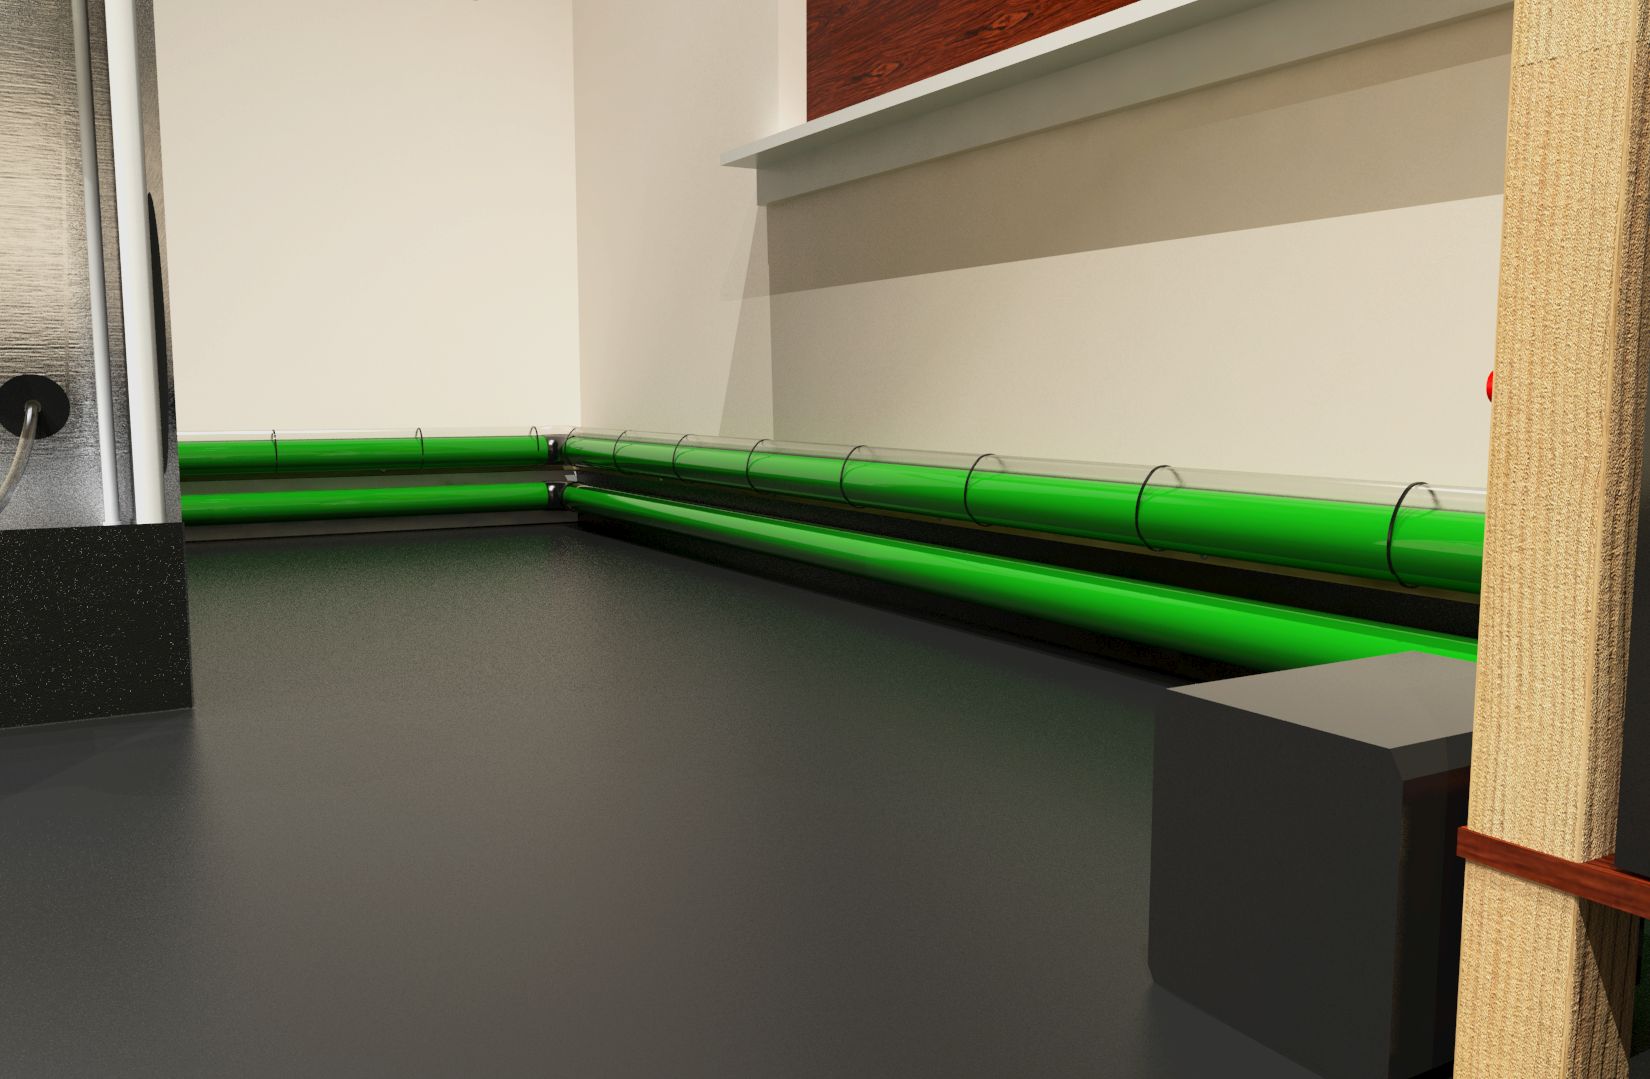
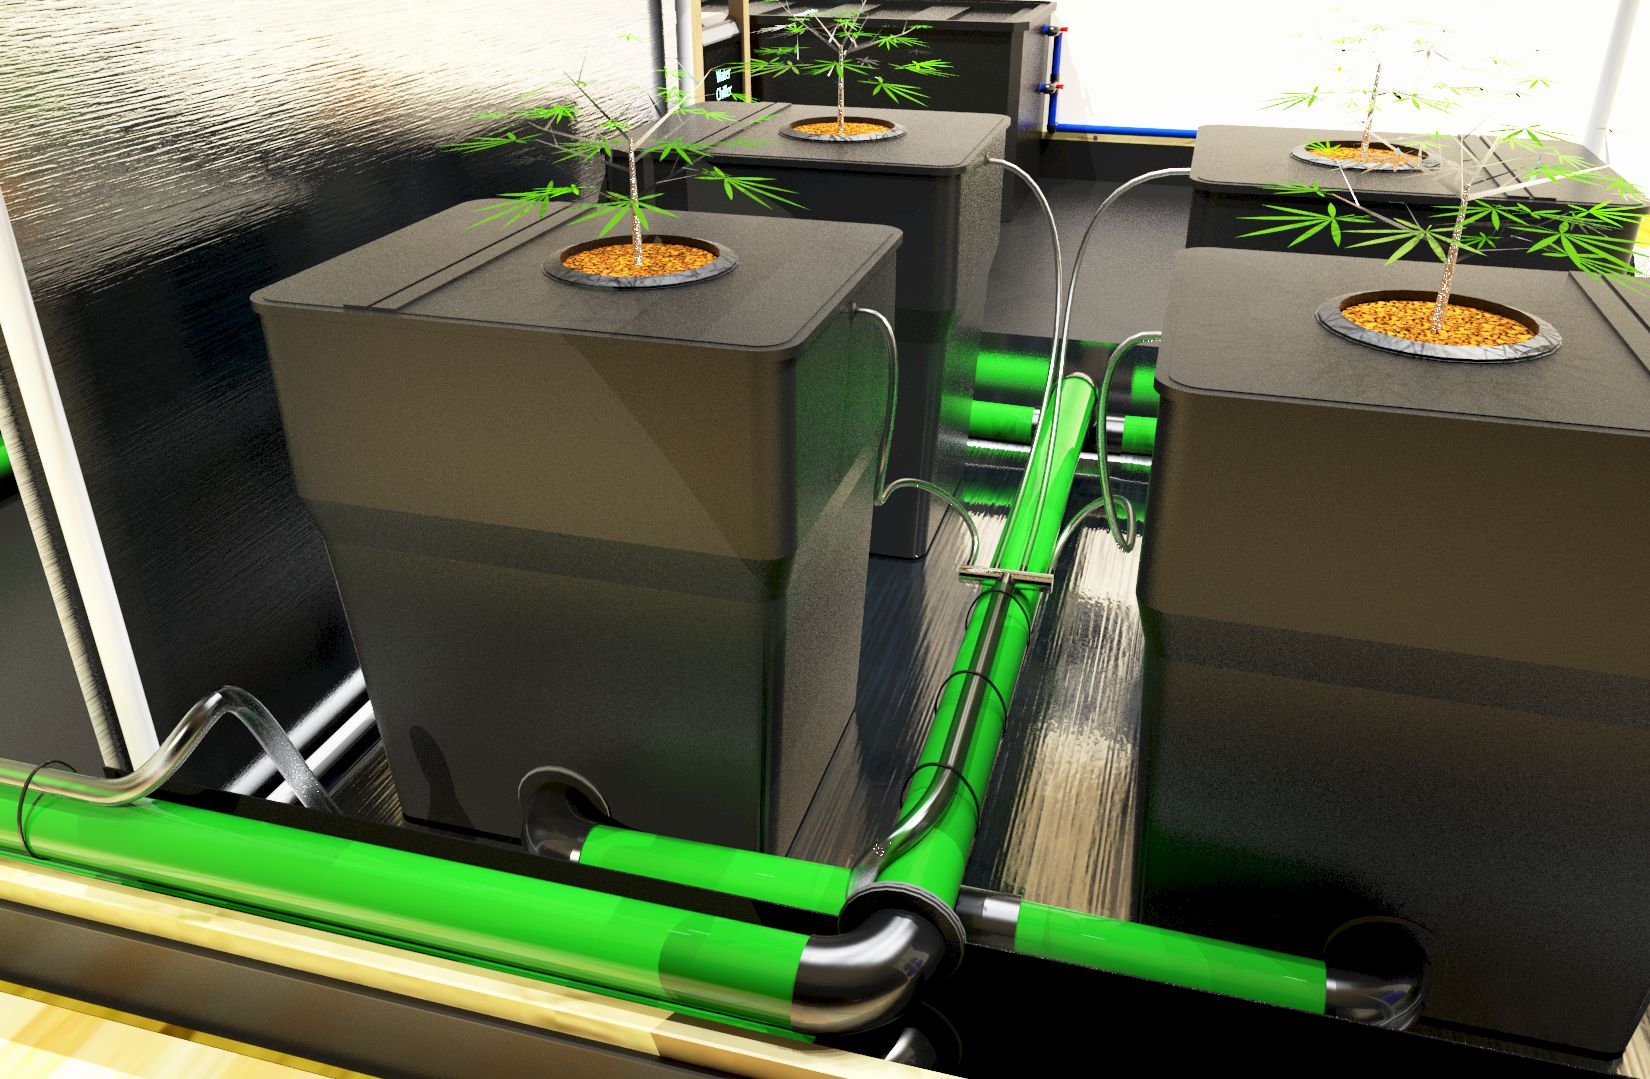
Got some stuff figured out in my room and I finished laying out the air lines to the reservoir and buckets. I also raised the air pump higher than the waterline, as recommended.

I secured the window with 3/4 plywood. I may or may not laminate it. It's going to be there for many years so I might go through the extra effort. After all, I do plan on painting everything the way it is in the renderings. I've been gathering info on how to paint pvc, since pvc is so finicky with everything. I'll leave a gap on the ends for pvc glue as well. The strips around the edges are screwed into the wall to secure the board.

I'm going to be using a 5,000 btu window a/c and dehumidifier. The majority of the year here in Oregon is fairly cool. I keep my house around 66 in the Winter. I won't have to use the a/c much, but I think it'd be okay to run it as a dehumidifier in the Winter. Can anyone tell me if it's the same, better, or worse doing that would be compared to using a dedicated dehumidifier?

Something odd that I'm noticing is the size of the air pump. When I made that, the water pump, and the chiller, I didn't bother going through the effort of making it look exact. I just built boxes using the size of the item it represented. Amazon states that the Alita AL-80 air pump I'll be using is 7.3 x 8.8 x 11.2 inches. I can't seem to find any other sources with the dimensions. I've had a pretty hefty commercial pump, and I don't remember it being that big. Could that possibly be the measurement of the box? Not that it'd change my mind about the pump or anything. Just wondering.

The way I laid these out, it follows the path of the air lines to the manifolds. I'm going to be pumping some serious air, but really, it's the recommended size pump. That's from the advice I got here, as well as Alita recommending the AL80 for 80 to 95 gallons.


Alita AL-80

You can see the whole collection here -> PICS

Added some posters to liven up the room :-)


I've been experimenting with different glass and plastic textures for the hoses. You can get some really cool images with caustics (even though I didn't use any here).


I'll point out something kind of cool here. If you look at the wood legs, you can see the grooves in the wood and the little hairs sticking out. That's called a "bump map" and is an attribute to textures. The walls have an orange peel texture as well. That's your nerd news of the day :-)


The air line is secured to the top of the green pipe. I may strap it below when I build it. Not sure yet. I still have to figure out how I want to secure the pipes themselves.


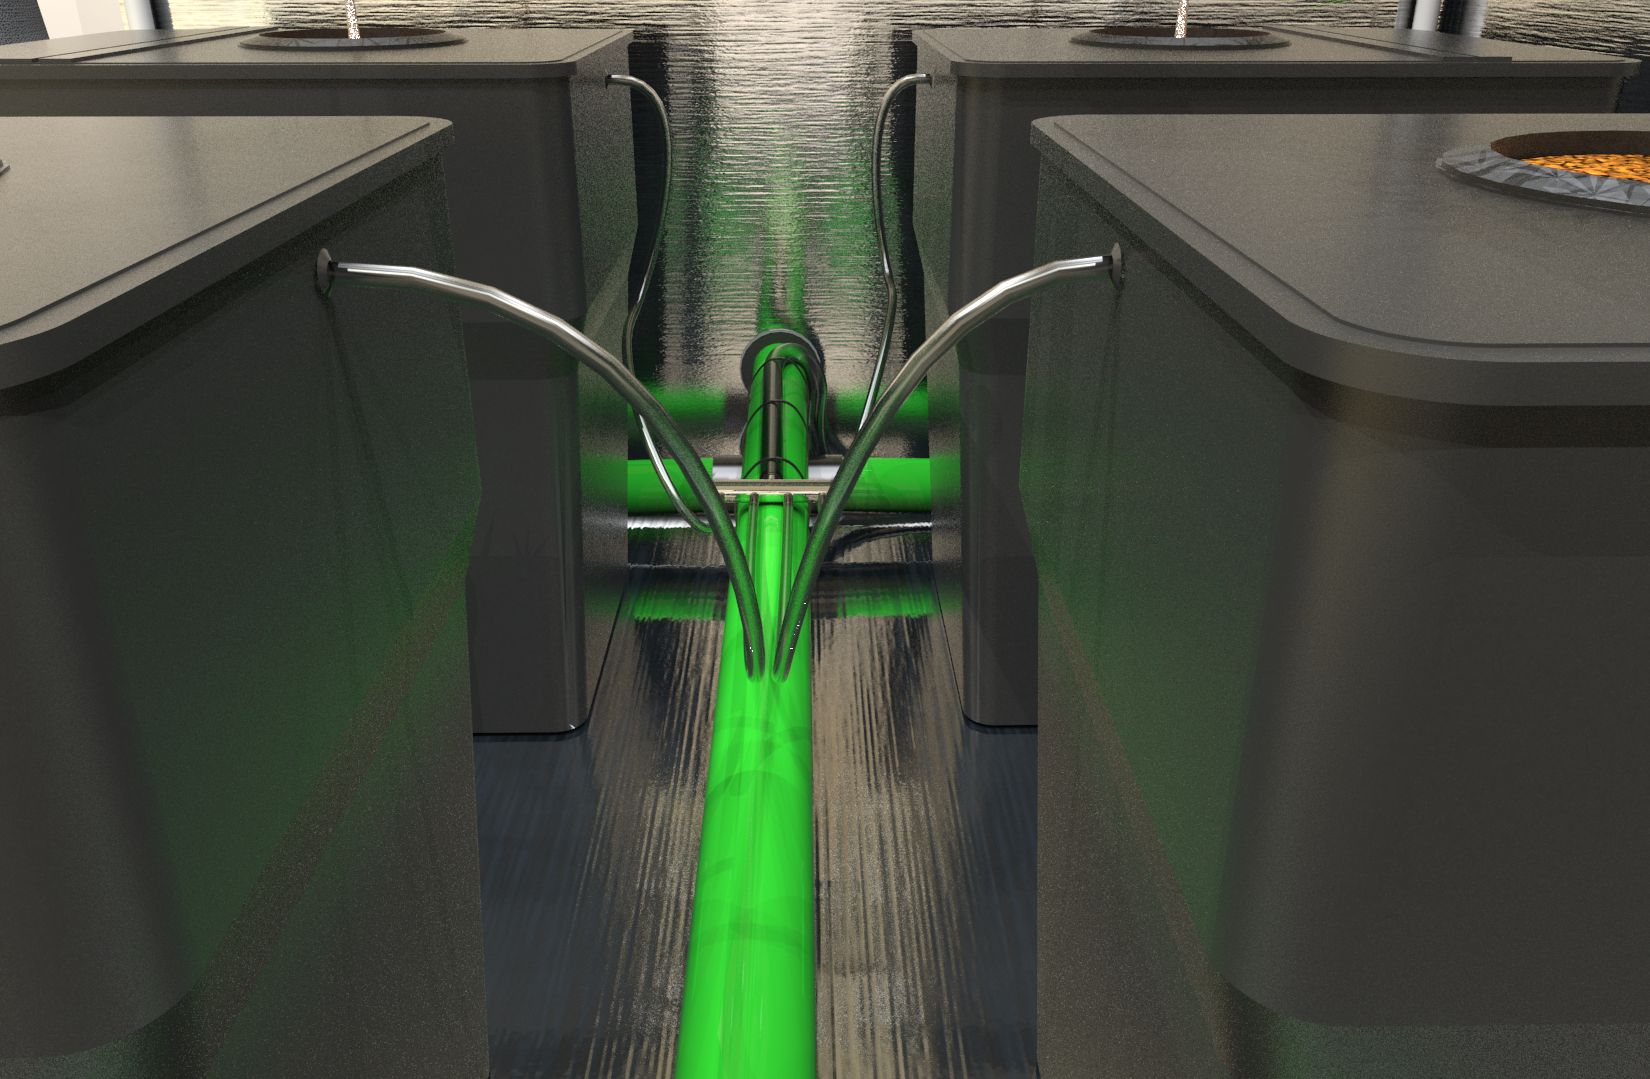
4 port manifold to the buckets. I have to redo the small lines here. The number of segments that make up those curves is too low and I can't figure out how to adjust it! Or, I could just say "Screw it! We get the point!". That does sound easier.


Still to come:
  • Removing top tent extension
  • Draw the straps suspending the exhaust fan/muffler, and the flexible duct, from the ceiling
  • Add existing outlets to the wall, as well as my dedicated 110 and 220 lines. I should have quite a bit I can run on 220v
  • Tapping the plumbing on the reservoir wall for the room.
  • Adding the floor drain and p-trap
  • Laying out the 4x2 mother closet. That closet couldn't have been a more perfect size my me :-)
Everyone enjoy
 

a mongo frog

Well-Known Member
Hey everyone!

Got some stuff figured out in my room and I finished laying out the air lines to the reservoir and buckets. I also raised the air pump higher than the waterline, as recommended.

I secured the window with 3/4 plywood. I may or may not laminate it. It's going to be there for many years so I might go through the extra effort. After all, I do plan on painting everything the way it is in the renderings. I've been gathering info on how to paint pvc, since pvc is so finicky with everything. I'll leave a gap on the ends for pvc glue as well. The strips around the edges are screwed into the wall to secure the board.

I'm going to be using a 5,000 btu window a/c and dehumidifier. The majority of the year here in Oregon is fairly cool. I keep my house around 66 in the Winter. I won't have to use the a/c much, but I think it'd be okay to run it as a dehumidifier in the Winter. Can anyone tell me if it's the same, better, or worse doing that would be compared to using a dedicated dehumidifier?

Something odd that I'm noticing is the size of the air pump. When I made that, the water pump, and the chiller, I didn't bother going through the effort of making it look exact. I just built boxes using the size of the item it represented. Amazon states that the Alita AL-80 air pump I'll be using is 7.3 x 8.8 x 11.2 inches. I can't seem to find any other sources with the dimensions. I've had a pretty hefty commercial pump, and I don't remember it being that big. Could that possibly be the measurement of the box? Not that it'd change my mind about the pump or anything. Just wondering.

The way I laid these out, it follows the path of the air lines to the manifolds. I'm going to be pumping some serious air, but really, it's the recommended size pump. That's from the advice I got here, as well as Alita recommending the AL80 for 80 to 95 gallons.


Alita AL-80

You can see the whole collection here -> PICS

Added some posters to liven up the room :-)


I've been experimenting with different glass and plastic textures for the hoses. You can get some really cool images with caustics (even though I didn't use any here).


I'll point out something kind of cool here. If you look at the wood legs, you can see the grooves in the wood and the little hairs sticking out. That's called a "bump map" and is an attribute to textures. The walls have an orange peel texture as well. That's your nerd news of the day :-)


The air line is secured to the top of the green pipe. I may strap it below when I build it. Not sure yet. I still have to figure out how I want to secure the pipes themselves.


4 port manifold to the buckets. I have to redo the small lines here. The number of segments that make up those curves is too low and I can't figure out how to adjust it! Or, I could just say "Screw it! We get the point!". That does sound easier.


Still to come:
  • Removing top tent extension
  • Draw the straps suspending the exhaust fan/muffler, and the flexible duct, from the ceiling
  • Add existing outlets to the wall, as well as my dedicated 110 and 220 lines. I should have quite a bit I can run on 220v
  • Tapping the plumbing on the reservoir wall for the room.
  • Adding the floor drain and p-trap
  • Laying out the 4x2 mother closet. That closet couldn't have been a more perfect size my me :-)
Everyone enjoy
Fucking nice!!!!! Those plants are going to be monsters. How long in veg before your first topping? What strain is that?
 

JSB99

Well-Known Member
Fucking nice!!!!! Those plants are going to be monsters. How long in veg before your first topping? What strain is that?
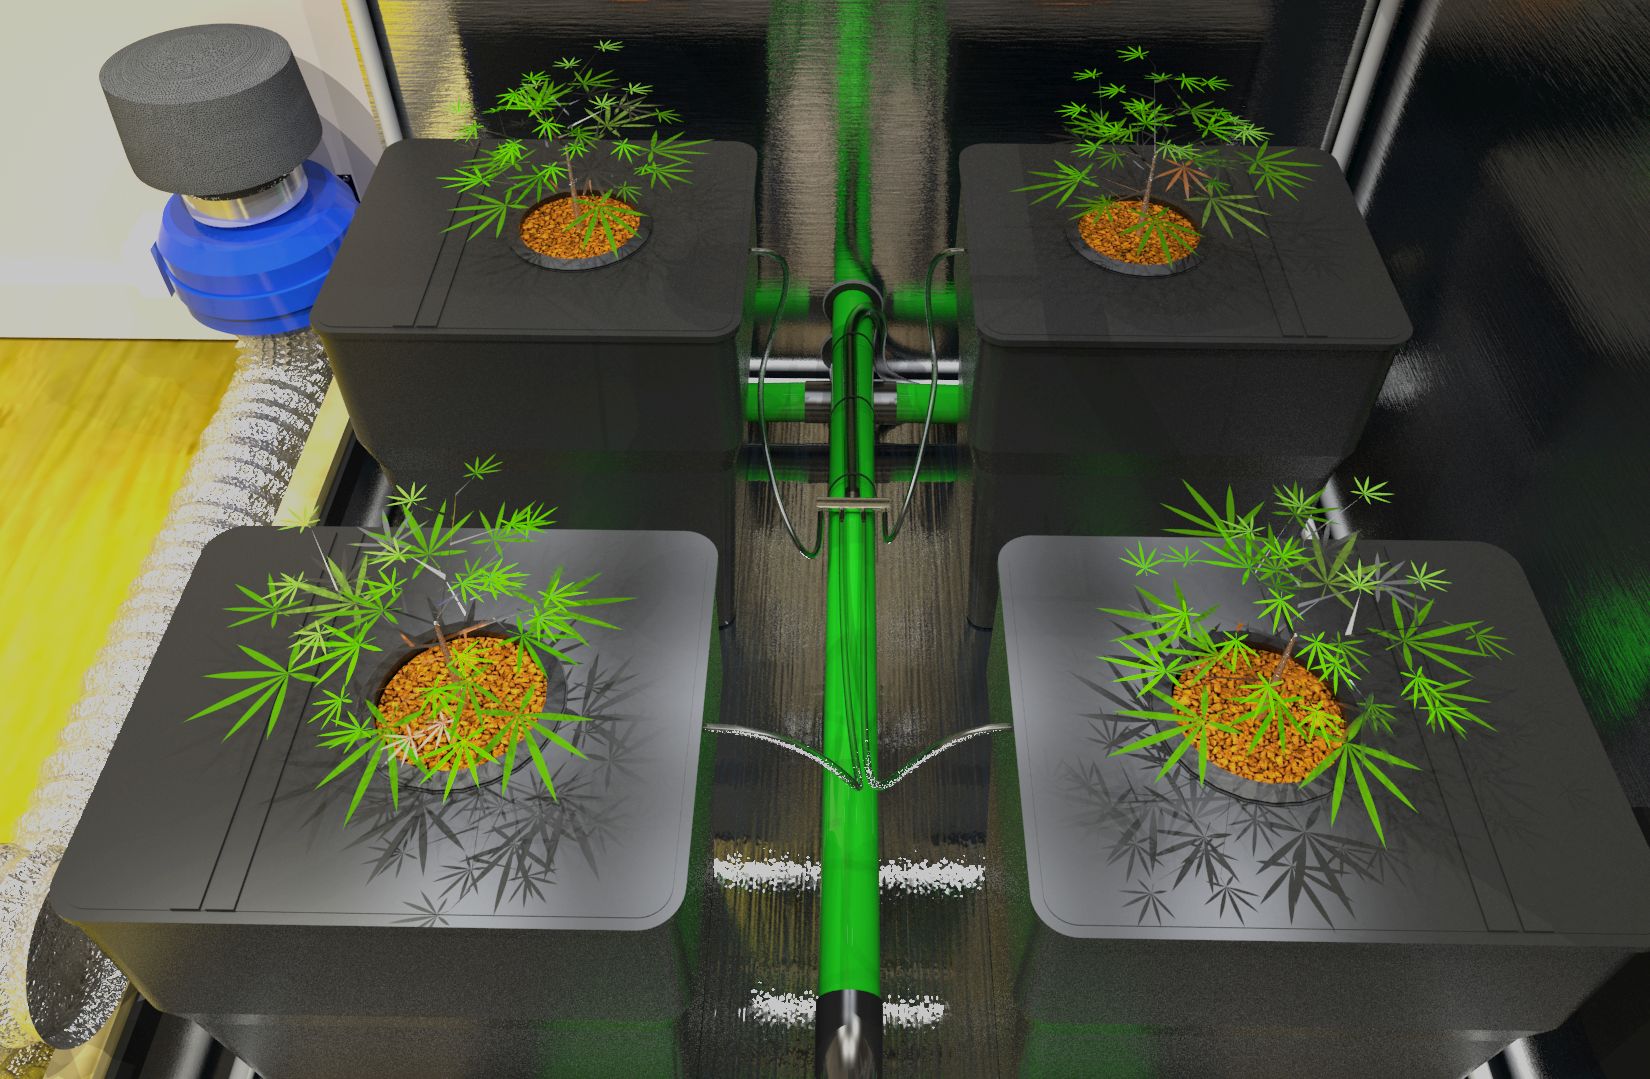
These pictures are actually computer generated images I created using a 3D CAD program called "Sketchup". I use another tool called "VRay" to render my images and give it that realness. You're not the first who's been fooled :-)

But I really hope no one gives you crap about that. The whole point of approaching my plan in this way, is to create something that looked real and accurate. This is so that I can make adjustments and fix issues ahead of time instead of trying to do it in the middle of a grow, when you first realize there's a problem.

The strains I plan on growing are LSD, GrandDaddyPurps, Blue Dream, and Lemon Kush. Not at the same time though. I'm going to have a small mother of each living in the 2 x 4 closet. I'll be growing those via the "Bosai-mums" method. Check it out BOSAI MUMS


ttystikk

Well-Known Member
These pictures are actually computer generated images I created using a 3D CAD program called "Sketchup". I use another tool called "VRay" to render my images and give it that realness. You're not the first who's been fooled :-)

But I really hope no one gives you crap about that.
Oh, no- this is RIU, there shall be no such opportunity missed!
 
Top