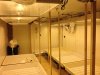
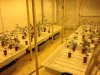
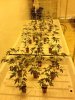
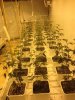
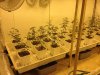
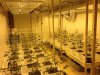
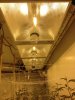
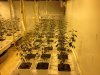
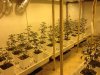
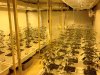
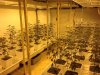
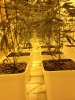
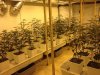
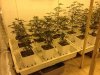
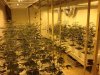
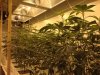
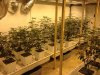
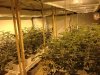
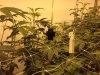
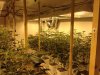
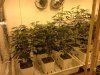
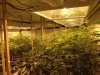
I've been on this forum for some time. I've posted several journals and engaged in numerous threads over the years, but I have not been on as of late. I continue to be an active gardener but I have not had time to post any of my work. At the end of my last journal, I started hinting at a new 8 lighter I was putting together, posting build out shots but nothing with working material. As promised here are those pics of that zone. The room has had one successful harvest after another, and short of one ballast failure, all equipment has held up nicely.
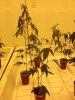
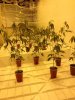
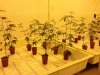
I might make a few comments along the way, but this will mostly be images - from plans, to build out, to harvest and everything in between. It may take me a few days to get all the images sized and posted, so if the final harvest shots aren't included, I am still working on it--check back soon. For continuity sake, I am going to re-post the images from the aforementioned thread in this thread so we can have the entire project in one spot.
I might make a few comments along the way, but this will mostly be images - from plans, to build out, to harvest and everything in between. It may take me a few days to get all the images sized and posted, so if the final harvest shots aren't included, I am still working on it--check back soon. For continuity sake, I am going to re-post the images from the aforementioned thread in this thread so we can have the entire project in one spot.
Attachments
-
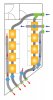 studio-plans.jpg53.6 KB · Views: 50
 -
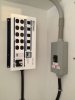
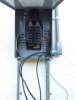 new-main-panel.jpg108.4 KB · Views: 36
 -
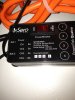
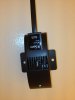
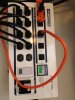
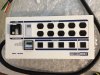 powerbox.jpg130.7 KB · Views: 39
 -
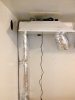
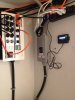
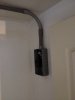 240-to-room.jpg102.7 KB · Views: 31
 -
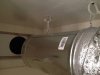
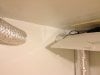
 six-8inch-fans.jpg143.8 KB · Views: 47
 -
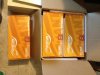
 eight-magnums.jpg139.4 KB · Views: 45
 -
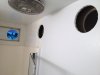
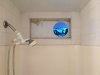
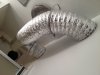
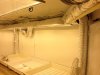
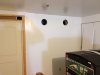 light-exhaust-ports.jpg99.6 KB · Views: 36
 -
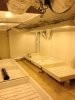
 six-4x4-trays.jpg97.9 KB · Views: 38
 -
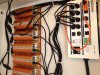
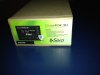
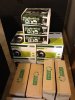
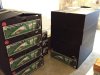
 eight-quantum-ballasts.jpg135 KB · Views: 38