Dreadhippy
Active Member
I have been raising red wrigglers for worm castings for 4 years now. I thought I would share a few pics I found while cleaning up my hard drive on how to get yourself started for the least amount of investment. the 2 bucket method cost around 30 dollars for a pound of red wrigglers and 10 dollars in buckets. the plastic tote method cost 30 dollars for the worms and 12 dollars for the 35 gallon tote.
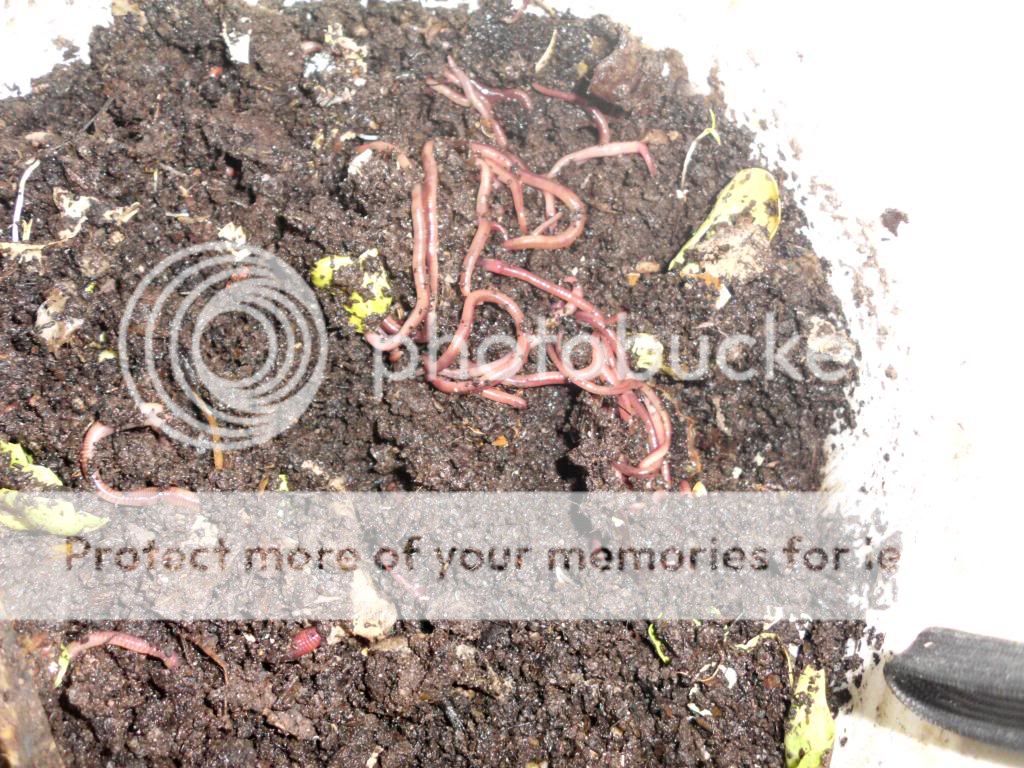
first off, the worms most commonly used to compost are red wrigglers (Eisenia fetida). they typically live in the top 3 inches of ground and usually don't go deep like nightcrawlers. They eat decaying organic matter and turn it into black gold for gardeners. typically I feed my worms all my junkmail, newspapers, all garbage paper products. I compost everything else prior to feeding the worms so I don't heat up the worm bin with composting material. plus the worms will reproduce noticeably quick when you give them pre-composted material to eat. meat and dairy are also okay for the worms to eat as long as it has been composted first, the type of insects and bacteria that come with decaying meat and dairy do not mix well with worms. If you do create your own castings there will probably be worms living in everything you use the castings in, this is okay as the worms do not eat any living material, your roots will be safe.
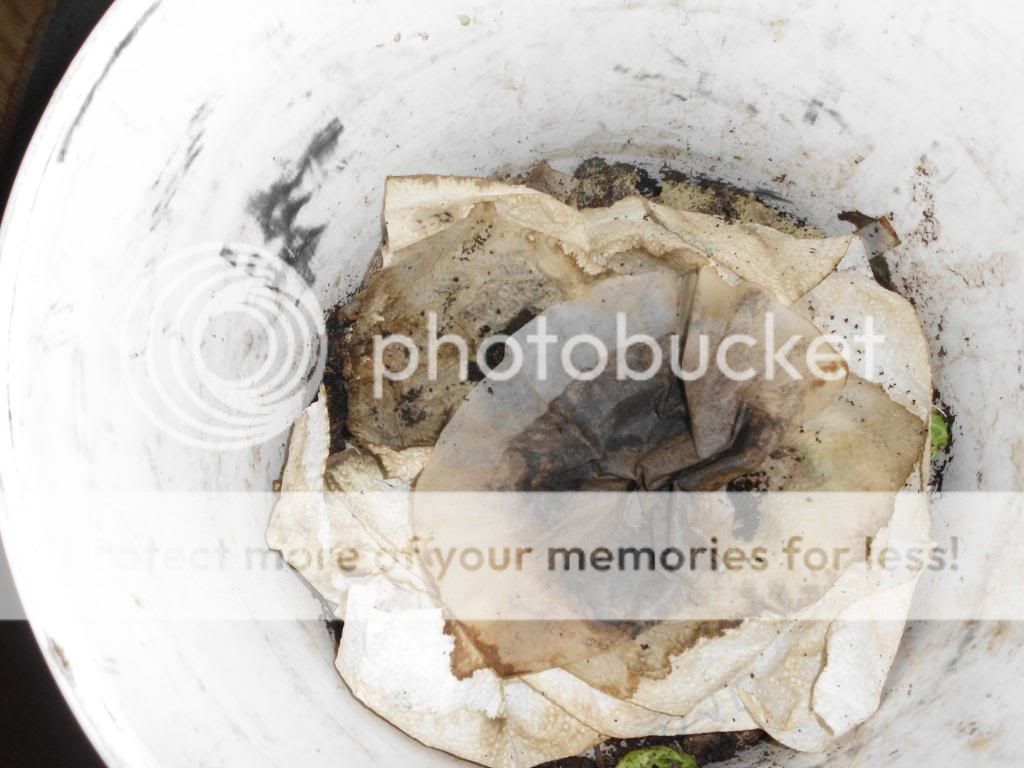
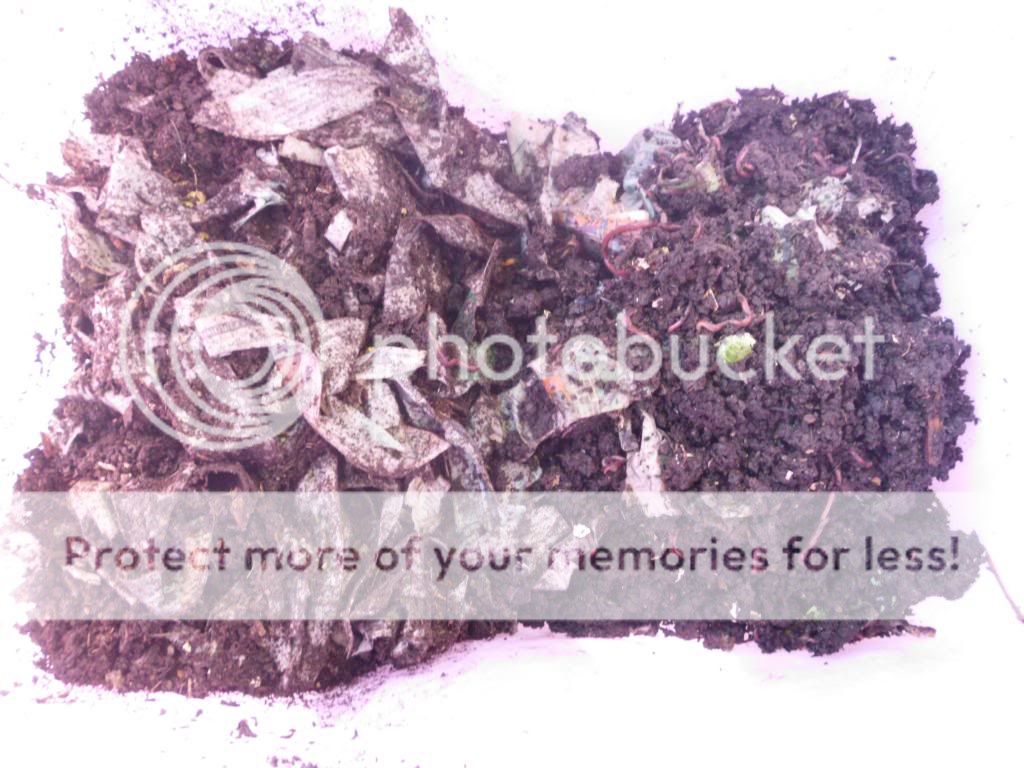
okay, here is the 2 bucket method, you drill a network of drain holes in the bottom of one bucket, and leave the second bucket whole. put in the worm bedding (I use shredded newspaper and compost, and get it all nice and damp, the worms breathe through their skin so if you get it soggy wet they will try and escape) and put the bucket with the holes and bedding inside the 2nd bucket. when you have a good moisture level put the worms in the bucket and fill the bucket with about 6 inches of shredded newspaper on top, this will help keep in the moisture and it will keep the worms down where you want them. that's it, just let them do their thing, I check them every few days to make sure they aren't drying out but other than that they just start eating. when you notice that the bedding is mostly an even soil feel and the majority of the chunks of compost are gone you can get a 3rd bucket, put some holes in the bottom, make it into a nice worm hotel with good bedding and put this bucket on top of the mostly finished worm castings. the worms will slowly migrate up through the holes and into the new bedding, a few weeks later you can remove the finished castings and run it through a small screen, then use. I get about 2 gallons a month with this method and have spawned several 50 gallon colonies with the worm cocoons I have harvested. the tote method is pretty much the same as the bucket method, but with totes. and on a side note, you can check your bucket/tote on the bottom and pour that liquid back into the top and any stray worms in the bottom you could move up also.


my worms love coffee grounds with the filters, I also get bags of grounds from starbucks for free that I throw in there for them. the more you feed them a specific thing the better later generations of worms will be able to eat and thrive on it.
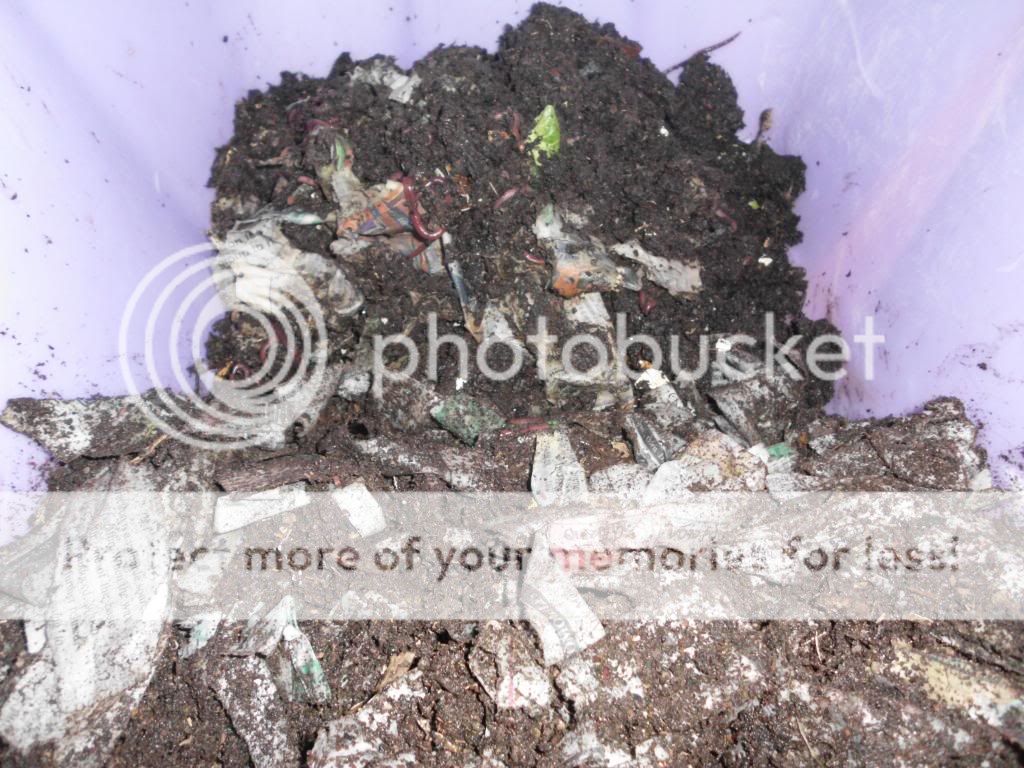
I am transfering the colony into the tote, I will have them migrate over to the side with fresh bedding then take the finished compost out


worm colonies should not stink, I keep mine in my kitchen, 3 colonies of worms, a colony of mealworms and an aquaponics setup on the fish tank.

sorry if I explained it poorly, I will answer any questions of course to clarify.
first off, the worms most commonly used to compost are red wrigglers (Eisenia fetida). they typically live in the top 3 inches of ground and usually don't go deep like nightcrawlers. They eat decaying organic matter and turn it into black gold for gardeners. typically I feed my worms all my junkmail, newspapers, all garbage paper products. I compost everything else prior to feeding the worms so I don't heat up the worm bin with composting material. plus the worms will reproduce noticeably quick when you give them pre-composted material to eat. meat and dairy are also okay for the worms to eat as long as it has been composted first, the type of insects and bacteria that come with decaying meat and dairy do not mix well with worms. If you do create your own castings there will probably be worms living in everything you use the castings in, this is okay as the worms do not eat any living material, your roots will be safe.
okay, here is the 2 bucket method, you drill a network of drain holes in the bottom of one bucket, and leave the second bucket whole. put in the worm bedding (I use shredded newspaper and compost, and get it all nice and damp, the worms breathe through their skin so if you get it soggy wet they will try and escape) and put the bucket with the holes and bedding inside the 2nd bucket. when you have a good moisture level put the worms in the bucket and fill the bucket with about 6 inches of shredded newspaper on top, this will help keep in the moisture and it will keep the worms down where you want them. that's it, just let them do their thing, I check them every few days to make sure they aren't drying out but other than that they just start eating. when you notice that the bedding is mostly an even soil feel and the majority of the chunks of compost are gone you can get a 3rd bucket, put some holes in the bottom, make it into a nice worm hotel with good bedding and put this bucket on top of the mostly finished worm castings. the worms will slowly migrate up through the holes and into the new bedding, a few weeks later you can remove the finished castings and run it through a small screen, then use. I get about 2 gallons a month with this method and have spawned several 50 gallon colonies with the worm cocoons I have harvested. the tote method is pretty much the same as the bucket method, but with totes. and on a side note, you can check your bucket/tote on the bottom and pour that liquid back into the top and any stray worms in the bottom you could move up also.
my worms love coffee grounds with the filters, I also get bags of grounds from starbucks for free that I throw in there for them. the more you feed them a specific thing the better later generations of worms will be able to eat and thrive on it.
I am transfering the colony into the tote, I will have them migrate over to the side with fresh bedding then take the finished compost out
worm colonies should not stink, I keep mine in my kitchen, 3 colonies of worms, a colony of mealworms and an aquaponics setup on the fish tank.
sorry if I explained it poorly, I will answer any questions of course to clarify.