NorthernHize
Well-Known Member
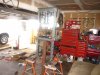
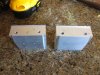
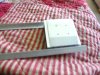
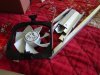
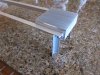
[/QUOTE]Exactly what I needed to see, OTE="NorthernHize, post: 11420346, member: 889224"]I used a piece of angle aluminum a while back for a light rack. Cheap and easy too.
View attachment 3375188 View attachment 3375191
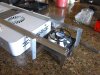
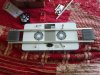
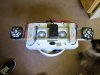
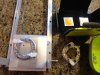
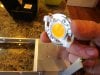
That last one though was my first attempt at mounting a 3070 to a heat sink.
Glad I could help!