MMJ Dreaming 99
Well-Known Member
Thanks. I will look around.Hm. It was by where all the nuts and bolts were. There was a little stand full of angle aluminum and steel.
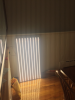
There's a section in the back that has some 8 foot long angle aluminum but it wasn't there. Some of the same angle aluminum was cut into 4 and 3 foot sections by the nuts and bolts but it was the same price for half the length. The tracks were there sold a two for 23$ cdn
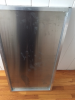
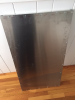
I recently found some lower cost L shaped metal but it seemed pretty heavy - it was not aluminum. This was at Tractor Supply in the USA. They have a few stores in Canada and one in London, Ont.