Amature build

fujiyama

Member
You've all inspired me to build a light (and grow space) of my own; check it out and follow my progress. :leaf:

Goals:
Even light coverage
Energy efficient
Simple (minimal plugs, timers, etc)
Versatile

I've decided to use 1 cob per sq. foot and design a frame suitable for a 2x4 room. I could use two in a 4x4, four in a 4x8, or eight in an 8x8 space to maintain even coverage. It would take 64 cobs to light an 8x8 to my standards, so this design is not for everyone.

Brainstorming light coverage and design:
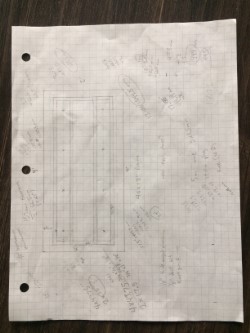
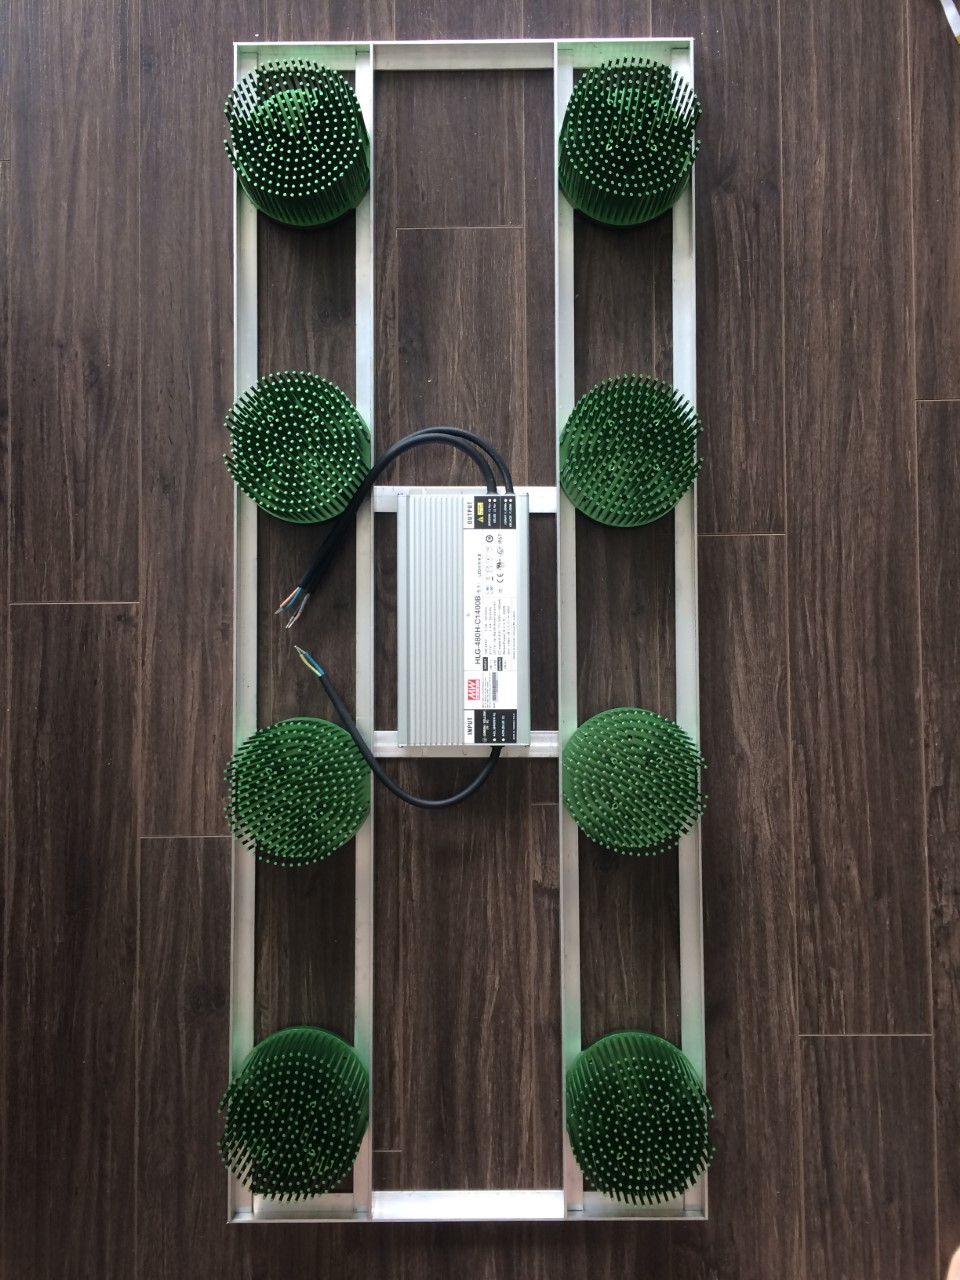


Rough framing:


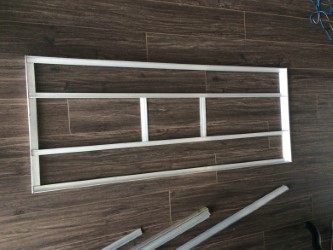
I'm hoping to source some 6063 aluminum angle for the end pieces but my metal supplier was out of stock. I'll check out another one tomorrow.

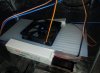
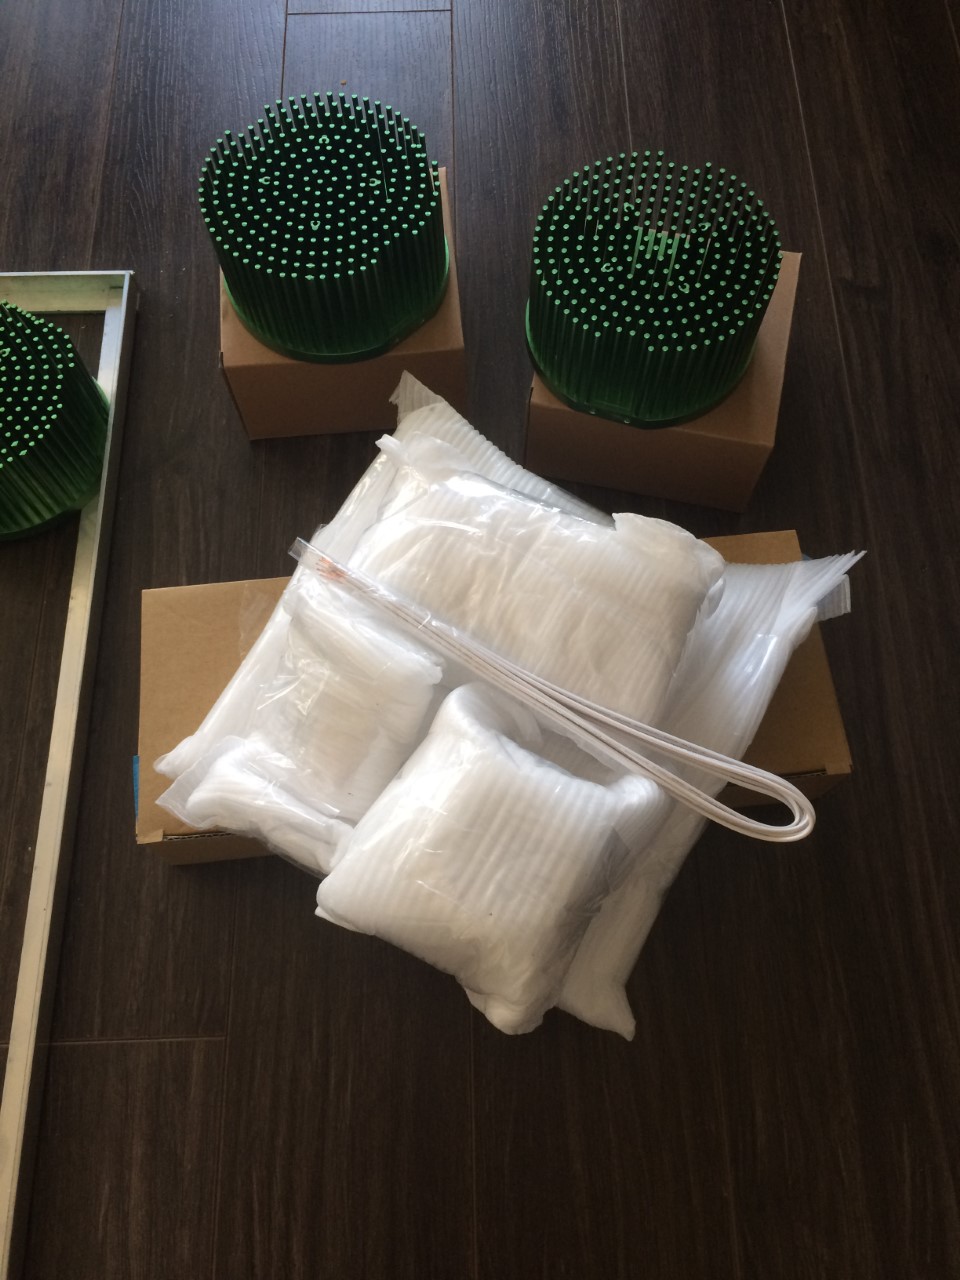
My build list (photos to follow):

1x HLG 480H-C1400B
1x Potentiometer
8x Cree CXB3590 (36V) 80CRI 3500K
8x Ideal holders, reflectors, heatsinks, thermal tape etc
Hardware, rivets, wiring, etc

This light will be used for both veg and flower. I'm already dreaming up my next two builds on this design - one running 8x Cree CXB3590 4000K 80CRI for veg and one running 8x Cree CXB3590 2700K 90CRI for flower.

Wish list:
2x4' Gorilla Grow tent
6" Phresh carbon filter (400 CFM)
6" Hyper Stealth fan (315 CFM)
6" Clip fans

Peace :peace:
 

Ebola21

Well-Known Member
Looks good, the only things I might add for thought are:

If you build this exactly 2x4 it will not fit in a Gorilla 2x4 tent. I just setup a Gorilla 2x4 tent and the poles will be in the way, and the inside I feel is slightly less than 2x4. Also, I like the reflective material in the these Gorilla tents, but the zipper configuration I find annoying; theres too many to undo just to open it. I much prefer the zipper configuration on the Apollo and Secret Jardin 2x4s. The poles are suspiciously identical to the Apollo tent poles, I dont know whos copying who, or if they use the same vendor or not, but thats all irrelevant since theyre both good poles. I do like the porting on the Gorilla, and thats the only reason I went with the Gorilla over the Secret Jardin. I needed one with at least a size 6" port on the lower right side, but the Secret Jardin was only on the left.

Depending on the heatsinks youre using, if youre going to be using active cooling, you may want to consider making a cover for the top. If youre using active cooling, and just slap a fan in the middle, the air will quickly dissipate and not flow down the length of the heatsink to the end cobs. Putting a cover ontop of the heatsink forces the air to travel down the length of the heatsink. This is something I dont seem to see anyone doing, and I dont understand why. Heres a picture of the clone/veg light I built. Excuse the mess, I literally just finished re-configuring it an hour ago and havent had a chance to clean it up and make it look pretty. The cover on this one is probably excessive given the size, but I had extra material from building my primary light.

For securing the holders to the heatsink, youre going to want to use M3 bolts. Id highly recommend taping the holes so you can remove the holders if you ever need to reapply thermal compound, or replace/change the cobs. To tap M3 threads in aluminum youre going to want to use a drill press (ideally) and a 2.5mm or #39 American drill bit. This is another thing I dont see anyone doing, they just run the bolts straight into untapped heatsinks. Taping all the holes will take a long time, but I feel like its totally worth it.

I also use my main light for vegging and flowering, I have 4 cobs (2x 3500k 2x 5000k) always on, and the other 4 cobs are on a switch and are all 3500k. The small veg light pictured are just two 5000k cobs.
 

Attachments

Last edited:

fujiyama

Member
Thanks for the response!

No worries; this frame measures 44"x17.5". My main goal with the design was even light coverage ( by proper cob spacing) but I also need room to maneuver the light within the tent.

The heatsinks I've purchased are pre drilled and include the hardware. I agree though, it's necessary the holes be drilled and tapped. That's what I've gathered from proper tutorials.

I won't be using active cooling for this light. I don't believe it's necessary as plants need some heat (from the sun ). The Stealth fan is also quite large and will help dissipate heat. One bottom port will be open and I'll use a 6" clip fan near the bottom of the tent for air movement. If I need to I'll add another 6" clip fan at light level. Plants like the breeze of an oscillating fan and these are cheap to run, easy to install, and quick to move or replace.

Valid point about the cover for the top when using active cooling. If one of my next lights includes active cooling, I'll have to look more into this. I always considered mounting the fans vertically, but that's not necessarily ideal.

Which tent leaks the least light between the Gorilla - Apollo - Secret Jardin? Not just light out, but light in during the dark phase. Sourcing these brands in my country for reasonable prices isn't easy. I'm seeking out a legit Chinese vendor.

Peace :peace:
 

Ebola21

Well-Known Member
I cannot comment on Secret Jardin, but there are more pinhole light leaks on the Apollo as the Apollo doesn't have the zipper covers like the Gorilla has, and I also think there were some in the stitching if you looked close enough. I have not observed the gorilla tent with the zipper covers pulled aside. In my opinion the pinhole leaks are immaterial and wouldn't be a determinijg factor in purchasing one over the other. The primary light issue with both tents is how the user sets up the intakes; which is independent of the tent quality/design/construction.

Also regarding the cooling, I have my drivers outside the tent, and the light themselves keep my tent around 80F. Active cooling the the thick heatsink I have I believe it overkill, not necessary, and I don't believe the active cooled heatsink materially effects the temperature of the area.
 
Last edited:

fujiyama

Member
'Preciate the input on the tents; I'll see what I can source.

I do have the option of mounting the driver outside of the tent but I'll probably mount it in the center of the light. I like the idea of having the whole light as one unit, ready to move and plug in anywhere.

I have the proper 6063 aluminum on order, 1" x 3/4" x 1/8". Frame build starts soon.

Package arrived today!


Quick test fitting:


Gathering supplies:


fujiyama

Member
Here are the cobs I'm using


Looks like all the measurements payed off


I don't want those four center heatsinks to be offset by the rivet under each one (re: the rivet holding the two center brackets for the driver). I have a few days to think of a plan - maybe 1/16" high heat rubber pads under each heatsink?

I would be a nice added touch. The question is where can I find suitable rubber, and what are my other options?

Most people wouldn't give a shit about this minor detail...
 

Hurricane09

Well-Known Member
Here are the cobs I'm using


Looks like all the measurements payed off


I don't want those four center heatsinks to be offset by the rivet under each one (re: the rivet holding the two center brackets for the driver). I have a few days to think of a plan - maybe 1/16" high heat rubber pads under each heatsink?

I would be a nice added touch. The question is where can I find suitable rubber, and what are my other options?

Most people wouldn't give a shit about this minor detail...
Try one of the little furniture pads - they come rubber, felt and plastic - should be able to find a similar height.
 

Viceman666

Well-Known Member
Maybe move this to the LED section of the forum you will can get lots of feedback on your light setup, power, effiency, etc. If you didnt take look yet there is tons of information on DIY cob. So far your setup looks great and very clean!
 
Top