epixbud
Well-Known Member
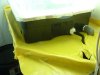
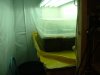
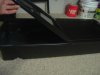
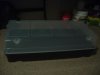
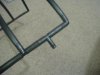
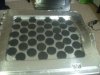
Well, cloner time! I needed a cloner with minimum 80 sites and maximum 120 sites, so I made it, well just the 80 holes for now and the rest later.
This guide shows how I did it, what I used and the results. It has all been done from research within Rollitup! Just bigger, well, more quantity I mean.
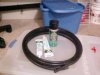
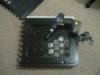
What you will need is :
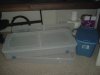
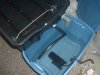
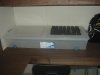
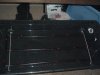
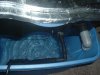
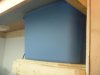
2 Under bed storage bins ($25 each)
1 10 gallon jug ($10)
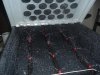
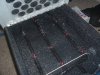
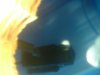
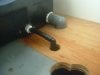
1 264 gallon per hour pump ($50 ) ( had 185 first, not strong enough, changed up)
15 ½ poly tubing ($20)
5 ½ 90 Digress Fittings ($1 each)
3 ½ T Fittings ($1 each)
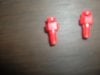
18 - #8 Misters (not sure, just small and red) ($4 each!) (had smaller ones first, no work)
1 Can Plastic Paint Black ($6)
1 Roll Foil Tape ($11)
1 Tube Silicone ($4)
1 1 ½ 90 ($1)
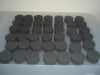
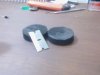
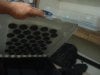
40 2 x 1 Neoprene Grow Plugs ($50) (cut in half, dont need then 1 thick!)
1 1 ¾ hole saw (leaves a perfect 2 hole!)

This guide shows how I did it, what I used and the results. It has all been done from research within Rollitup! Just bigger, well, more quantity I mean.
What you will need is :
2 Under bed storage bins ($25 each)
1 10 gallon jug ($10)
1 264 gallon per hour pump ($50 ) ( had 185 first, not strong enough, changed up)
15 ½ poly tubing ($20)
5 ½ 90 Digress Fittings ($1 each)
3 ½ T Fittings ($1 each)
18 - #8 Misters (not sure, just small and red) ($4 each!) (had smaller ones first, no work)
1 Can Plastic Paint Black ($6)
1 Roll Foil Tape ($11)
1 Tube Silicone ($4)
1 1 ½ 90 ($1)
40 2 x 1 Neoprene Grow Plugs ($50) (cut in half, dont need then 1 thick!)
1 1 ¾ hole saw (leaves a perfect 2 hole!)
Attachments
-
 63.2 KB Views: 241
 -
 43.3 KB Views: 271
 -
 34.6 KB Views: 195
 -
 41.7 KB Views: 461
 -
 61.3 KB Views: 336
 -
 42.4 KB Views: 226
 -
 67.8 KB Views: 279
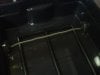

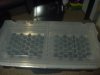
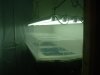
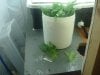
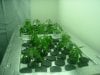
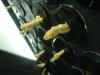
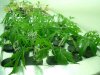
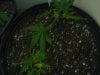
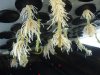
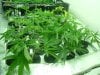
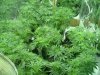
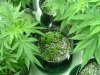
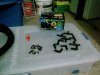
 13 into the cloner tonight, and in few hours after these pics they are all turned up to the light already....